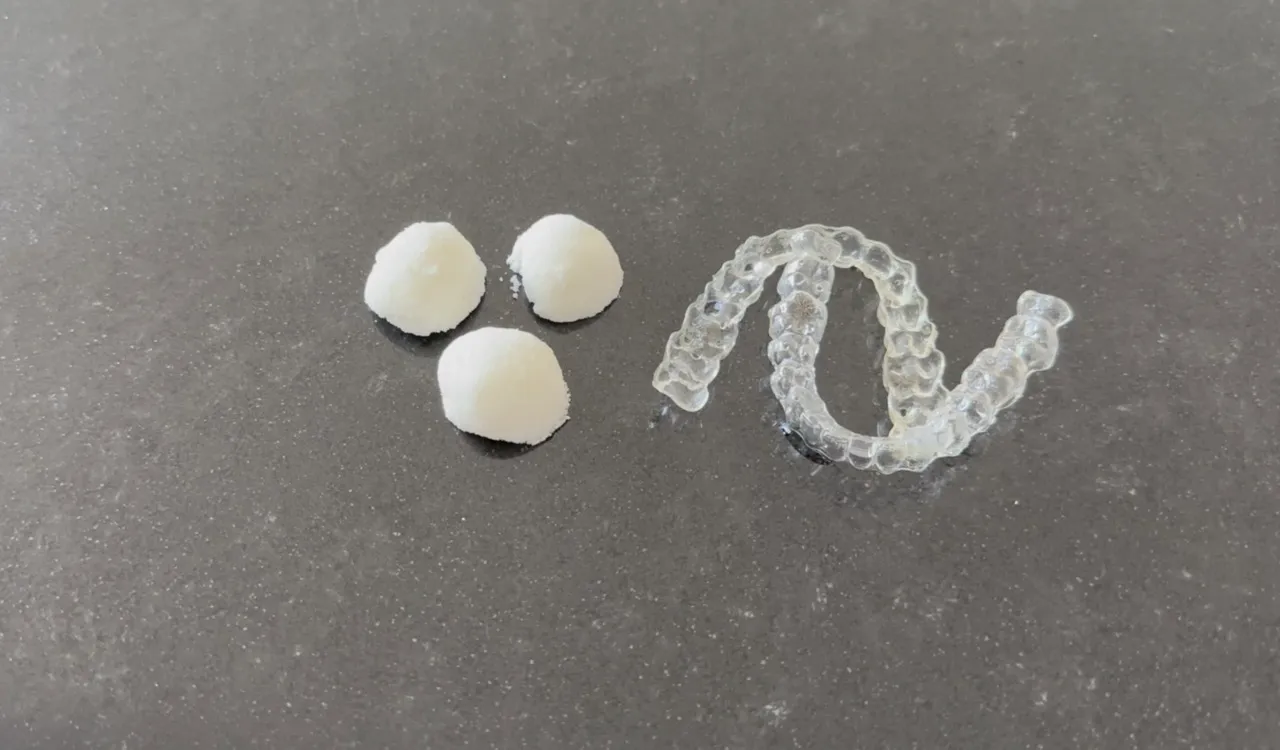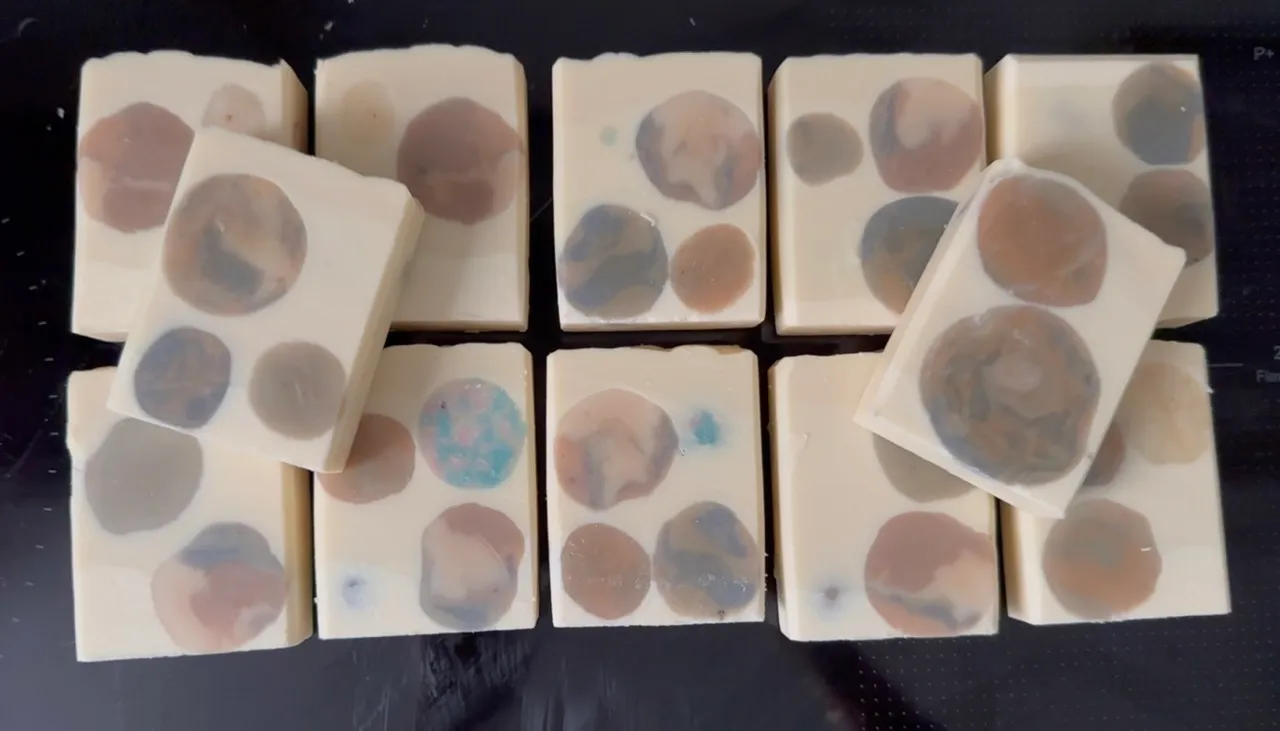
You can help support my website and channel through the “buy me a coffee” page.
Here is the link: https://www.buymeacoffee.com/diycosmetica
Your support helps me keep sharing here more information and more formulas.
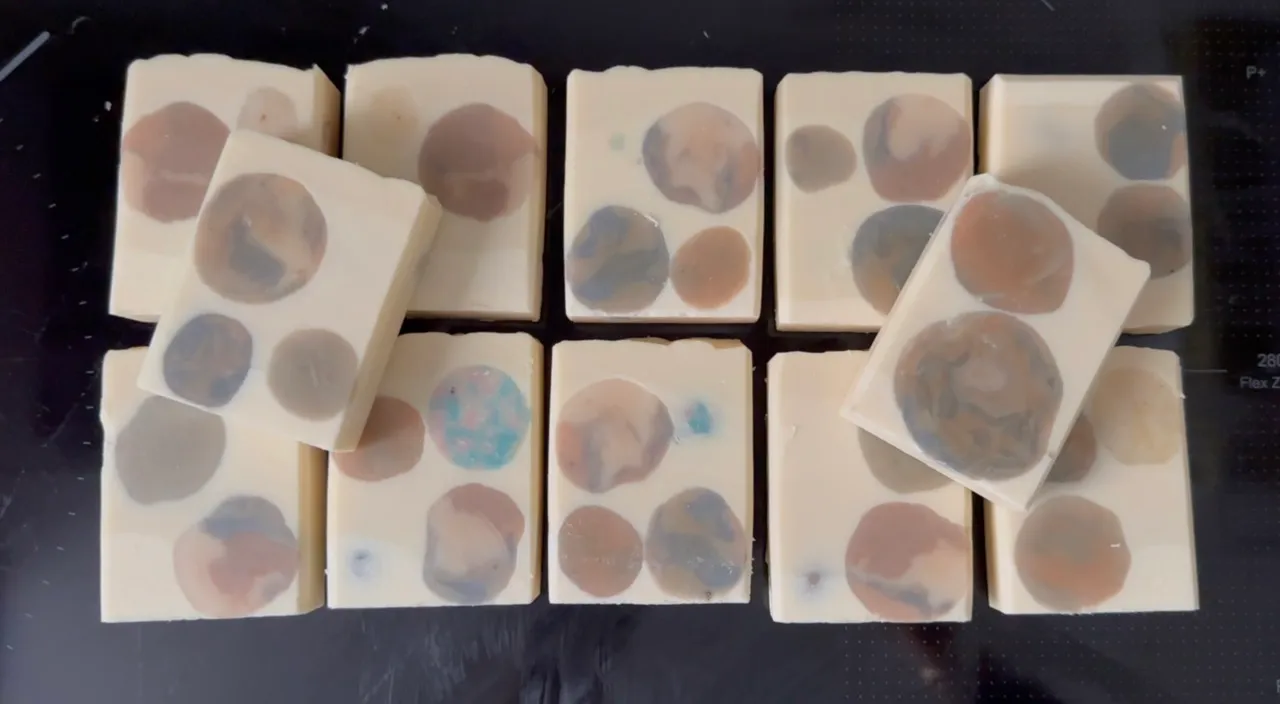
Soap scraps: I am left with soap scraps almost every time I make a soap. I shared a formula for whipped sugar scrub from soap scraps. In this post, I am sharing another way to use your soap scraps, this time using them in a new soap and making the soap design using the scraps.
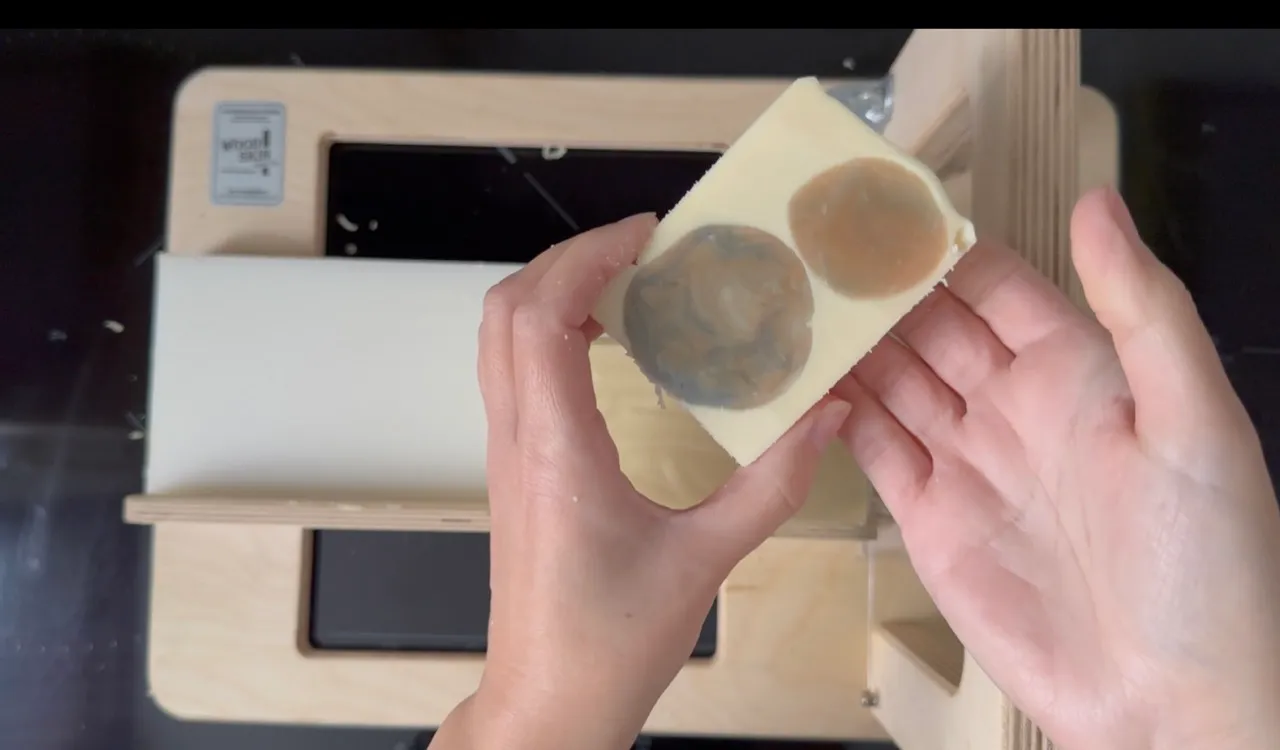
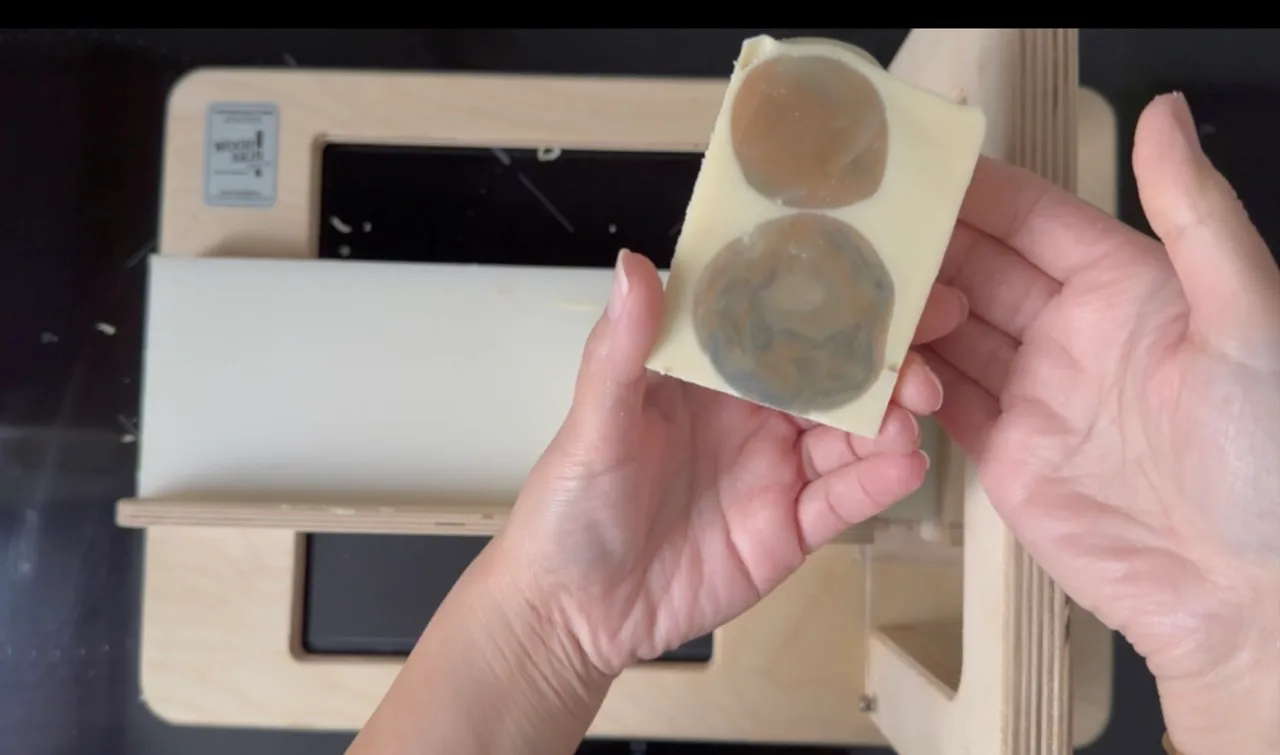
When trimming the soap ends, which we usually do a day or two after making the soap, I collect all the scraps and tighten them together to create soap balls. To make the soap balls, I take some scraps and mash them together, then form a ball form.
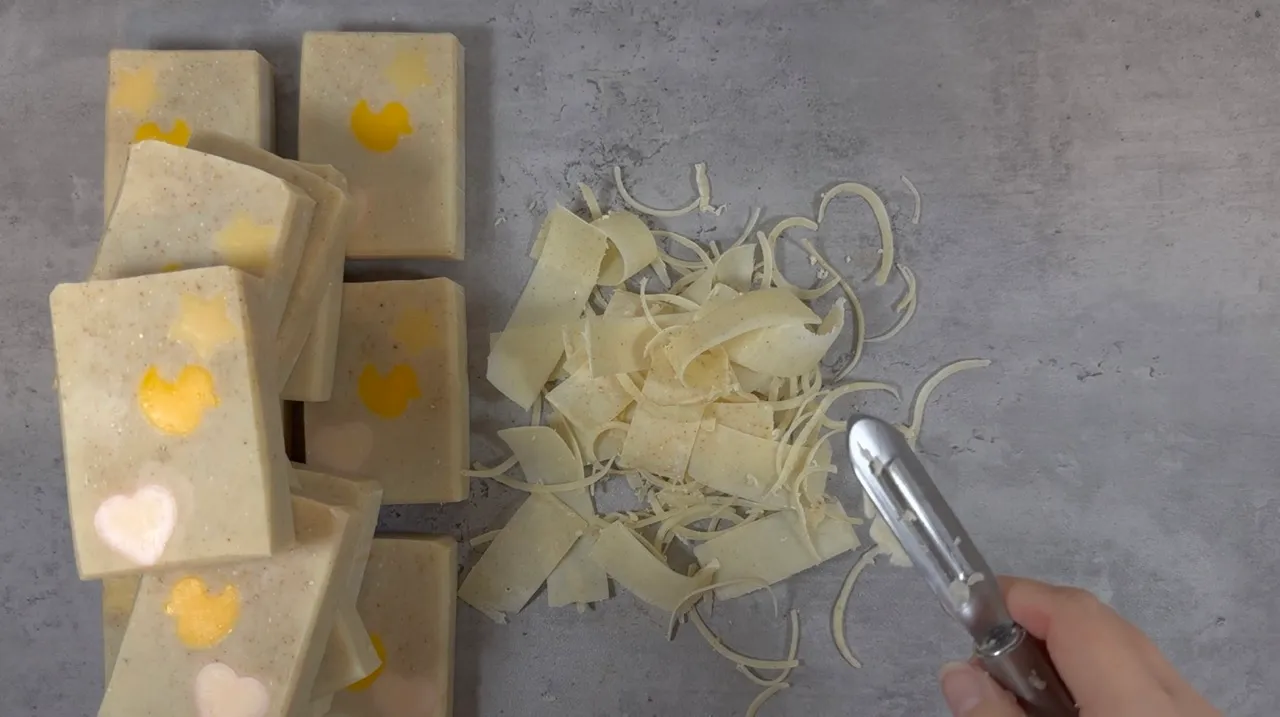
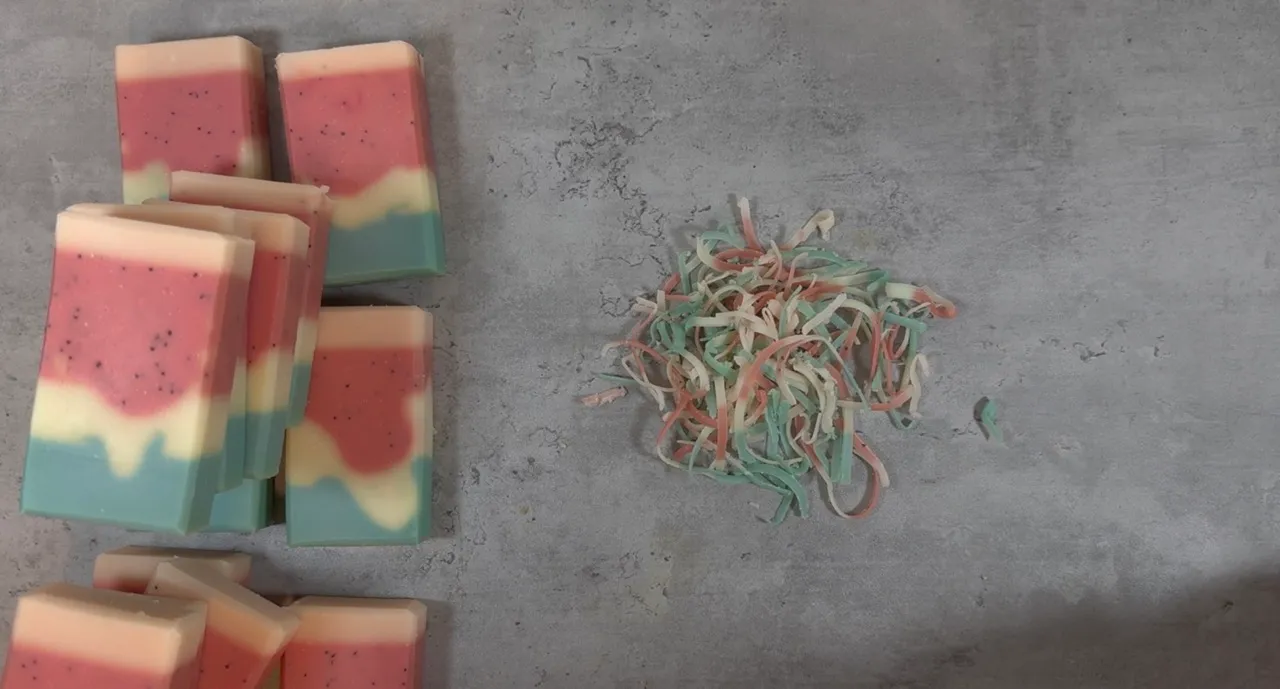
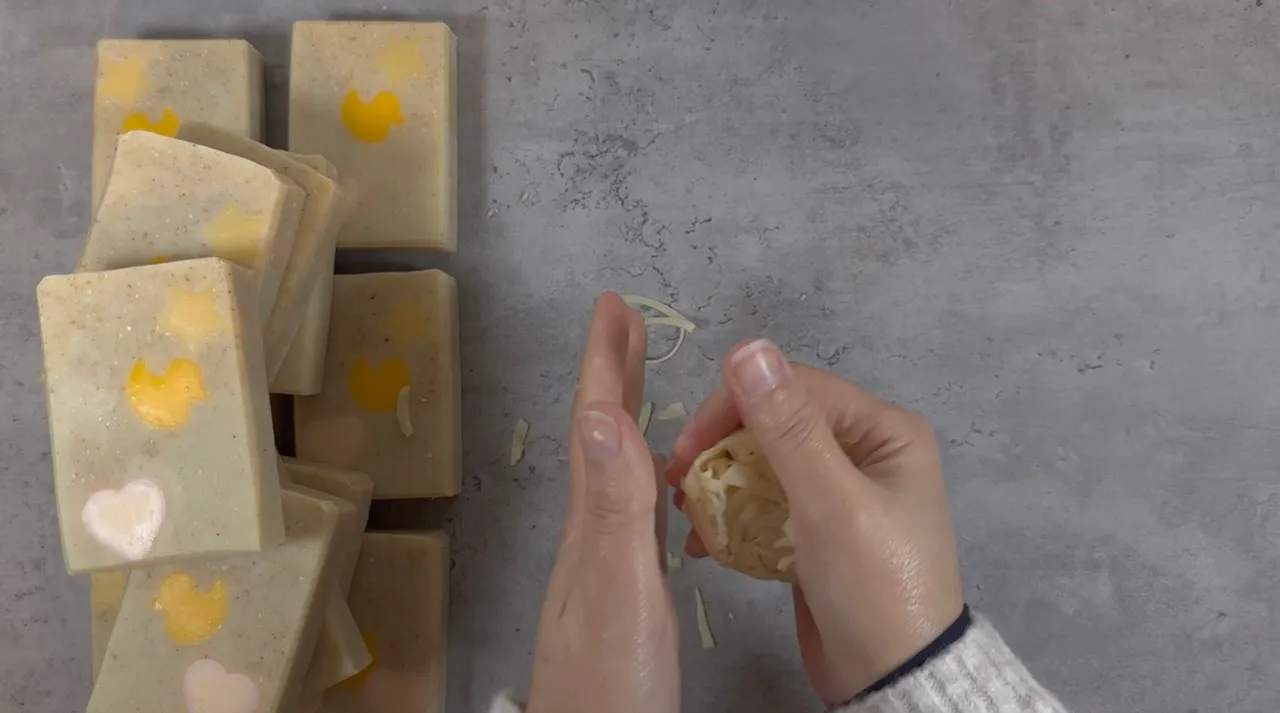
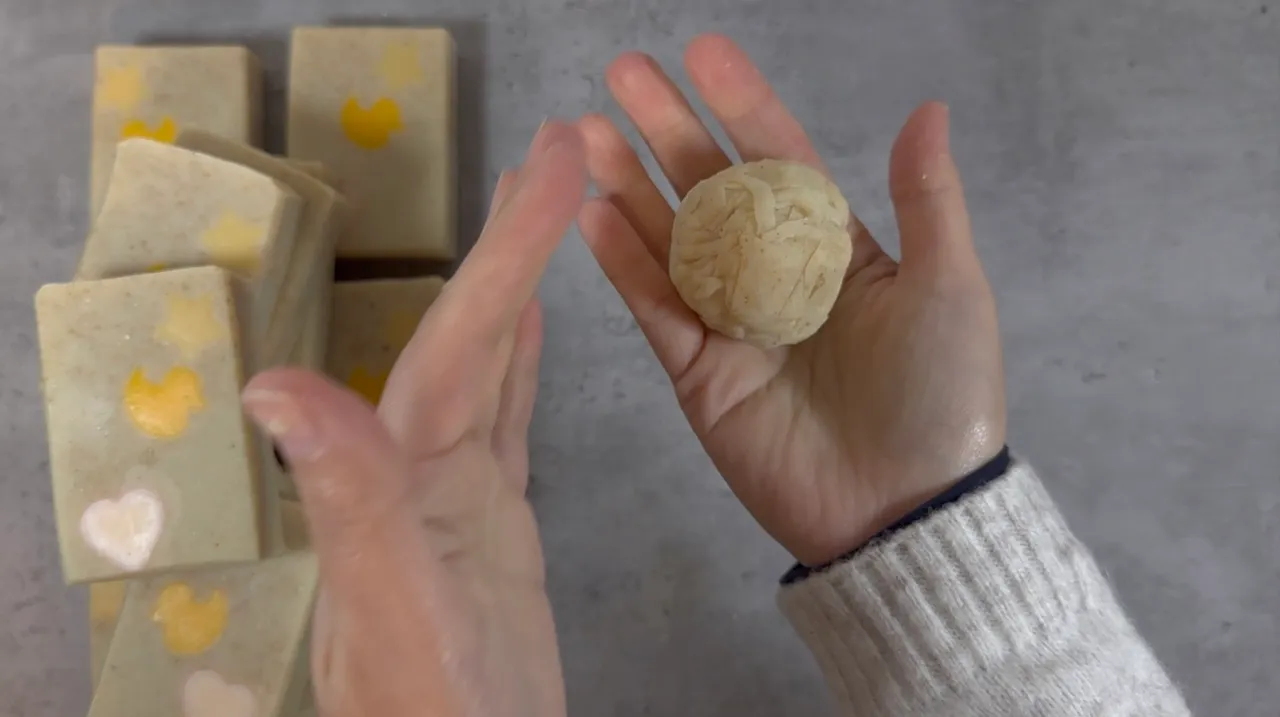
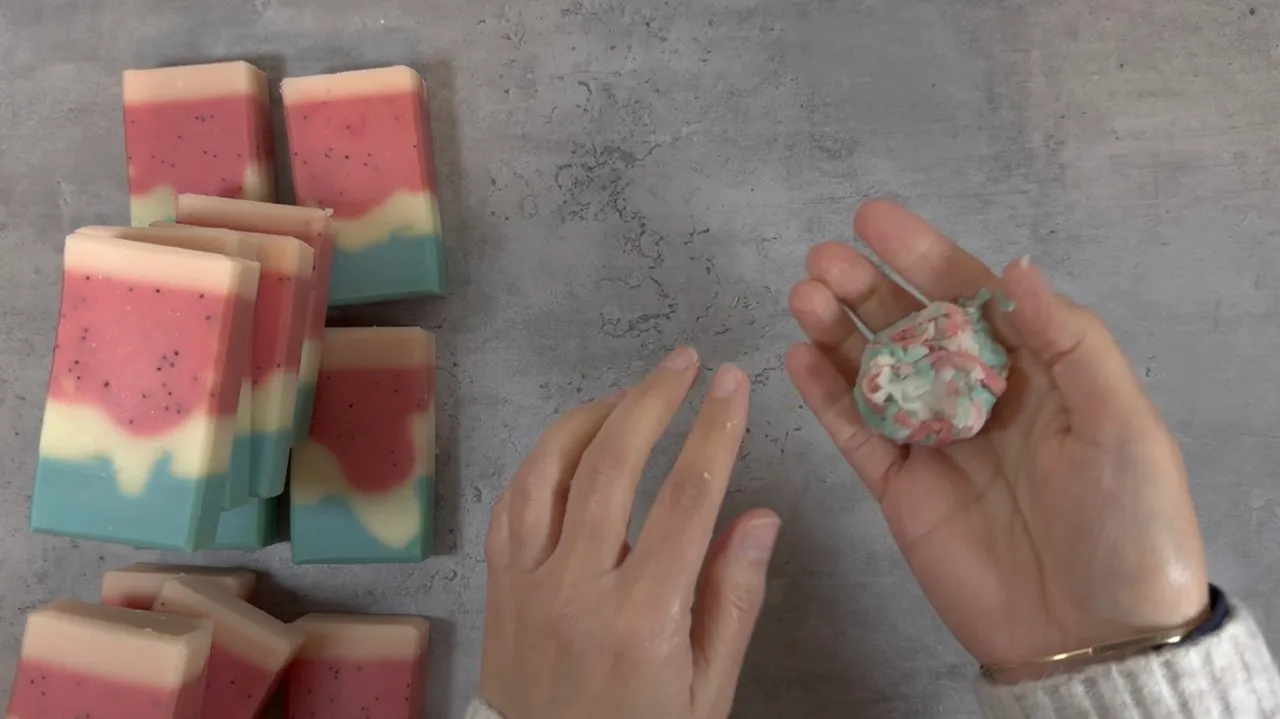
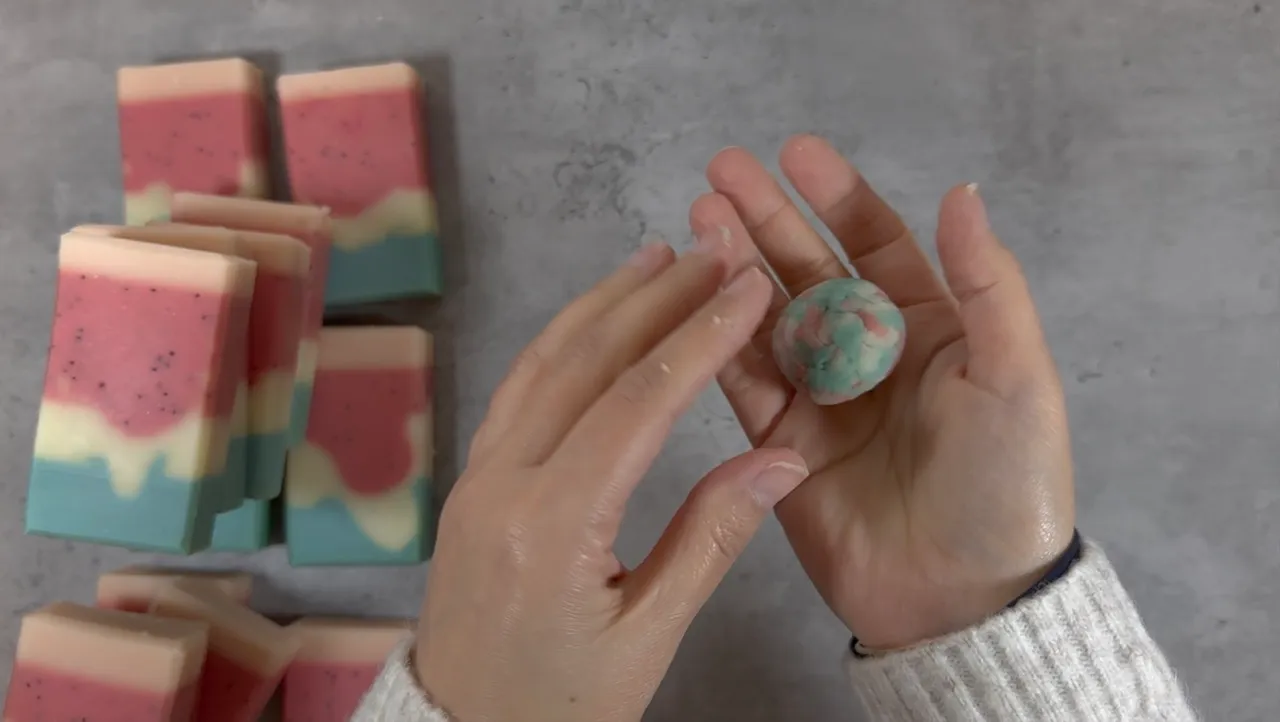
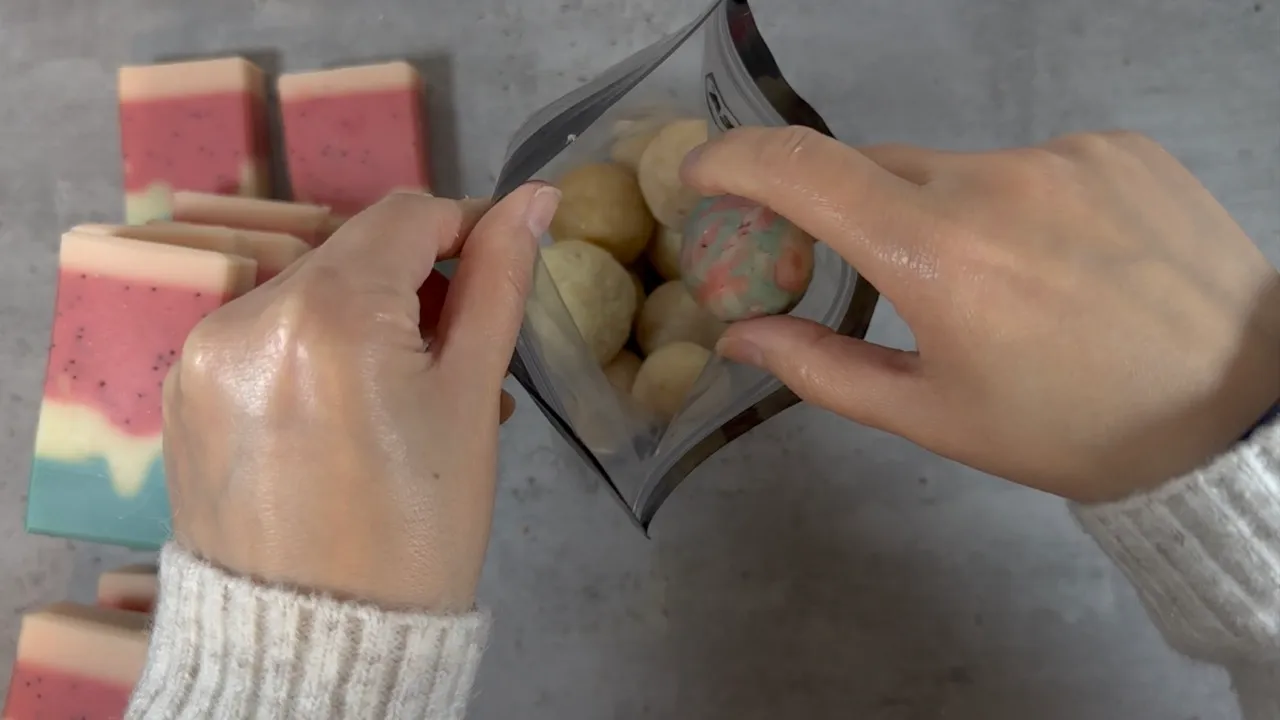
Every time I form a ball, it's from a different amount of soap scraps, which gives me many sizes of soap balls. Since the soap scraps have colors they form balls with different colors. This variety of colors adds to the final design.
I usually collect the scraps and leave them in a bag for later use. Once I have enough soap balls I make the new soap batter to combine with the balls.
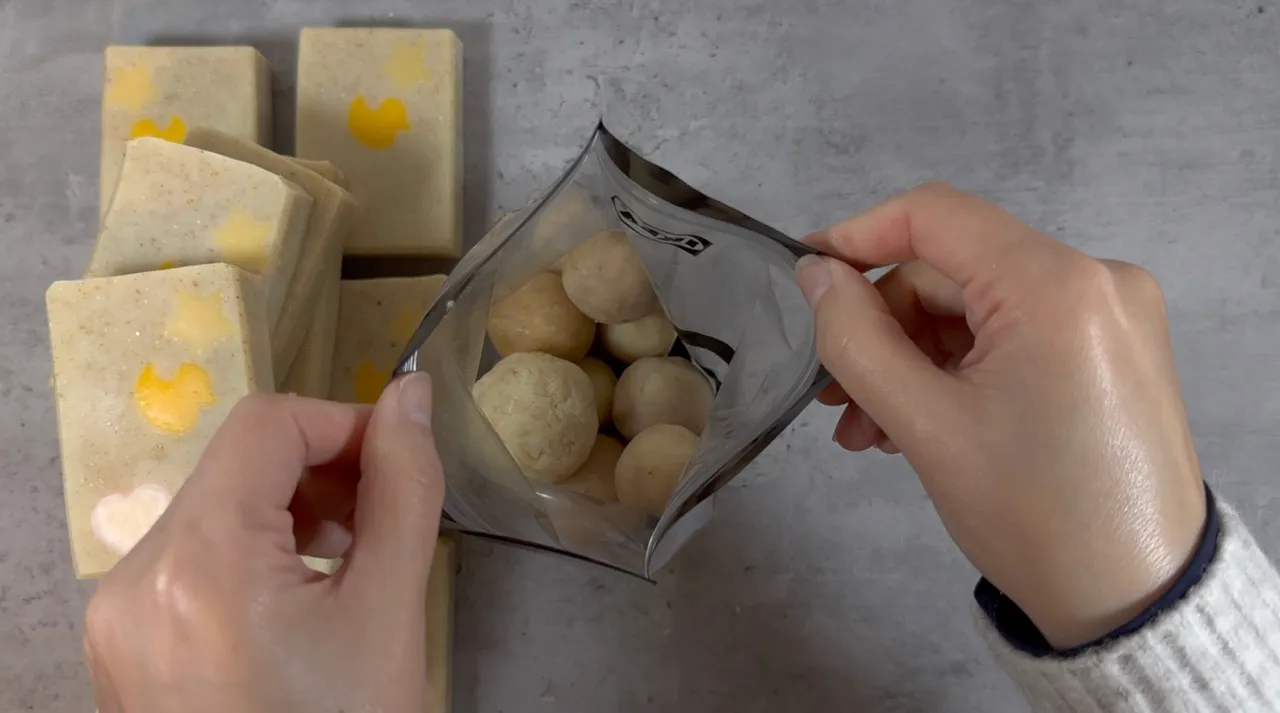
If you are new to soap making, please start by reading this post about soap for beginners.
To make this design, I used a skinny mold to have space for the soap balls. I usually make 1100-1200 grams for my skinny tall soap mold, but I only made 500 grams for this soap since the soap balls already have 600 grams.
You can use your regular soap recipe and adjust the amounts according to the balls you will use in the soap.
I am sharing the recipe for 500g of oil weight, which I have used for this soap.
Recipe for 500g oils:
Ingredients:
- Distilled water 142g
- Lye (sodium hydroxide) 70g
- Coconut oil 170g
- Cocoa butter 50g
- Olive oil 150g
- Sunflower oil 100g
- Castor oil 30g
- Essential oils 15g (optional)
*** super fat 7%
*** Lye concentration 33%
*** Essential oil blend: Patchouli, pine and jasmine. You can use any essential oils blend you like (make sure to use them according to the recommended usage rate).
Method:
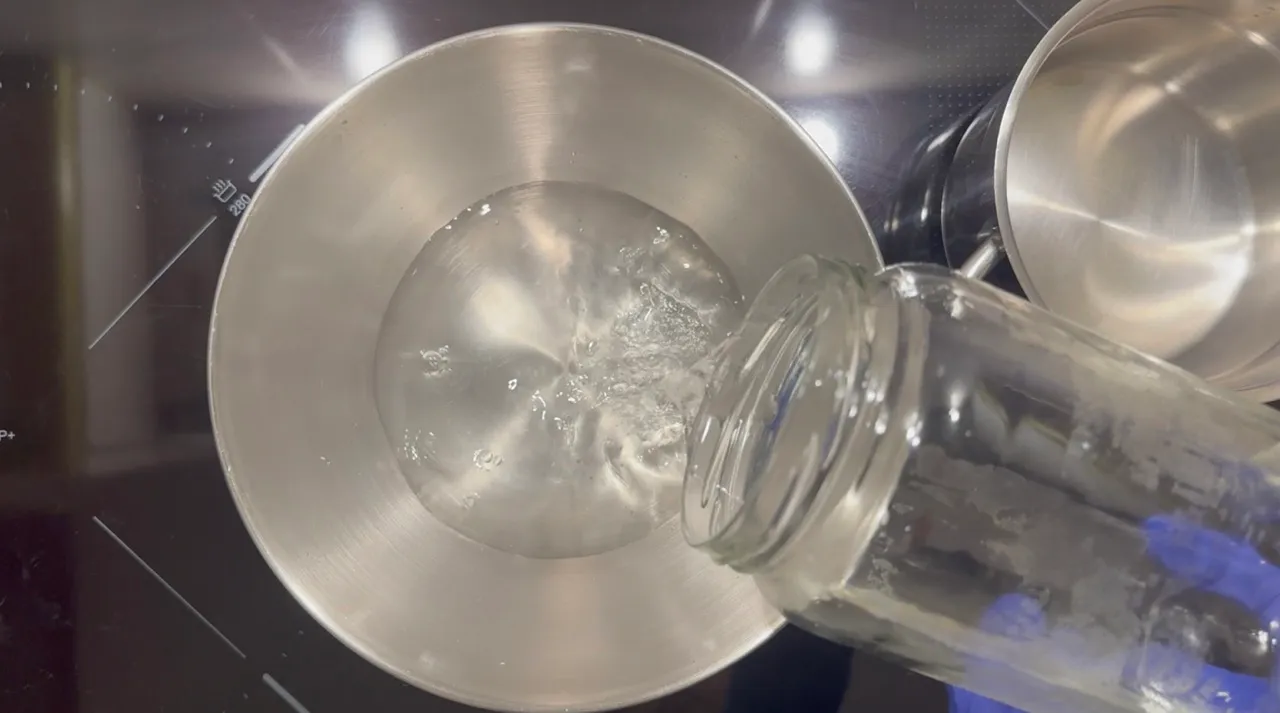
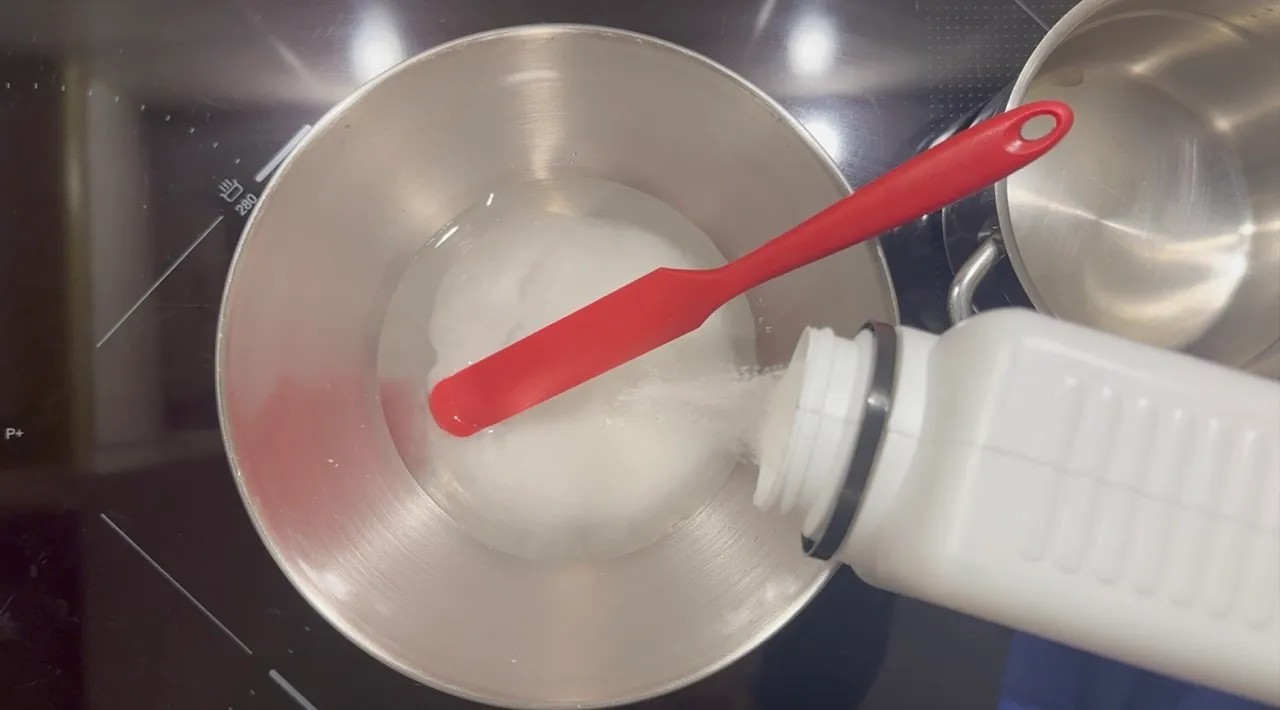
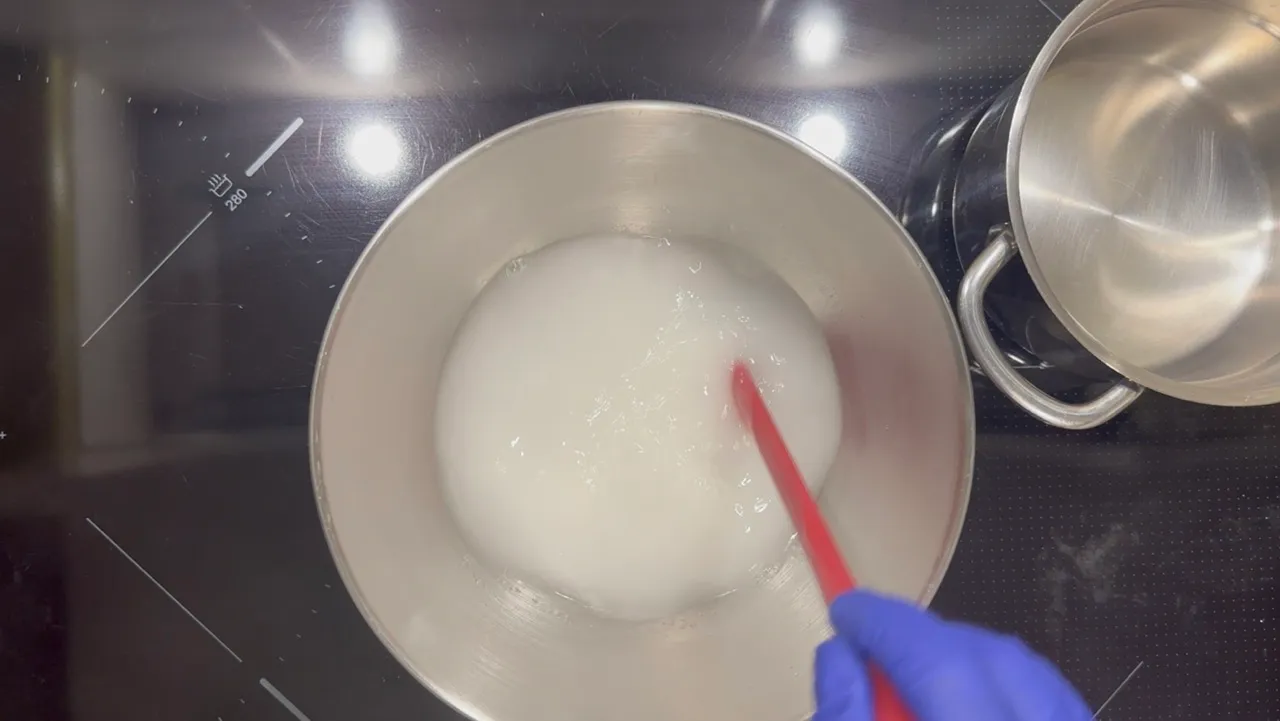
- In a heat-resistant container, add the distilled water. Before adding the lye, make sure to protect your skin and eyes. Add the lye to the water and stir to dissolve. Set aside to cool down.
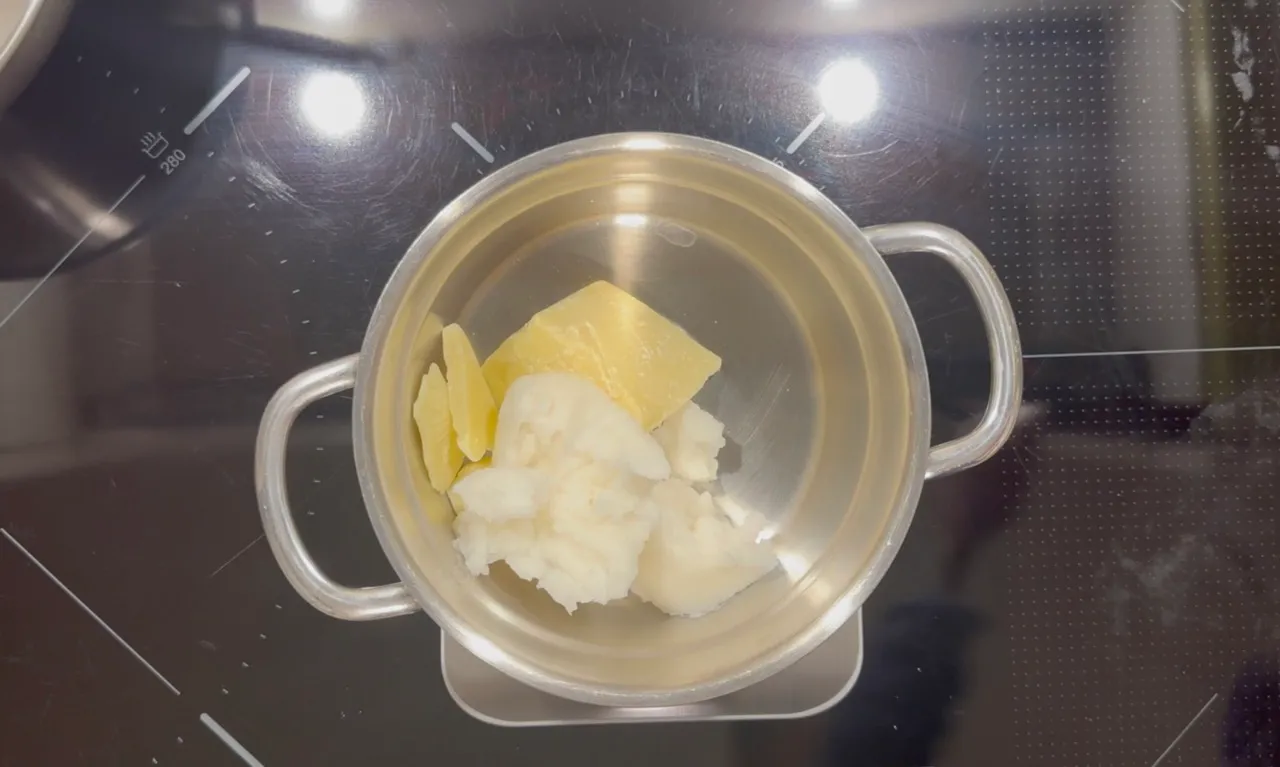
- Into a pot, Add the cocoa butter and coconut oil. Place the pot on low-medium heat to melt.
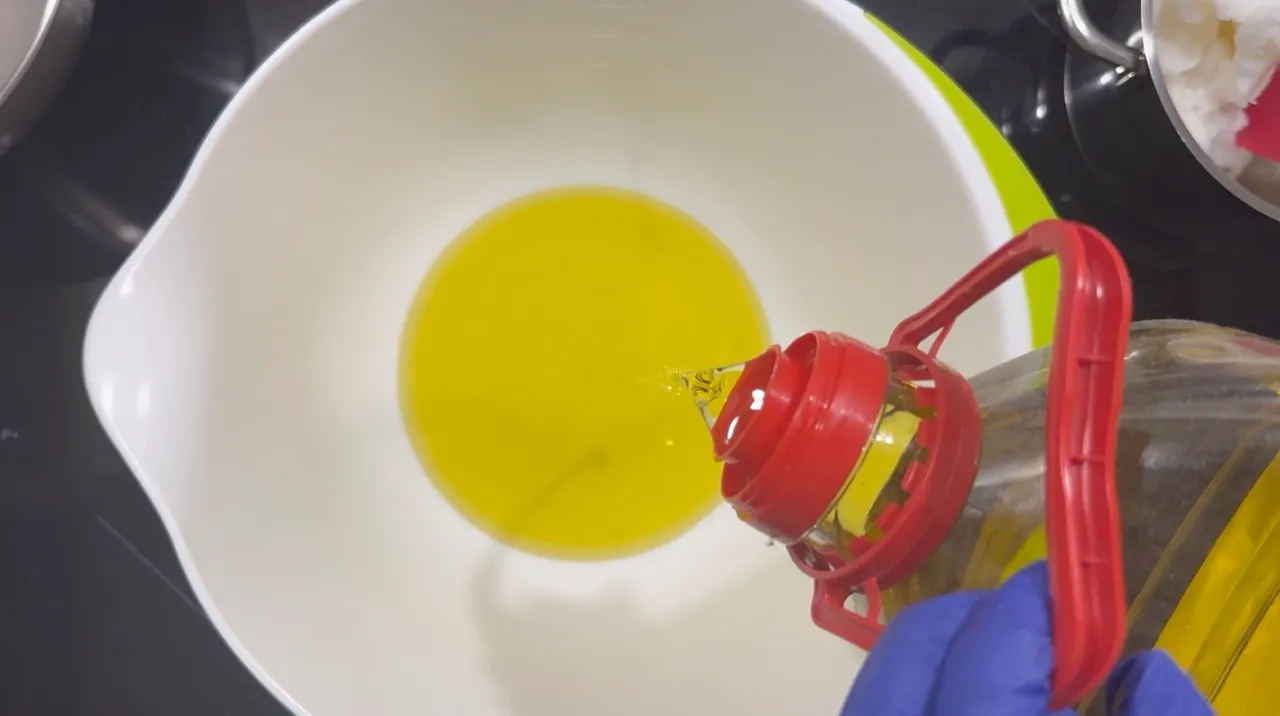
- In another container, add the liquid oils.
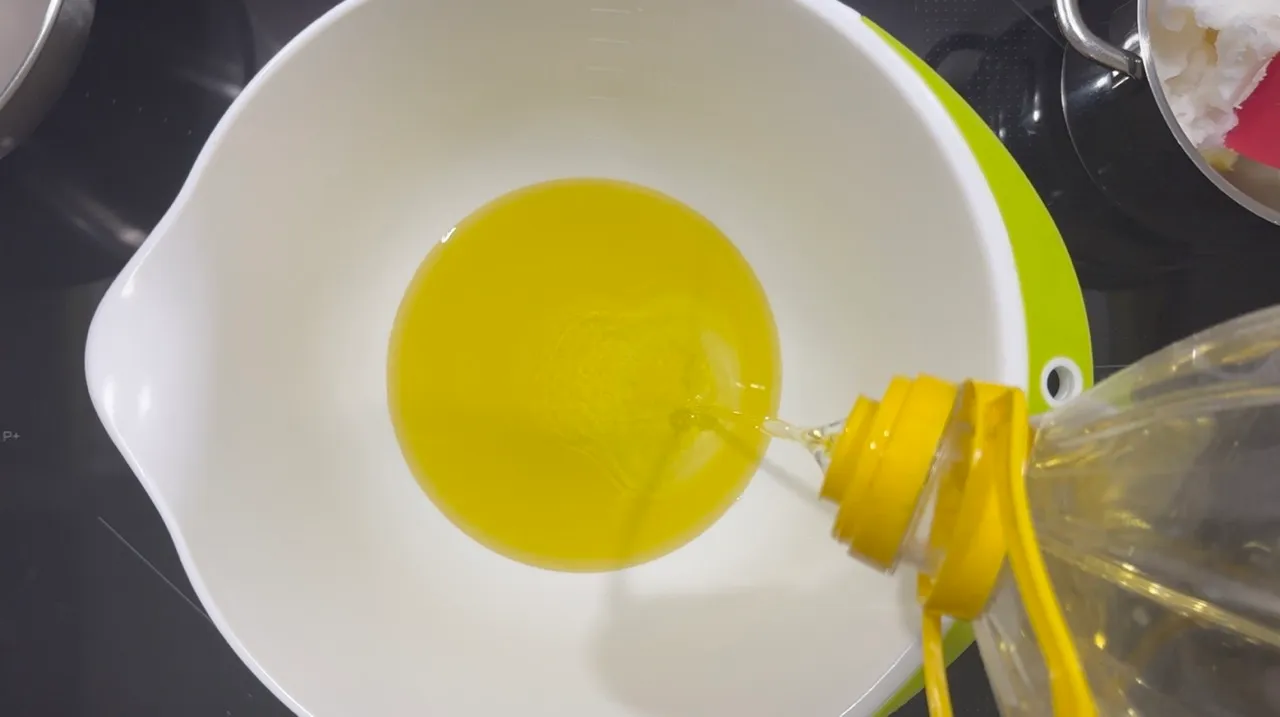
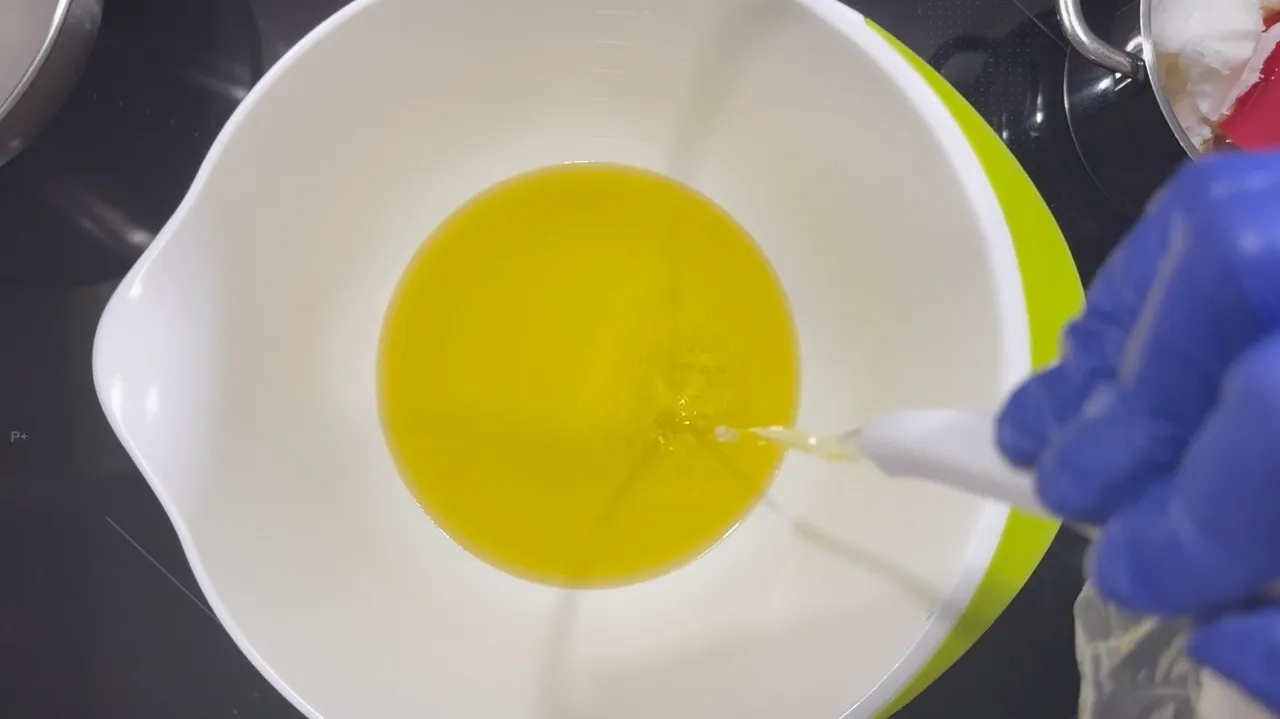
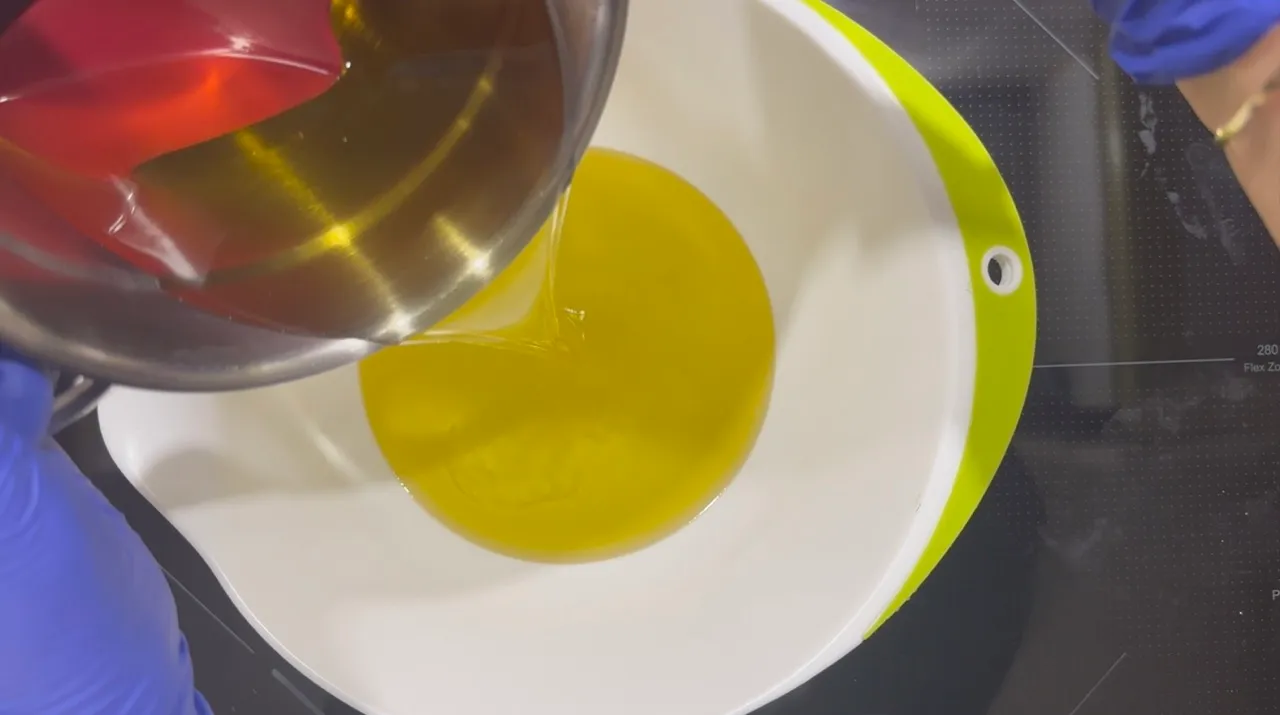
- When the coconut oil and cocoa butter are melted, add them to the liquid oils.
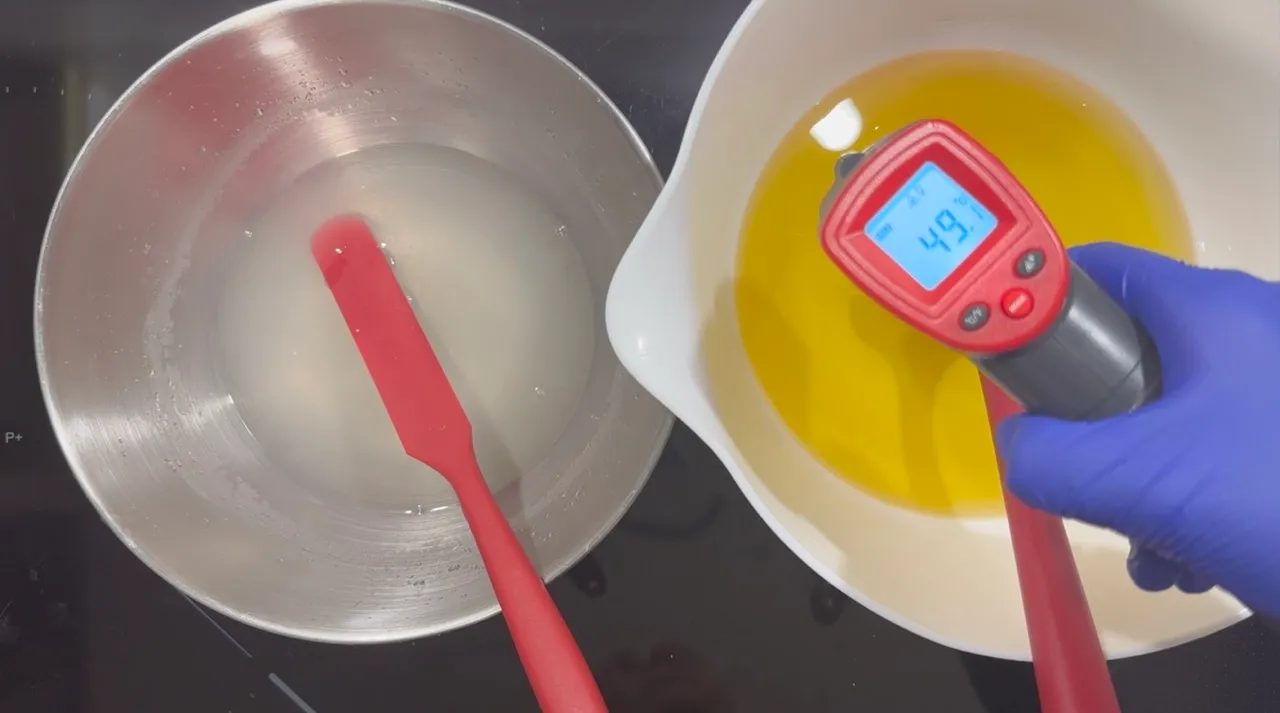
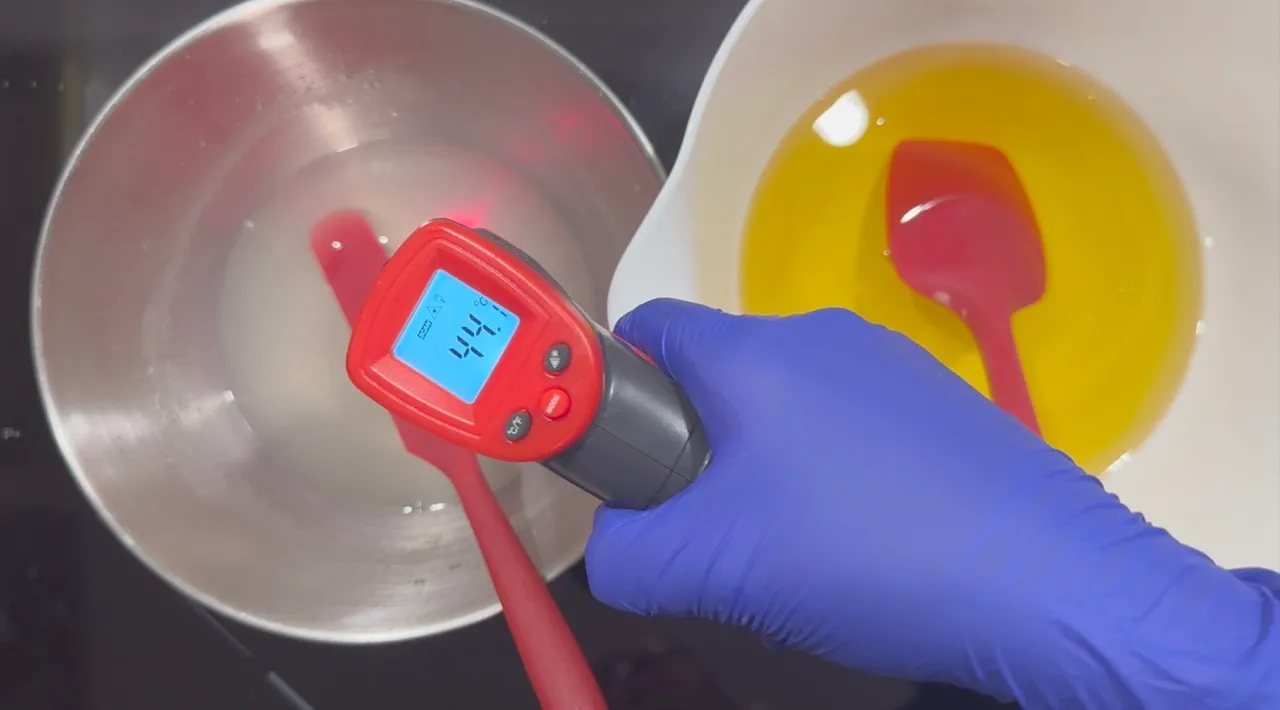
- Check the temperature of the lye solution and the oils. You can read more about it in the post about soap for beginners.
- Pour the lye solution into the oils and use an immersion blender to emulsify till light trace.
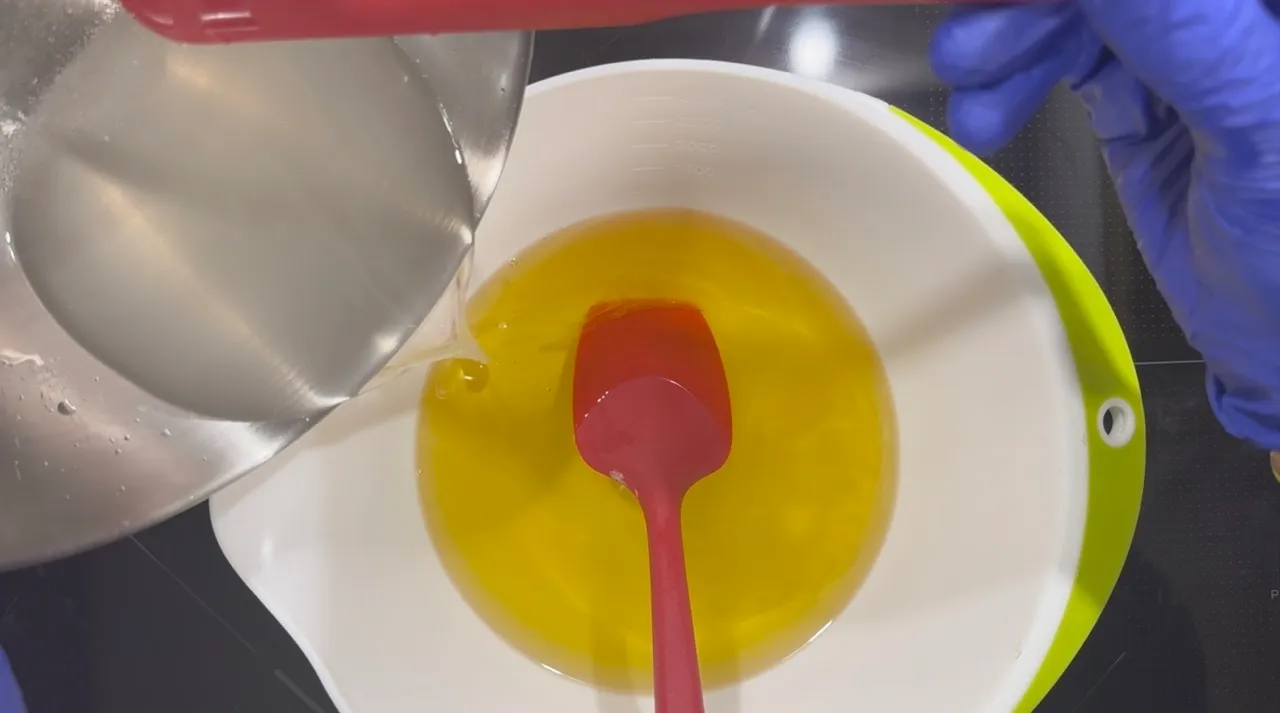
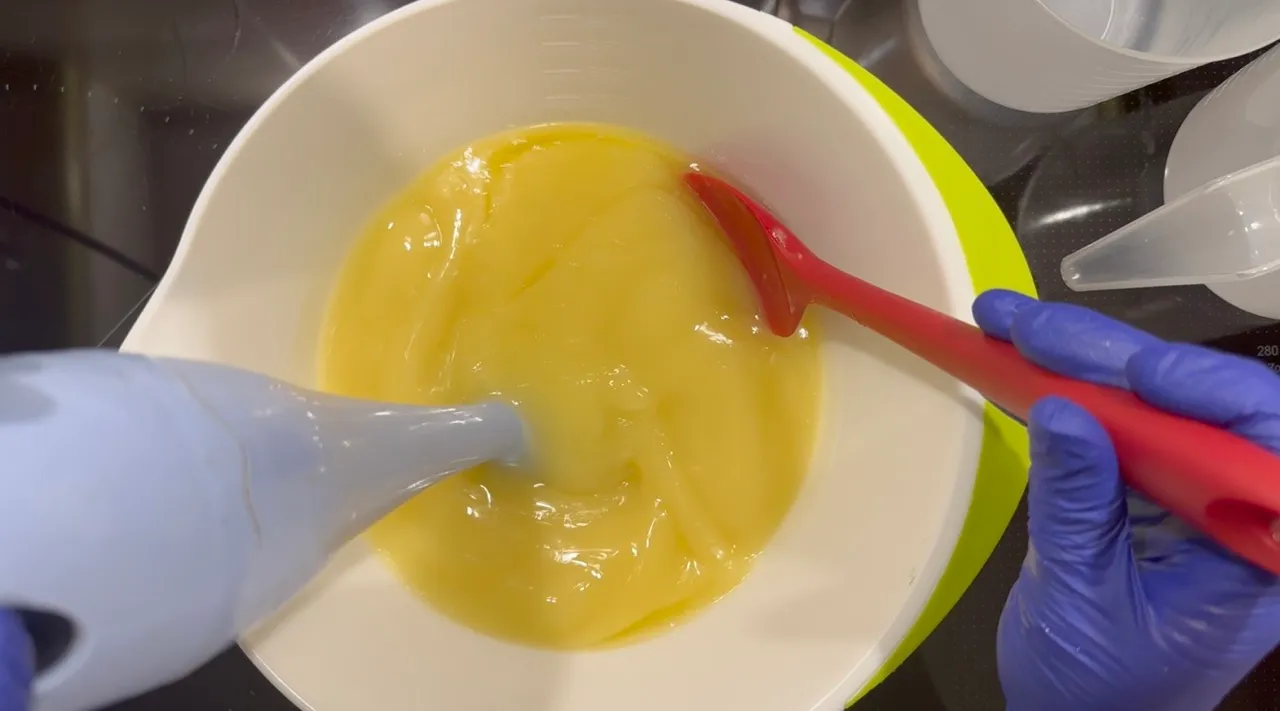
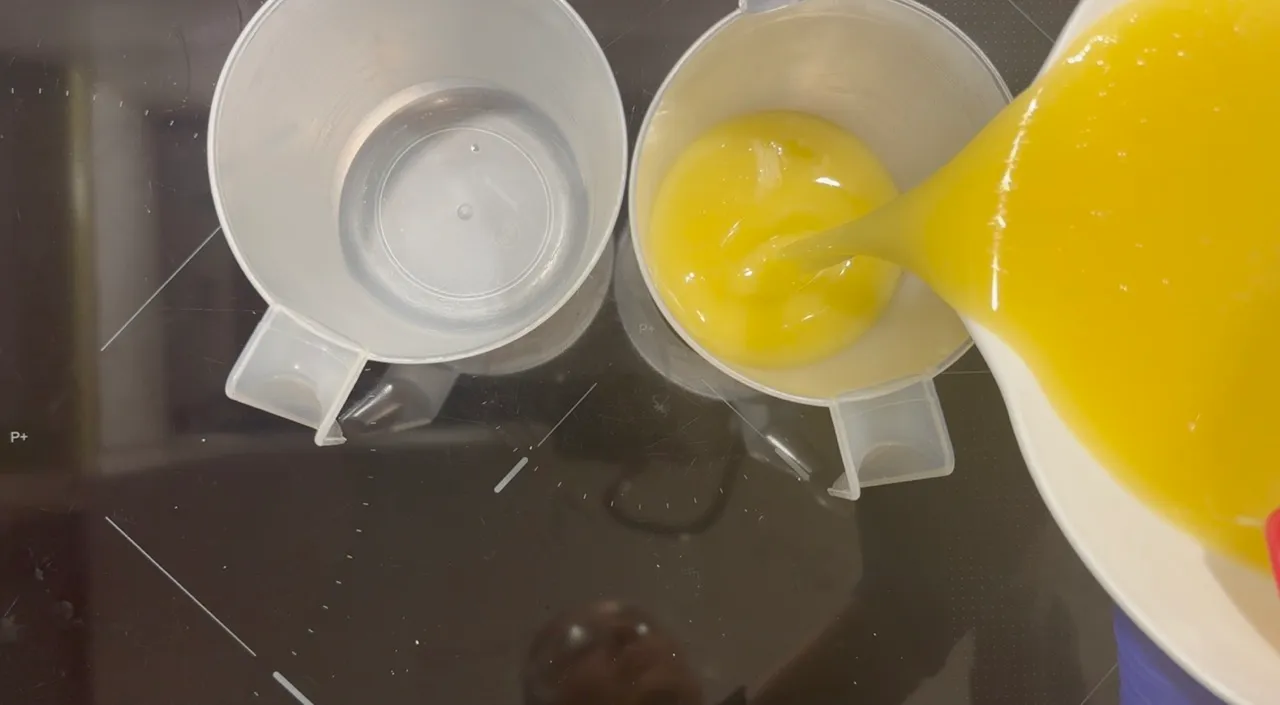
- Pour 1/3 of the soap batter into another container and add 1/3 of the essential oil blend. I used more pulses with the immersion blender to reach a medium trace before pouring this first layer into the mold.
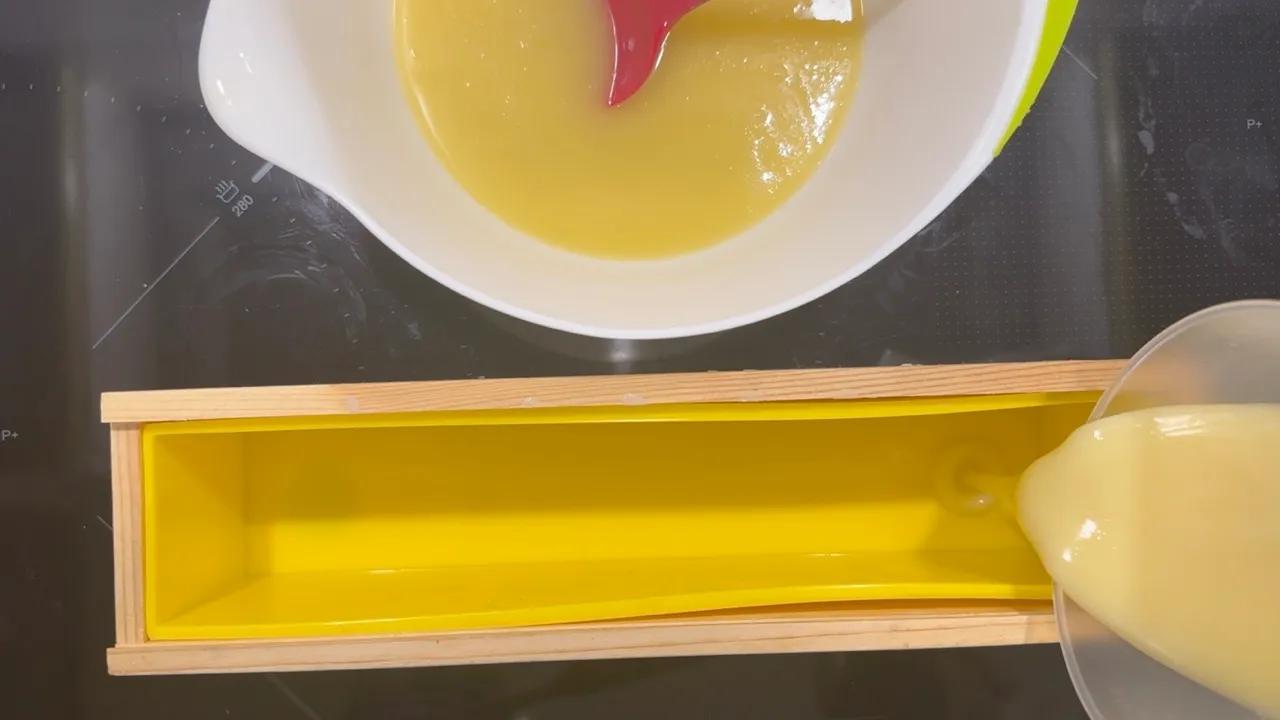
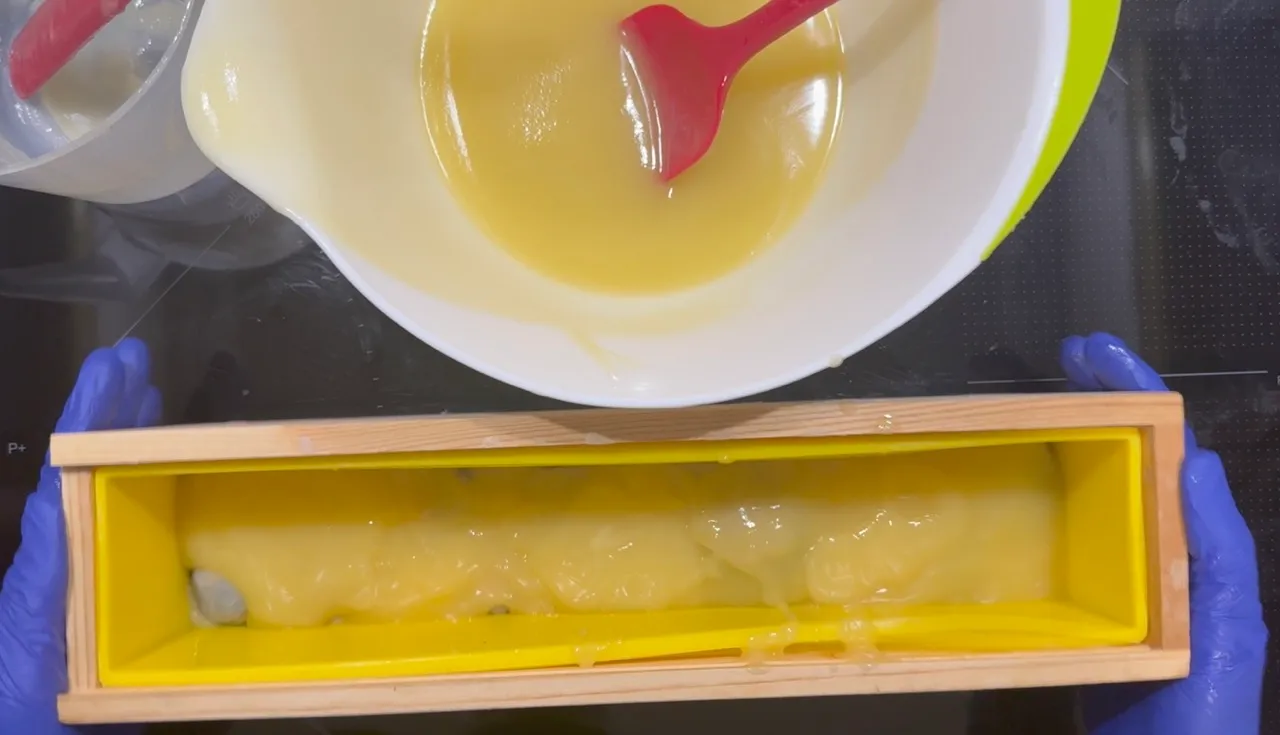
- Pour the first layer on the bottom of the mold and tap the mold to release air bubbles.
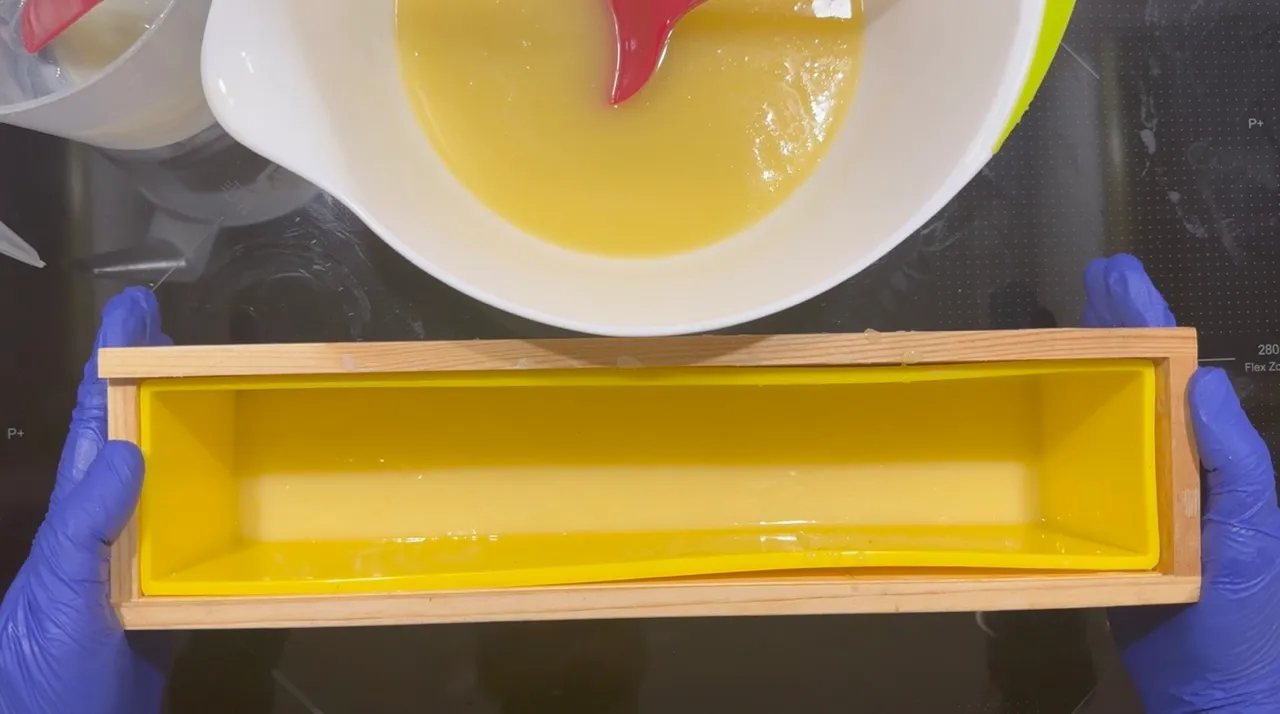
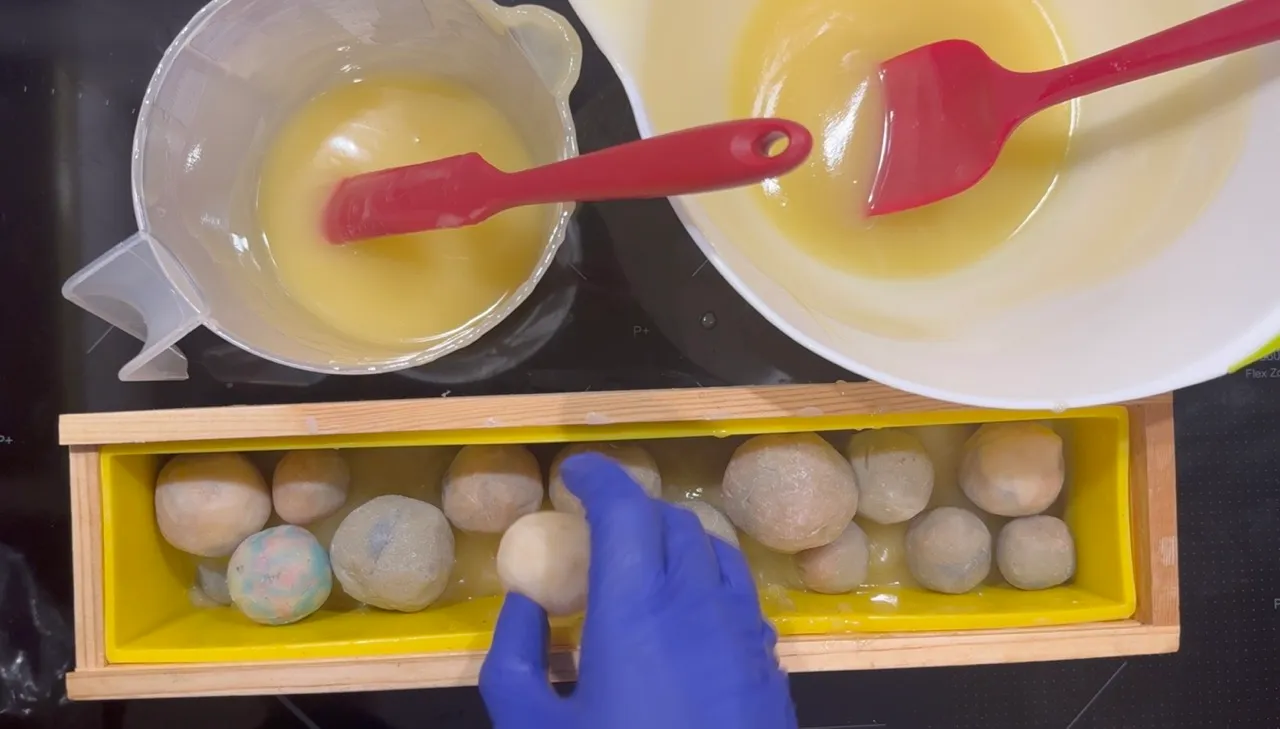
- Place soap balls on the first layer of the soap batter.
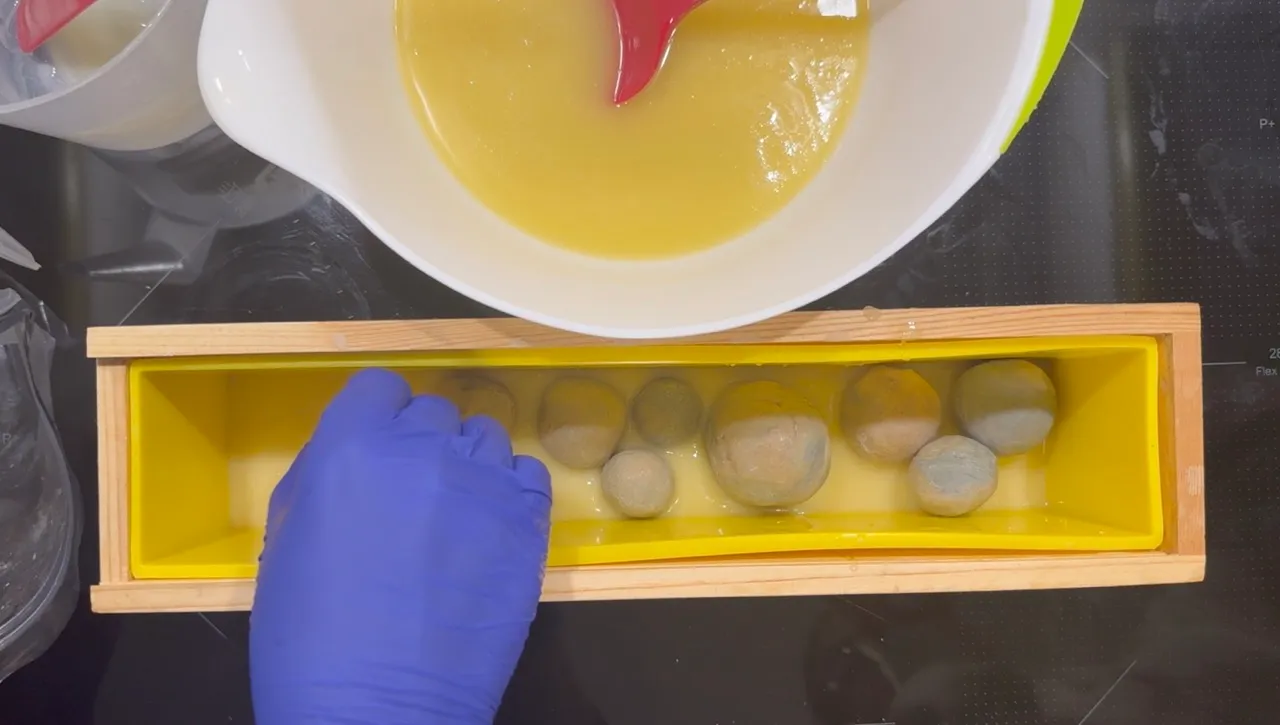
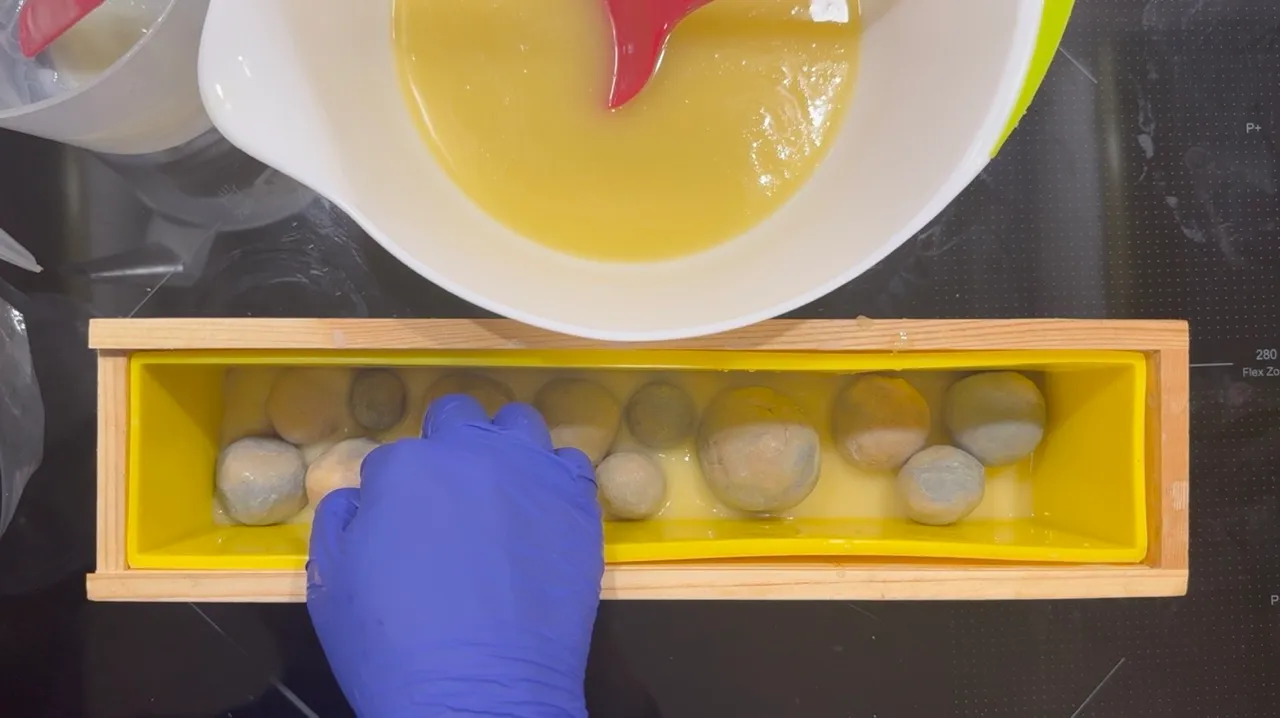
- Prepare the second layer of batter (add the essential oils) and pour it on the soap balls. Tap to release air bubbles.
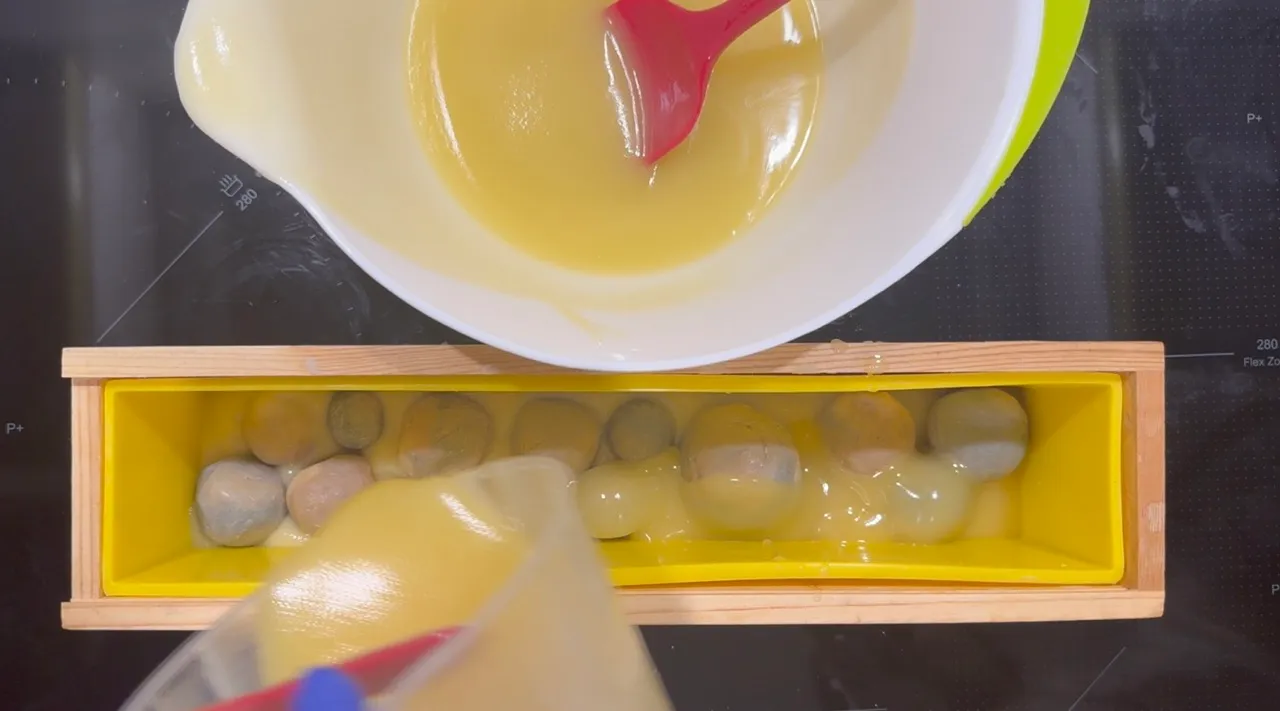
- Place a second layer of soap balls.
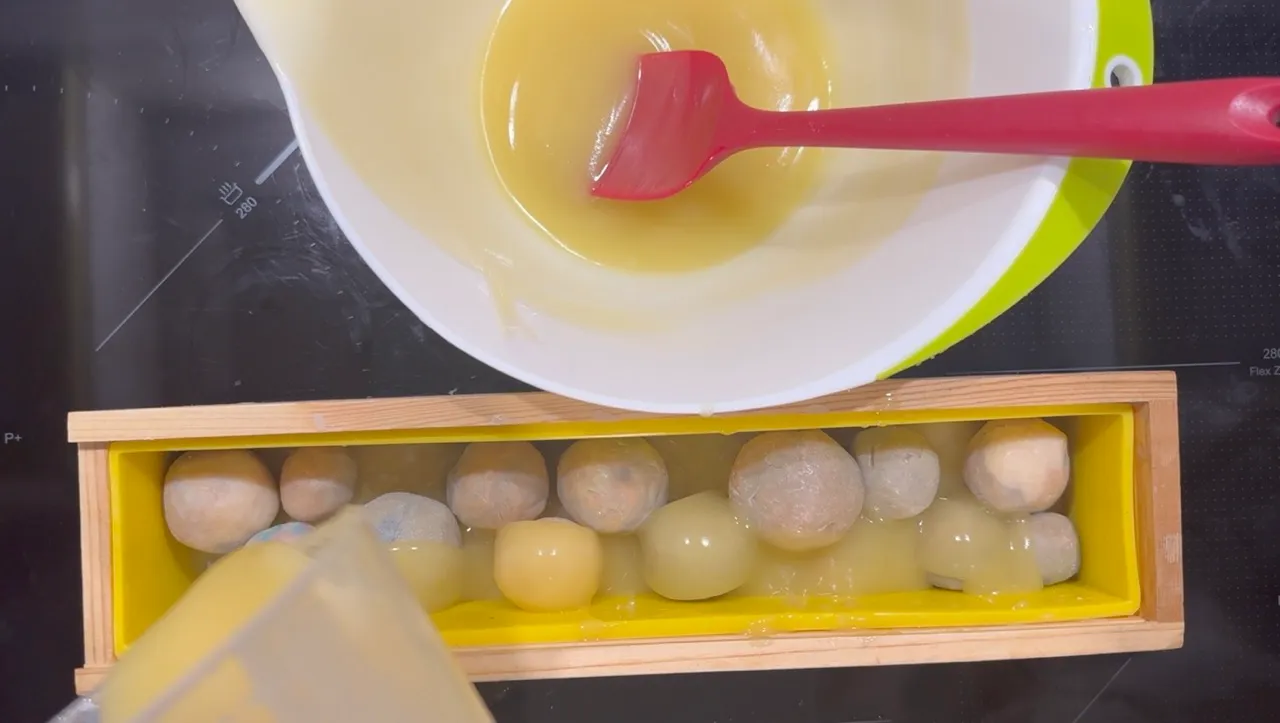
- Prepare the third layer of the soap batter and pour it on the soap balls to cover them. Tap to release air bubbles.
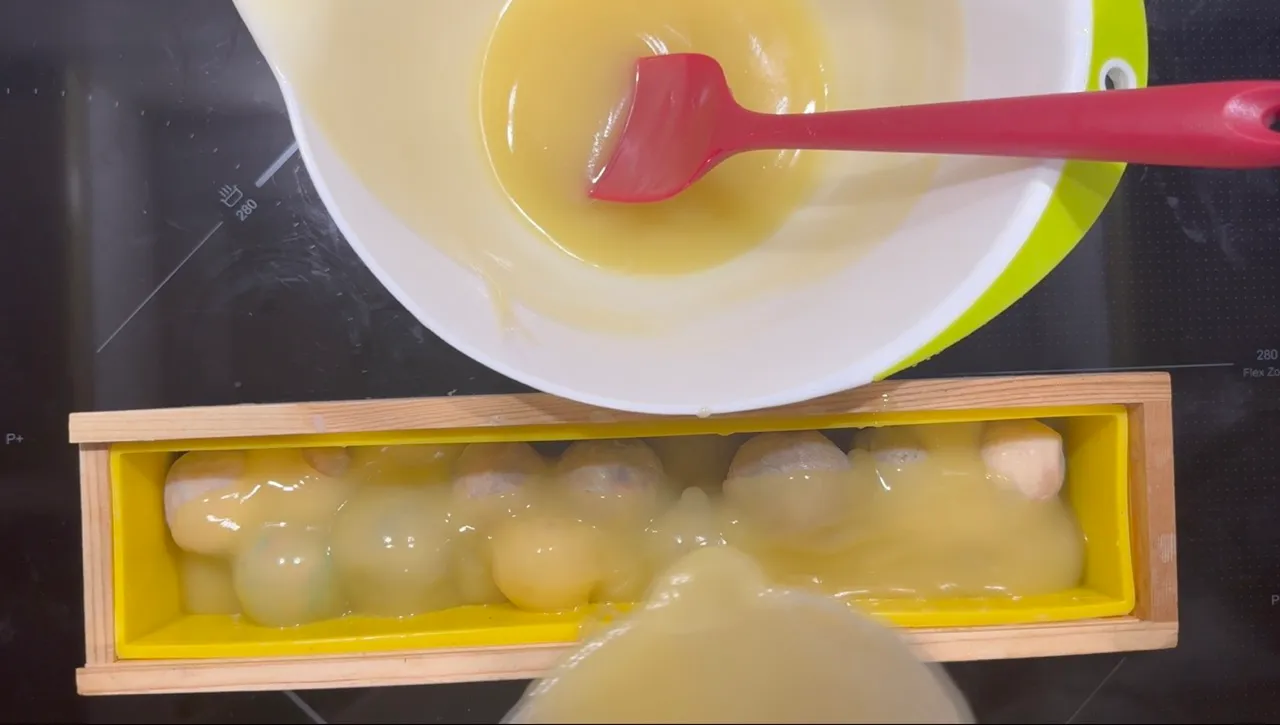
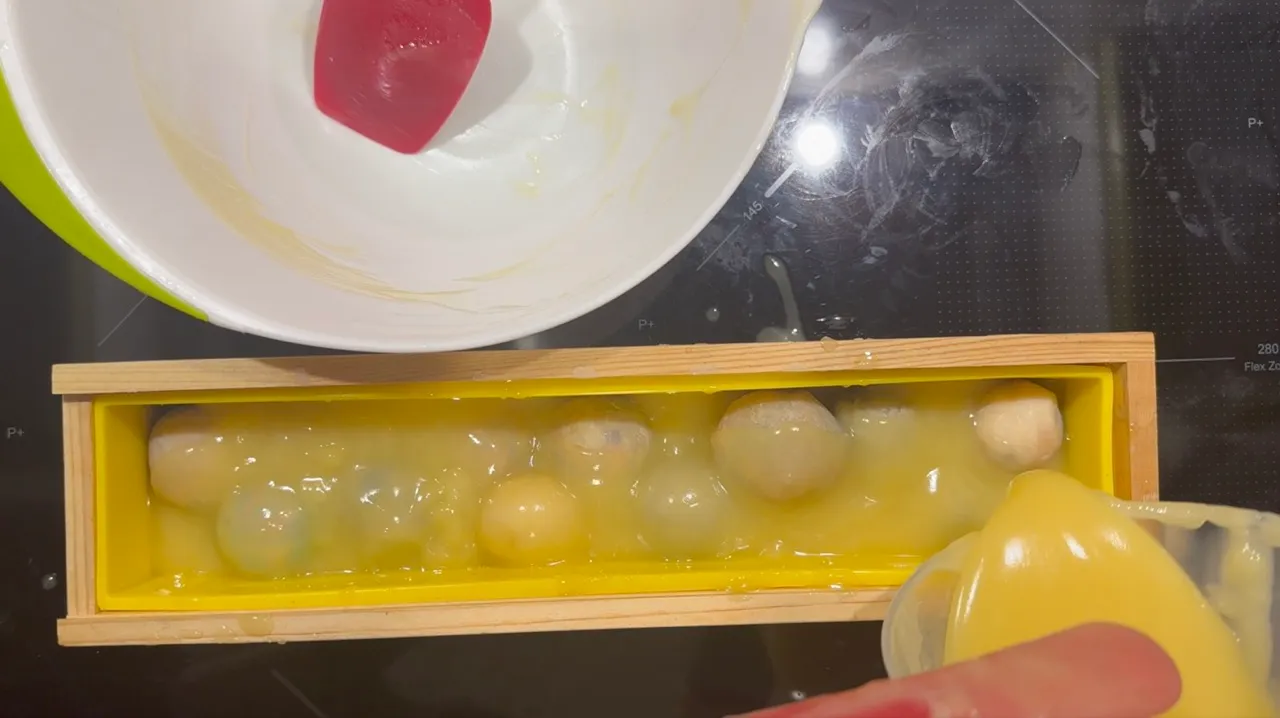
- Leave the soap for 24 hours before unmolding.
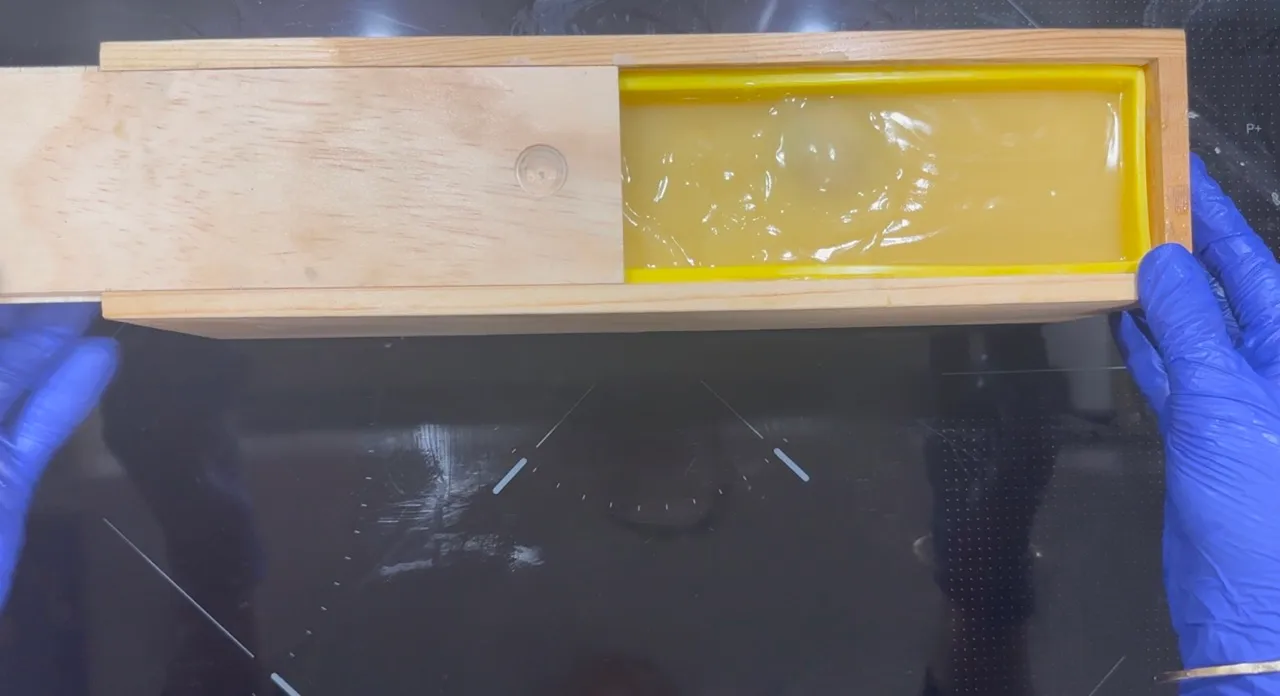
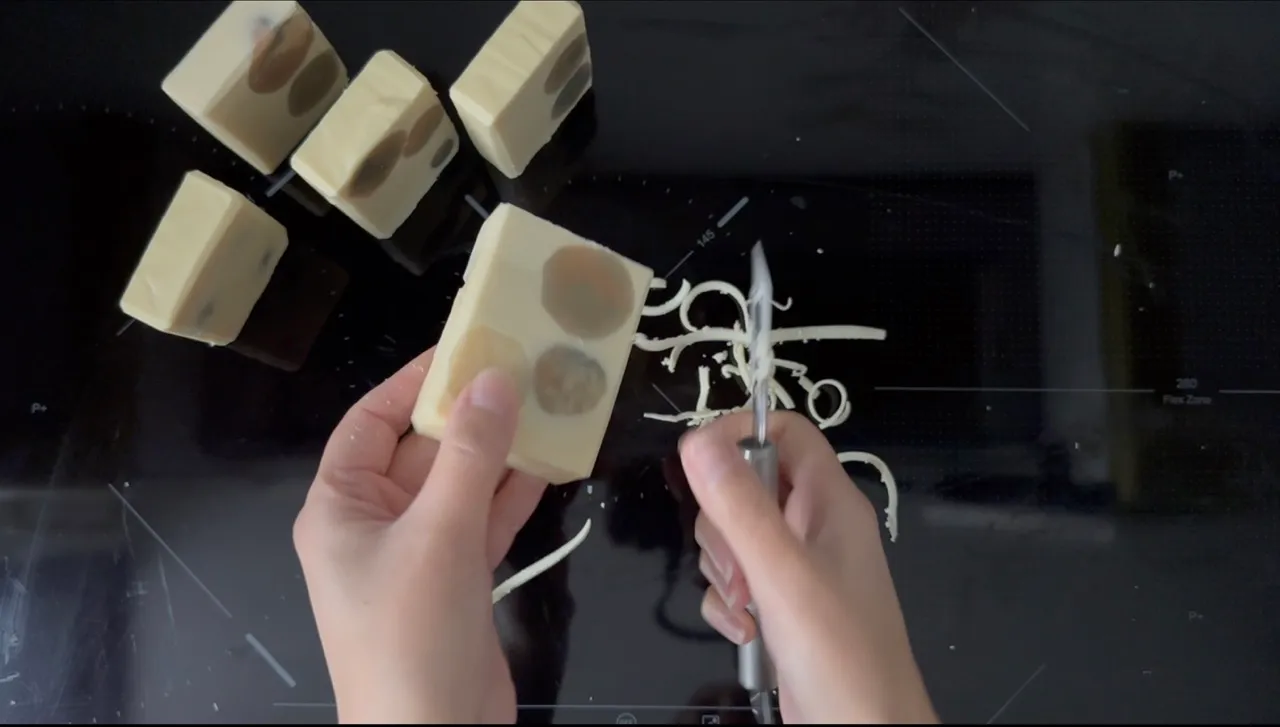
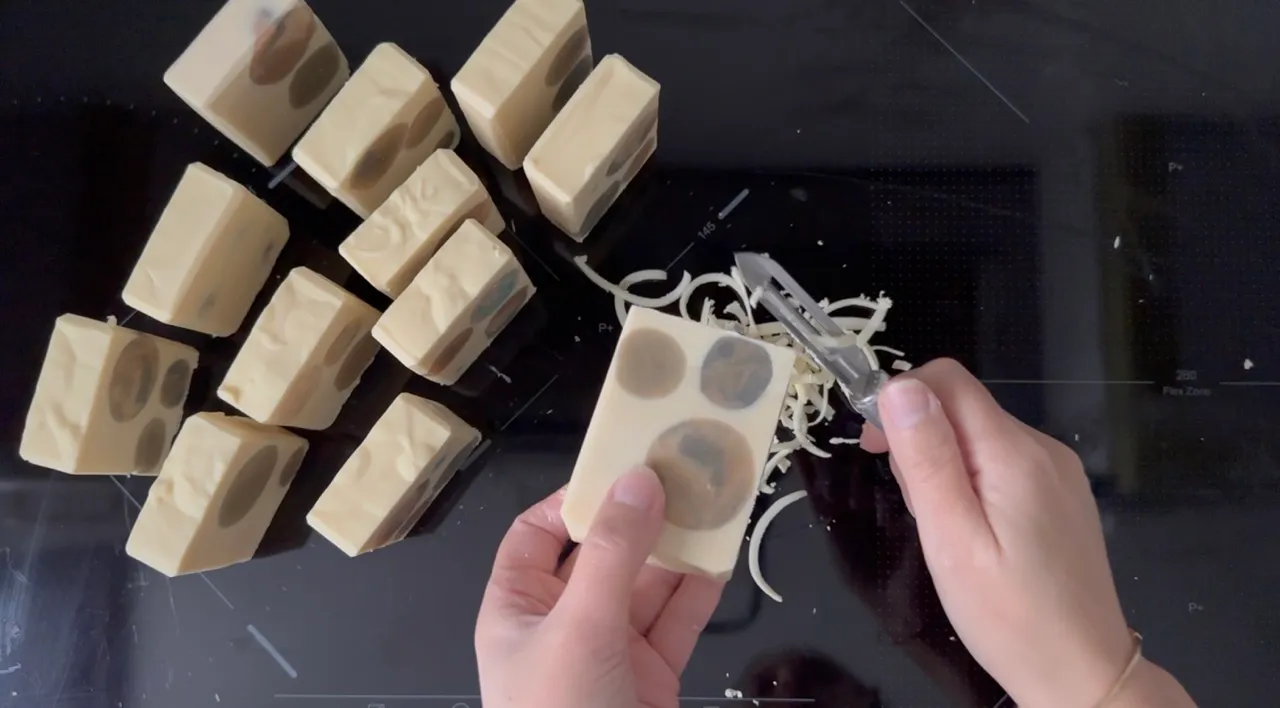
- Unmold the soap after 24 hours and cut into bars. If you want to trim the bars' edges, keep the new scraps for the future. Use them in this whipped sugar scrub from soap scraps.
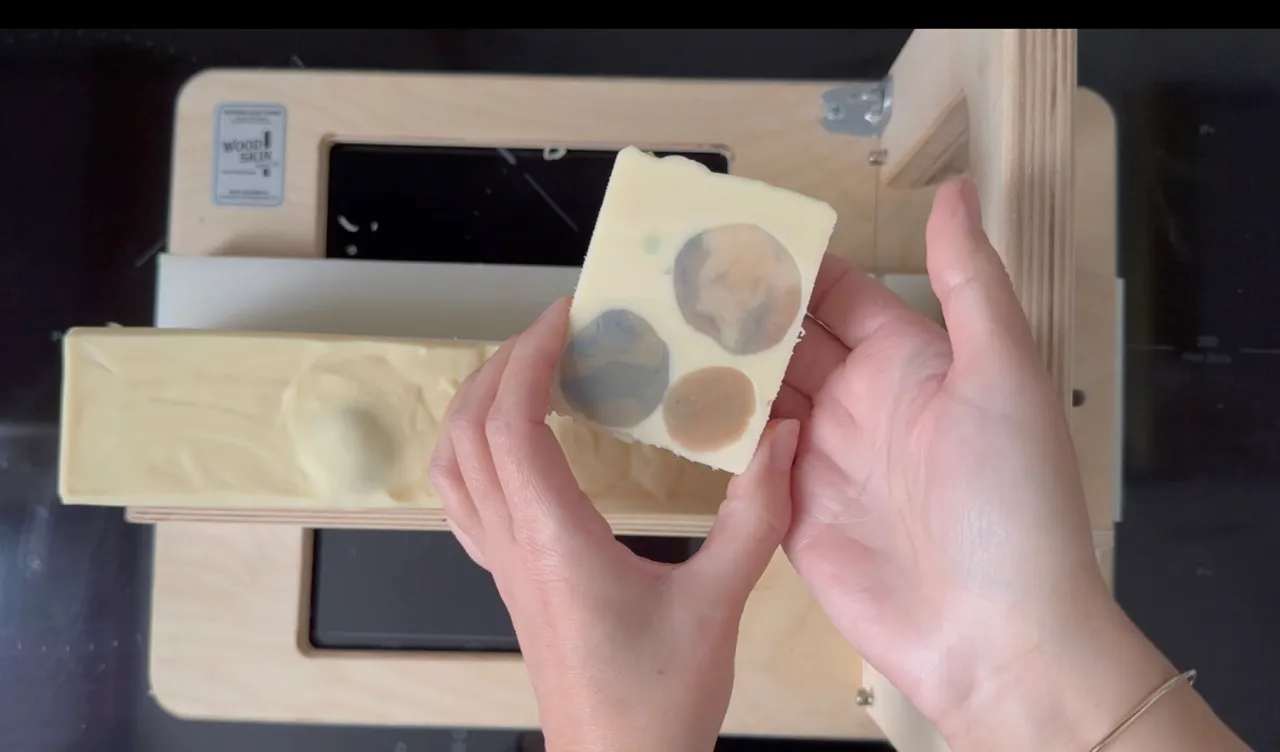
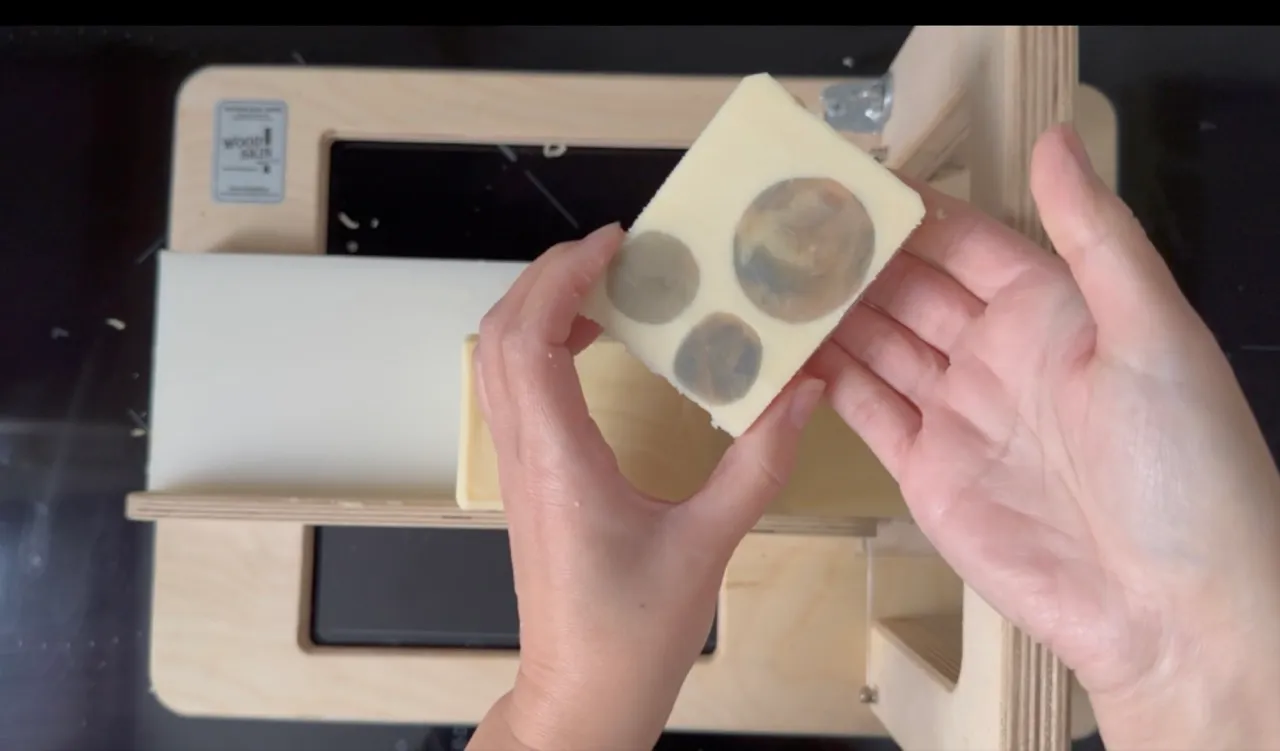
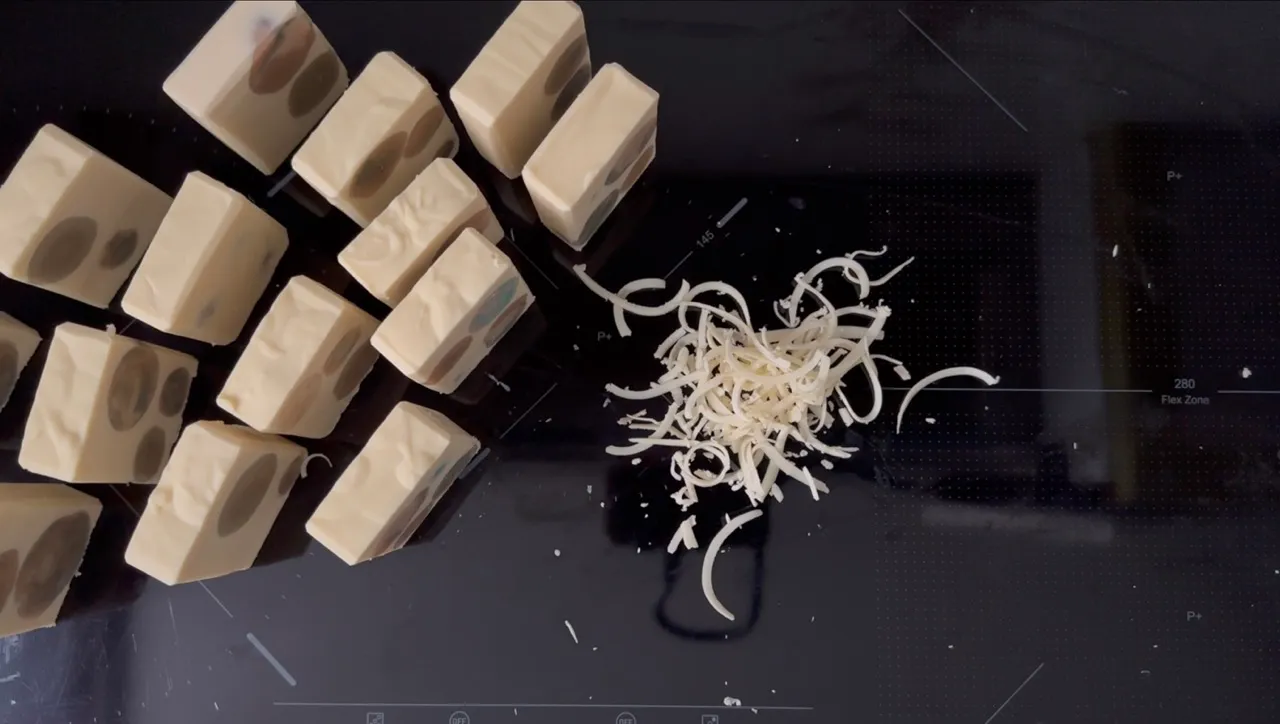
- Let the soap bars cure for 3-6 weeks before use.