Ingredients and Tools to Start Making Your Cosmetics
You decided to make some of your cosmetics products at home, what’s next? Which ingredients should you buy to begin creating your products?
This post will give you a general guide to help you decide what to buy.
Don’t fear the long list of ingredients. You can start with some very basics in small amounts. I recommend reading some of the recipes and going over the ingredients list to check if you have most of them.
Some of the recipes don’t require many ingredients, and you can swap some of the ingredients with others. The easiest recipes will be lotion bars and lip balms. (That requires only a few ingredients and a few tools).
Once you make some skin-care products, you can start purchasing more ingredients. For a lotion bar recipe check this post. For lip balm post check this post.
Please take into consideration that my suggestions will be for natural cosmetics ingredients. I started making cosmetics to control the ingredients my family is using daily. Therefore, I enrolled in three formulation courses. All three courses are natural cosmetics formulation. As you can guess, I try to avoid synthetics and harsh ingredients. This is why my formulations will mostly contain ingredients approved by ECOCERT and/or by COSMOS.
Before going through some ingredients, we need to keep our tools and work surface clean and sanitized.
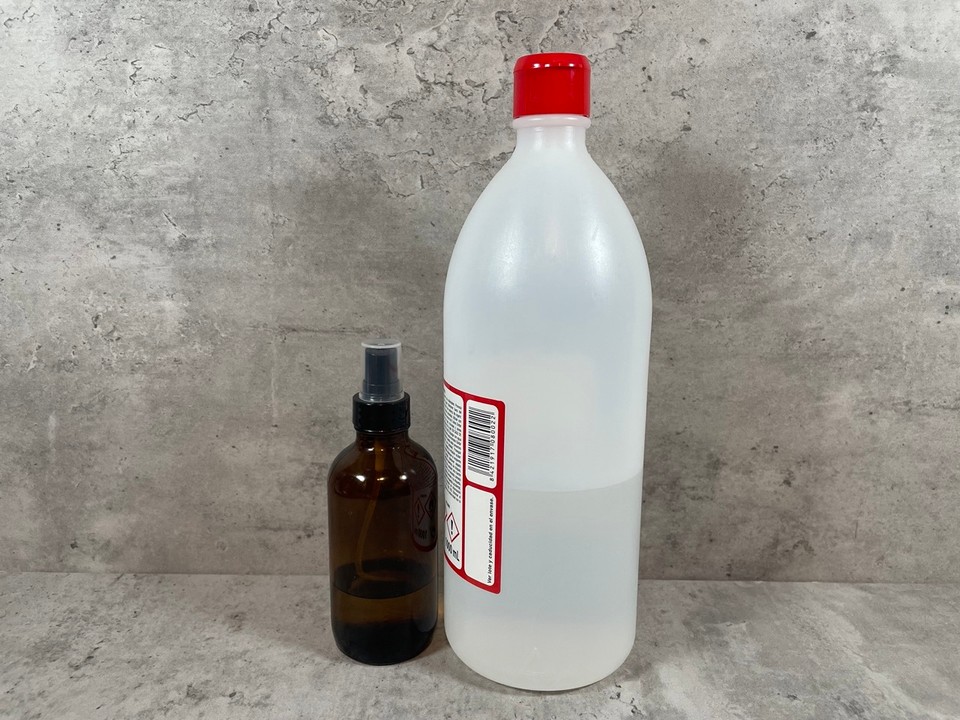
To sanitize your tools and containers, you will need rubbing alcohol with a concentration of 70% or 99% isopropyl alcohol.
I have a spray bottle that I fill with rubbing alcohol. Before making a product, I spray the tools and working surface with the rubbing alcohol, I let it dry and then start making the product.
You can help support my website and channel through the “buy me a coffee” page.
Here is the link: https://www.buymeacoffee.com/diycosmetica
Your support helps me keep sharing here more information and more formulas.
To start making cosmetics you will need distilled water. We use distilled water in cosmetics due to its purity which helps maximize the products' shelf life and minimize contaminants in the water, which will affect the quality of your finished product.
Although the recommendation is to use distilled water for soap making, If your tap water is good quality (meaning you can safely drink the tap water), you can use the tap water for making your soaps.
Now, let's move to oils and kinds of butter. Almost all emulsions, balms, and soaps will require oils and butter. The most common oils are olive oil, coconut oil, sweet almond oil, avocado oil, sunflower oil, jojoba oil, castor oil, and argan oil. These oils are called carrier oils (coconut oil is a hard oil that is solid in cold temperatures).
If you have two types of carrier oils, that's a good start. Coconut oil is a significant ingredient in soaps and many other cosmetics products. I recommend starting with coconut oil and another carrier oil such as jojoba oil or sweet almond oil.
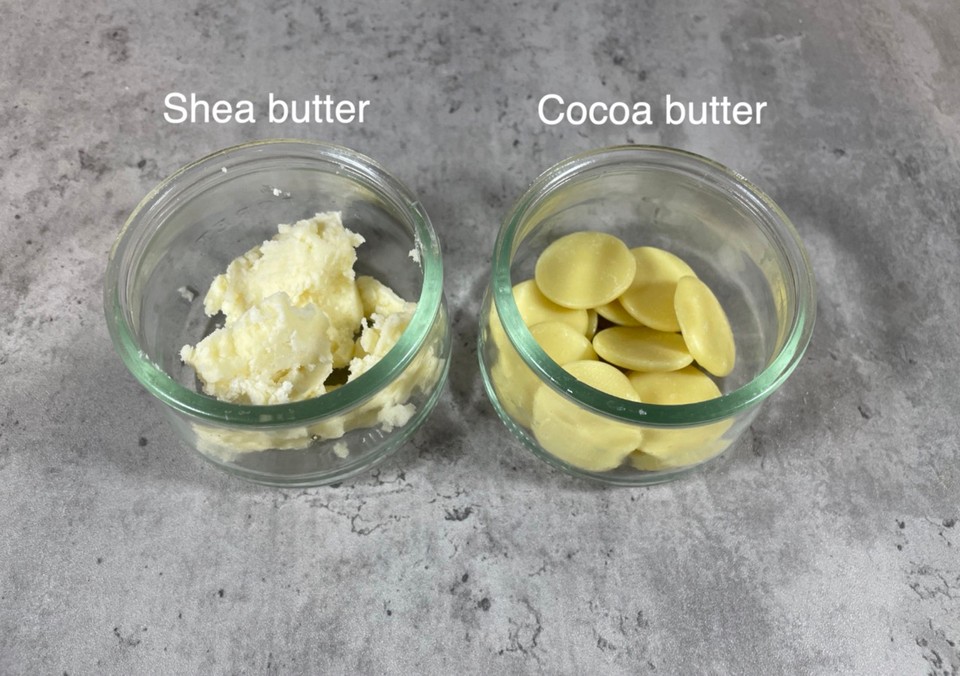
Butters are also essential ingredients in cosmetics. The most common ones are Shea butter, Cocoa butter, Mango butter, Avocado butter, Cupuacu butter, and Kokum butter. I recommend starting with Cocoa butter or Shea butter.
If you can also obtain a small amount of mango butter, you got yourself covered.
An essential ingredient is vitamin E. Vitamin E is an antioxidant that helps slow down oils oxidization. You need a small amount for DIY cosmetics.
A couple of drops should be enough to prolong your oil-based products.
Now that you have some oils and kinds of butter, you want to buy an emulsifying wax. Emulsifying wax is what binds water and oils in emulsions. Without it, they will separate.
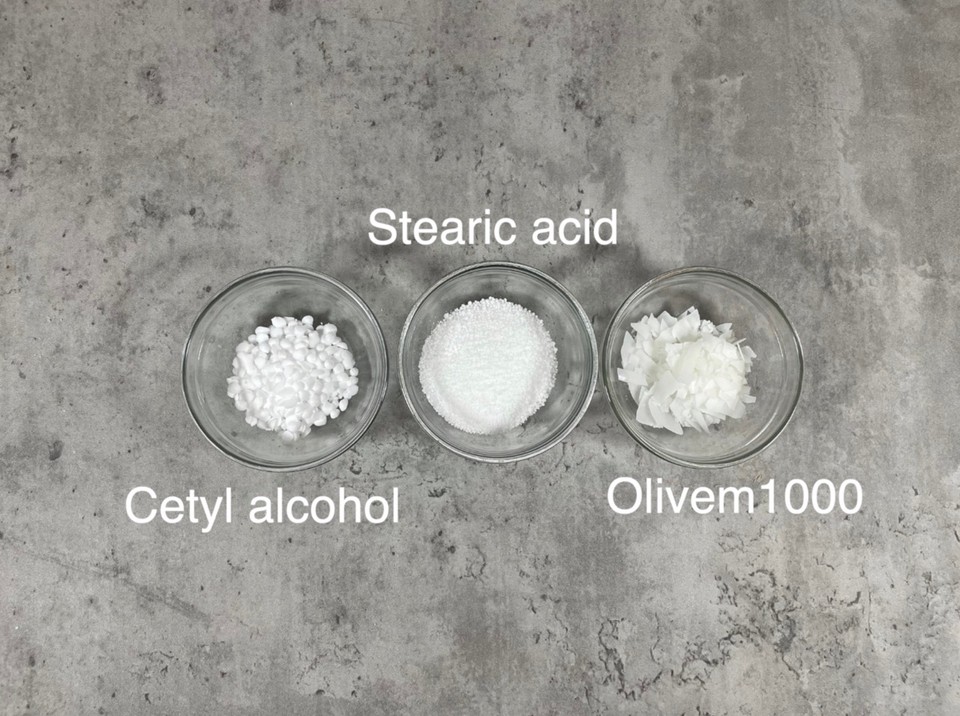
The easiest emulsifying wax to work with is Olivem1000. It also adds conditioning properties to the product. Another emulsifying wax that I like to use is Montanov ™ 68. Check your local supplier for the emulsifying waxes, and read about each one before buying. You can start with 25 grams.
Now let's move to cetyl alcohol and stearic acid. Both are fatty acids, but they are different in the final texture they give to the product. Usually, stearic acid is a cheap ingredient, so I recommend buying it and using it (it helps harden shampoo bars and thicken body lotions, and it's a co-emulsifier).
Cetyl alcohol is more expensive but has a more smooth and silky feel in products. Therefore we can use it in larger amounts and have very soft feel products.
With all ingredients mentioned above, you can make lotions and creams. You can add waxes and make all kinds of ointments (salves, balms, and deodorants).
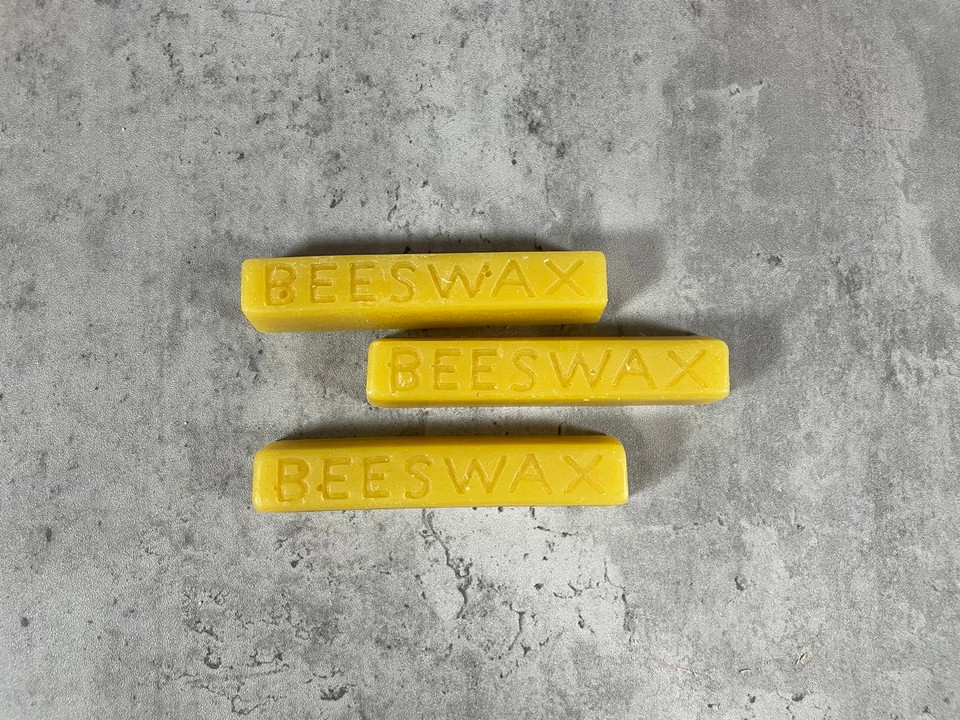
If you are vegan and don't want to buy ethically sourced beeswax, the most common alternatives will be Candelilla wax, Carnauba wax, or Rice bran wax. To read about waxes in cosmetics, check this post.
The next thing you should add to your ingredients list is a surfactant (surfactants are mainly used to cleanse, foam, and thicken products).
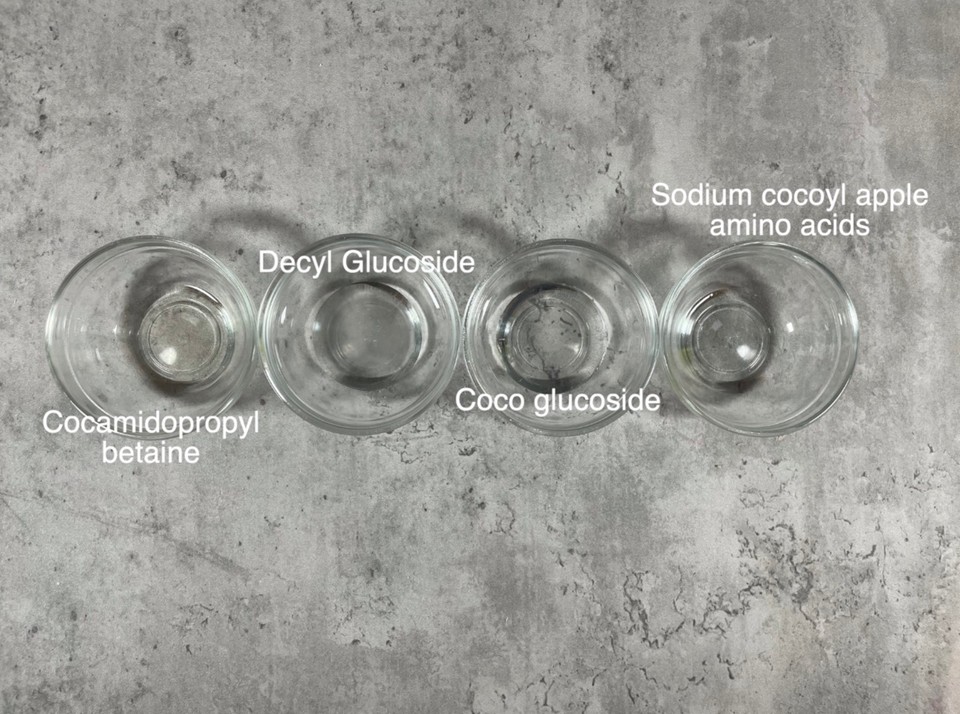
A very mild surfactant is Cocamidopropyl betaine, an amphoteric surfactant suitable for all cleansing products. Cocamidopropyl betaine is the first liquid surfactant I recommend having. Start with 100g.
Other typical surfactants are Decyl Glucoside (A mild surfactant and could be applied as a stand-alone or co-surfactant), Coco glucoside (a mild nonionic surfactant, it is suitable for baby products), and Sodium cocoyl apple amino acids (A mild anionic surfactant based on amino acid).
Another recommended liquid surfactant is Yucca Extract (Yucca Schidigera Stem Extract). Since yucca saponins belong to non-ionic surfactants, it is compatible with all other surfactant groups (anionic, cationic, amphoteric).
All of the above are liquid surfactants.
You will need a solid surfactant to make solid shampoo bars and solid face and body cleansers.
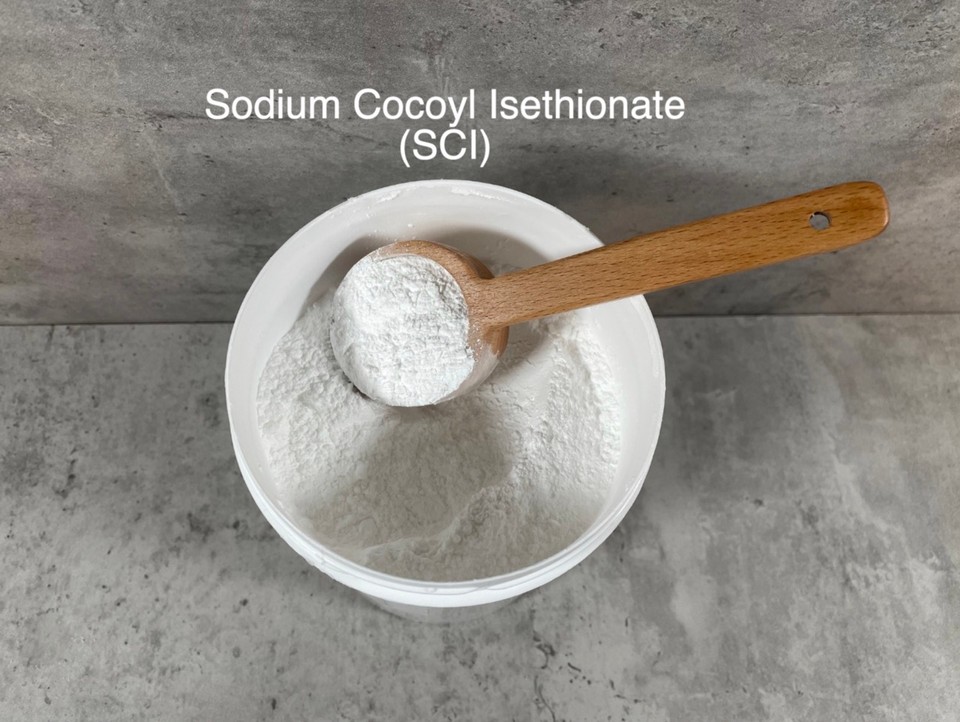
Sodium Cocoyl Isethionate (SCI) is a very mild plant-based anionic surfactant. It is used for preparing non-soap soaps and shampoo bars. Its main advantage over soap is its mildness.
Other solid surfactants that you can buy are Sodium Lauryl Sulfoacetate (SLSA), Disodium Cocoyl Glutamate, Sodium Coco-Sulfate (SCS), Sodium Cocoyl Glutamate, Sodium Myristoyl Glutamate, and Sodium Lauroyl Glutamate.
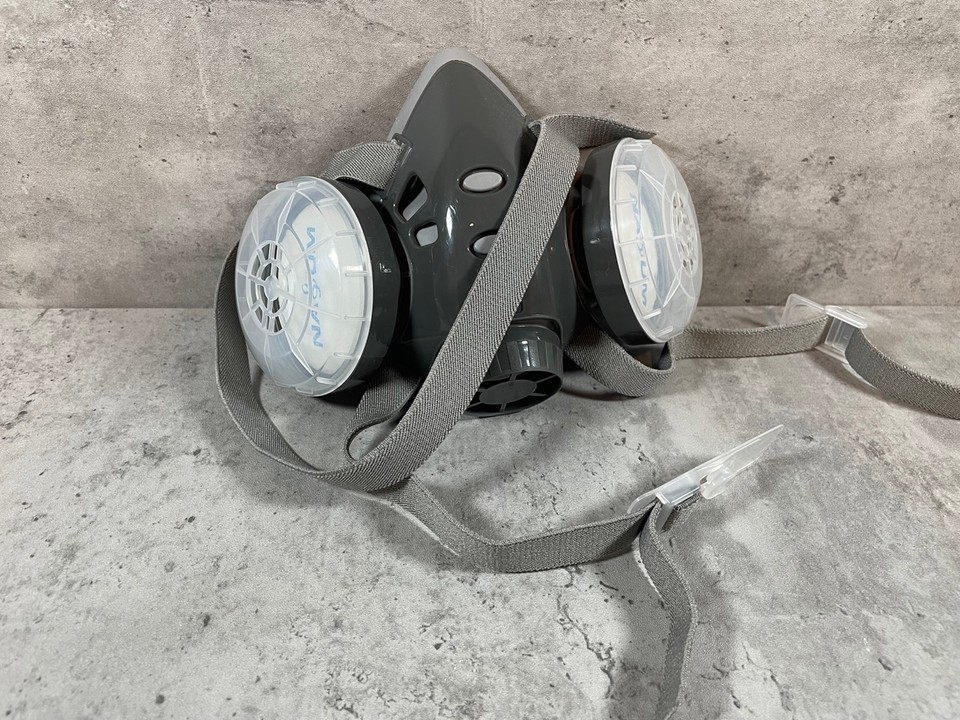
When working with fine powders, you need to use a respirator mask. Fine powders can cause respiratory irritation.
Since many solid surfactants come in fine powders, you will need to use a respirator mask while dealing with these powders.
Now that you have the basics, You'll need ingredients to adjust the PH of your products. Please read this post about ph adjustment in cosmetics. This post will help you decide which ingredients to buy.
Another key ingredient is gum. Gum functions as a: binder, emulsion stabilizer, skin-conditioning agent, thickening agent, or viscosity increasing agent.
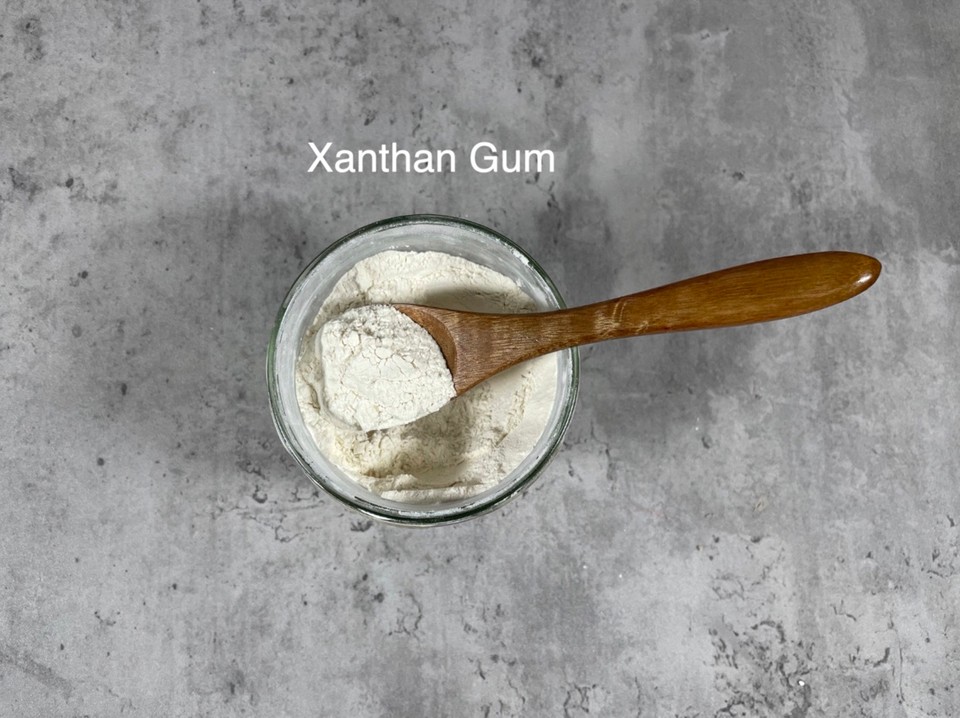
The most common gum is Xanthan Gum. It is relatively cheap and available. You can start with 50 grams. Other gums you can use in cosmetics are Konjac gum, Solagum AX, and Guar Gum.
If you can find clear xanthan gum (=transparant xanthan gum), you can make a clear product, while other gums will give you an opaque color. For example, in this hand sanitizer gel, I have used clean xanthan gum to have a clear finish product.
A must ingredient in cosmetics is a preservative.
I use "natural preservatives". Natural cosmetics preservatives are COSMOS and Ecocert certified.
It is necessary to include a preservative when the product contains a water-based ingredient (products that do not have water or water-based ingredients do not need preservatives). A preservative will protect the product from mold, yeast, and bacteria.
Grapefruit seed extract, rosemary extract, sugar, or citric acid are not preservatives!
The best way to decide which one to get is to check your local supplier range of preservatives.
Check the ph range of each preservative, if it's heat sensitive or not, if it's water-soluble or needs oil to be combined in a product. After checking your supplier's options, you can buy the preservative that best suits your needs.
Soap bar does not require a preservative (although it contains water). The ph level of soap bars does not allow bacteria or mold growth.
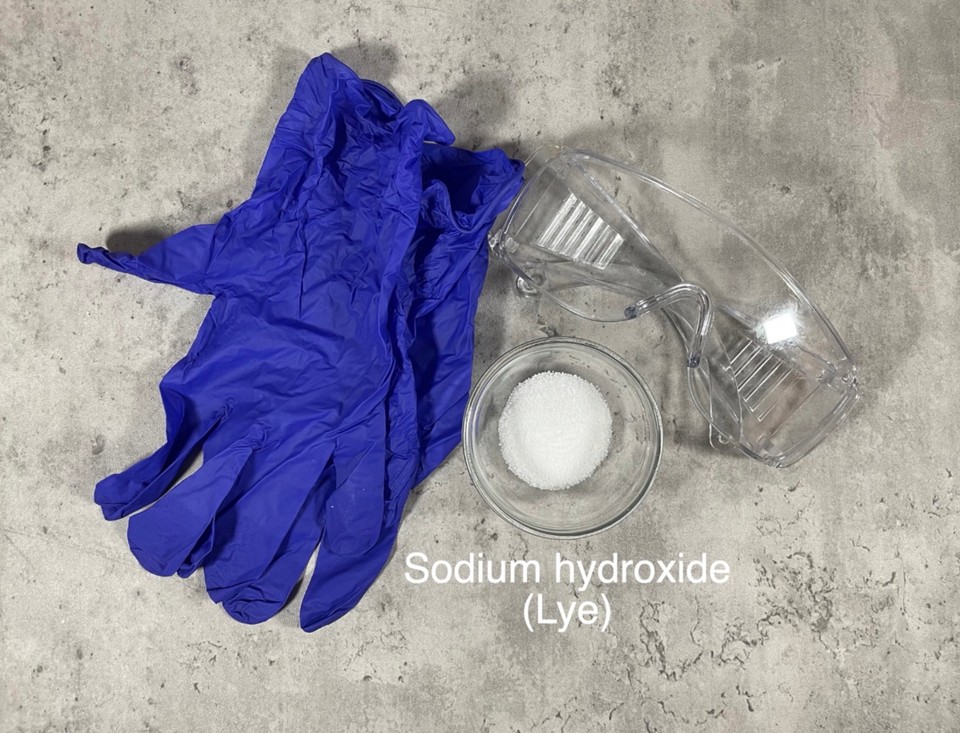
Last is sodium hydroxide cosmetic grade (also known as lye and caustic soda), an essential ingredient in solid soap making. If you want to make soap, you need sodium hydroxide.
If you have never made soap before, it is crucial to know that sodium hydroxide is corrosive. You must protect your eyes and hands while making soap. Check out this post for a beginner's recipe for soap. There's information on how to start making your soap.
All ingredients mentioned in this post will be useful in many recipes. With this starter list of ingredients, you can make many products, including creams, lotions, balms, shampoos, and shower gels.
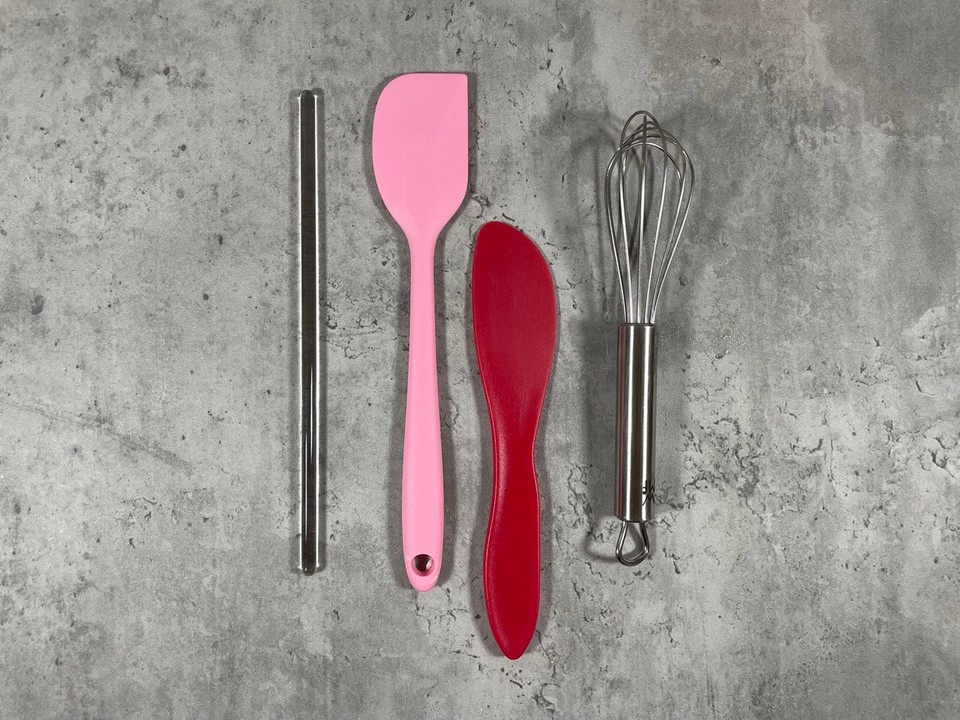
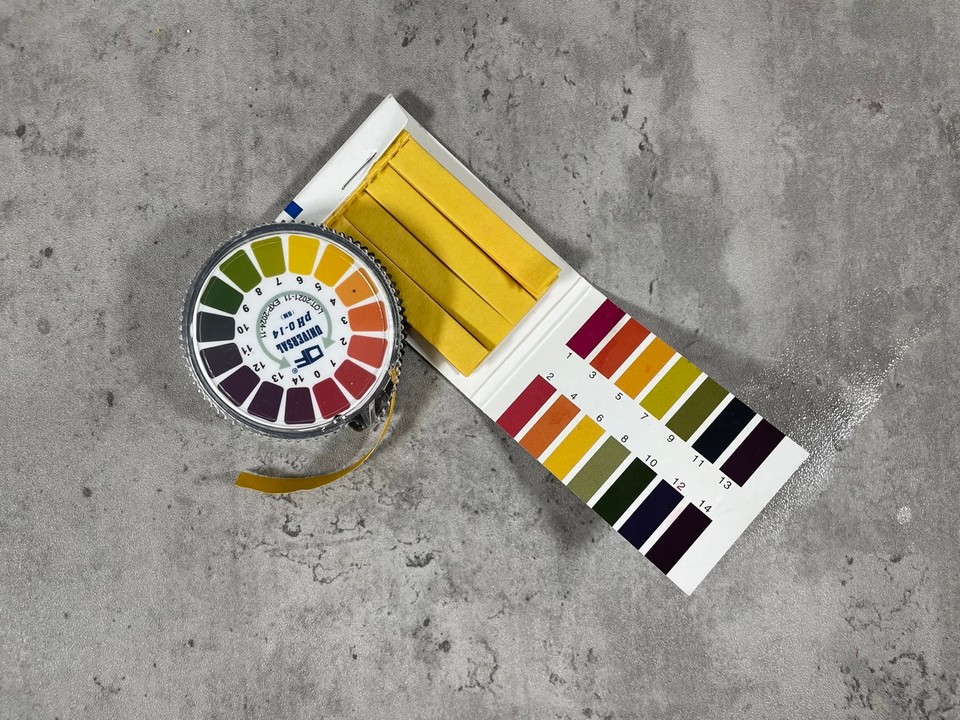
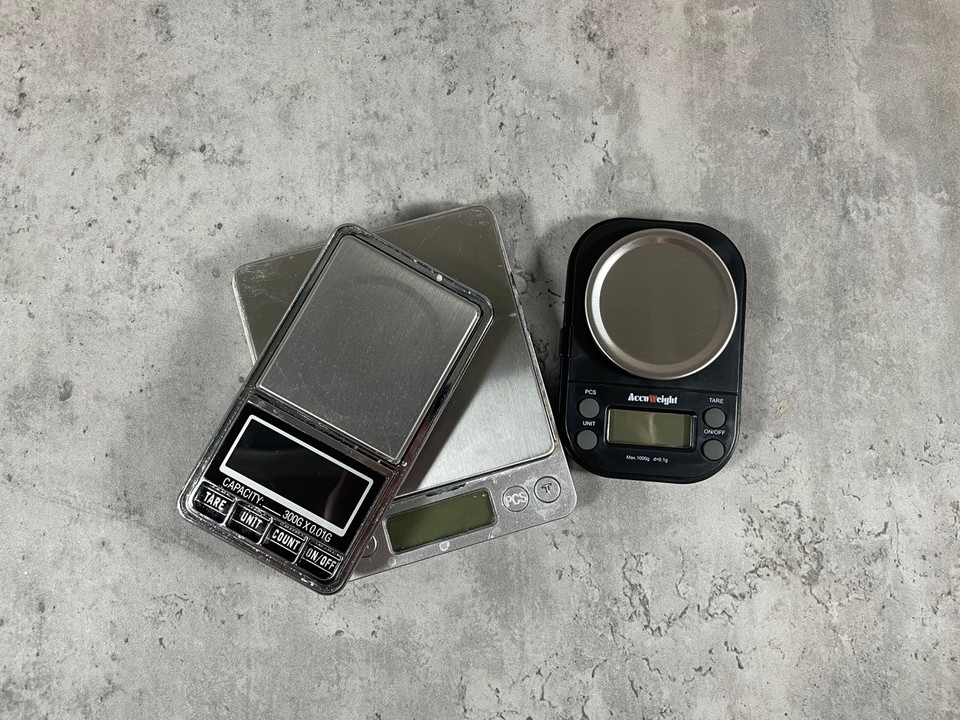
Basic tools to start making your cosmetics will be one or two heat-resistant beakers, a precision scale, a glass stirring rod, a small whisk (for larger amounts you will need an immersion blender), ph stripes (if you can afford a ph digital meter, it's the most accurate), a small spatula, and some silicone molds.
If you wish to make soap, you will need: stainless still or High-density polyethylene containers (those are high-quality plastics that are suitable for lye solution), an immersion blender, a mixing bowl, gloves, and safety goggles to protect your eyes.
For soaps, you can reuse milk or juice carton boxes instead of silicone molds. Clean the box and cut the top of one of the sides to have an improvised mold.
Many soapers have a specific immersion blender just for soap to avoid any risk of lye solution remains on tools that are used for food. Check this post about equipment for soap making.
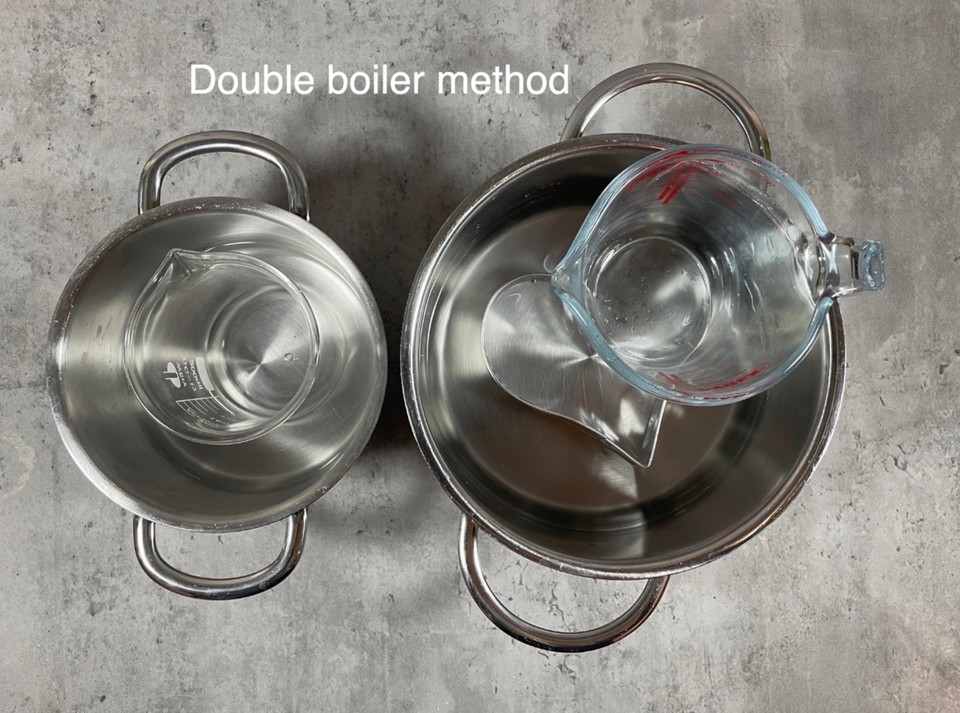
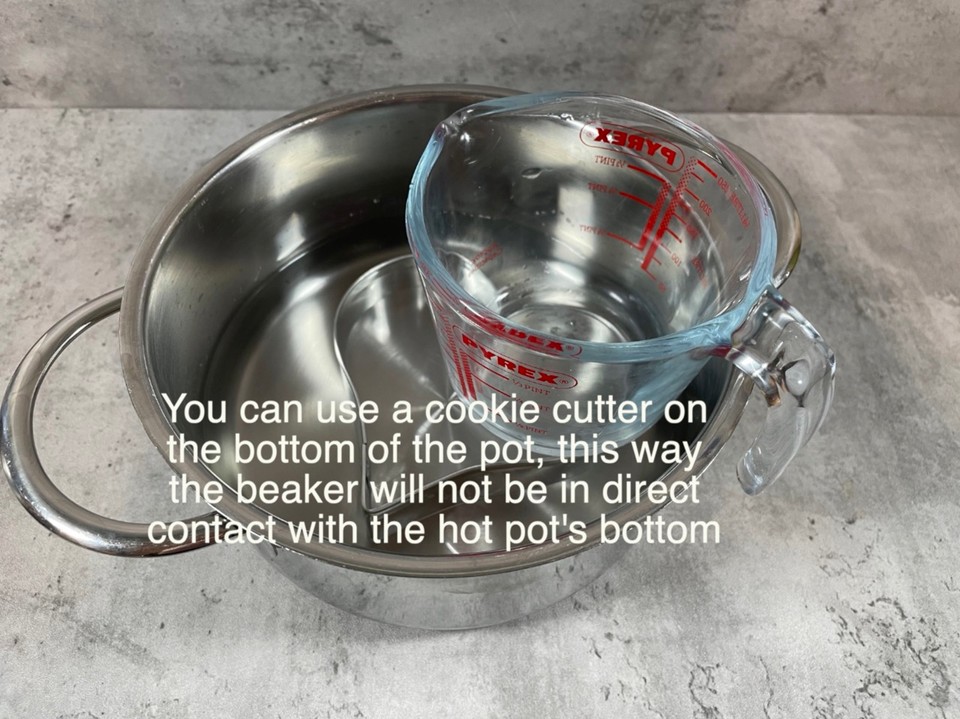
In cosmetics, we use the method of double boiler. A double boiler is a pot with water, in which we put a heat-resistant beaker/measuring bowl.
We use this method to avoid direct heat from the cosmetics' ingredients. Direct heat can damage or destroy some of the ingredients' properties.
So for a double boiler, you can use any of your kitchen's pots or pans.
Some people use the microwave to melt or heat some ingredients. I prefer the double boiler method, it is easier to control, and you don't risk overheating your ingredients.
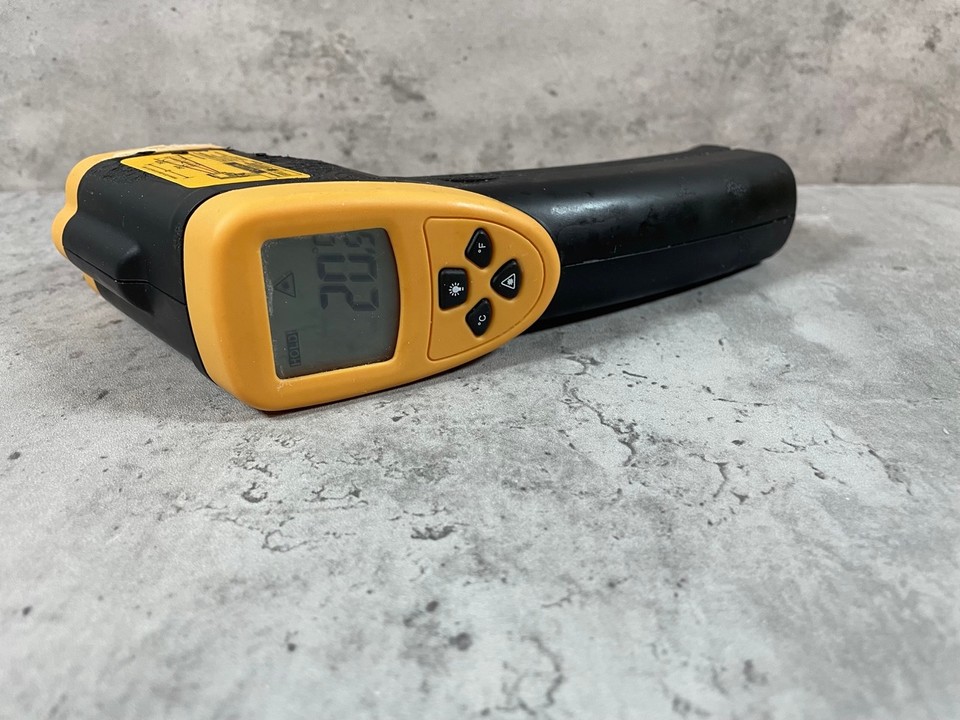
For some products, you will need a thermometer. Some ingredients are sensitive to heat and can only be added to the mixture under 40 degrees Celcius.
If you don't have a thermometer for soap making, you can set aside the melted butter, oils, and lye solution. After an hour or two, both should be cooler and closer to room temperature. That way, you can still make soap without using a thermometer.
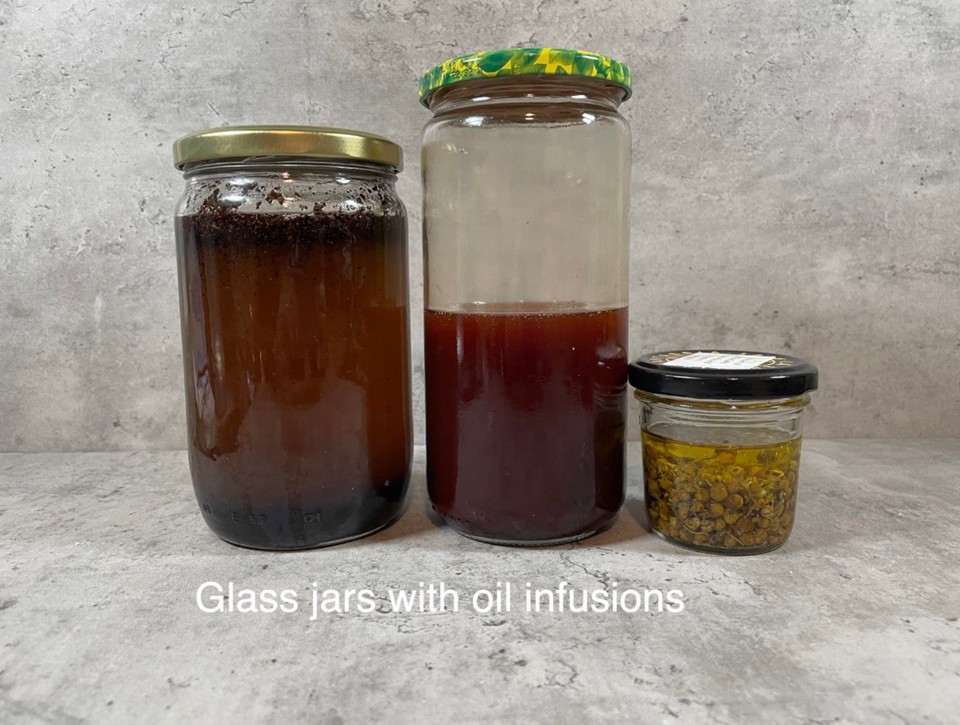
For oil infusion, you can use old glass jars. First, you need to clean the jars with soap and hot water (or pass the jars in the dishwasher), spray them with rubbing alcohol, and let the rubbing alcohol evaporate before using the jars.
To read more about infusing oil, check this post here.
An optional ingredient will be an essential oil or fragrance oil to add scent to your product.
Before buying essential oils, read the information regarding your chosen essential oil. Some essential oils are not suitable for skincare. Some can not be used by pregnant women or while breastfeeding.
