What is a lotion bar? It is usually some butters and oils combined with a hard wax to create a solid oily moisturizer. There are many combinations you can make to create a solid lotion bar. I have shared this recipe for a lotion bar with coconut oil.
Lotion bars are very similar to body butters but in a solid form.
Since Lotion bars do not contain water-based ingredients, they can be made with or without a preservative, which makes them (similar to soaps) a great product to gift your family and friends since they are easy to make and can be used for a longer time than products which contain water-based ingredients. The shelf life of a lotion bar will depend on the ingredients you use. Adding vitamin E (an antioxidant) will help prolong the lotion bar’s life.
You can help support my website and channel through the “buy me a coffee” page.
Here is the link: https://www.buymeacoffee.com/diycosmetica
Your support helps me keep sharing here more information and more formulas.
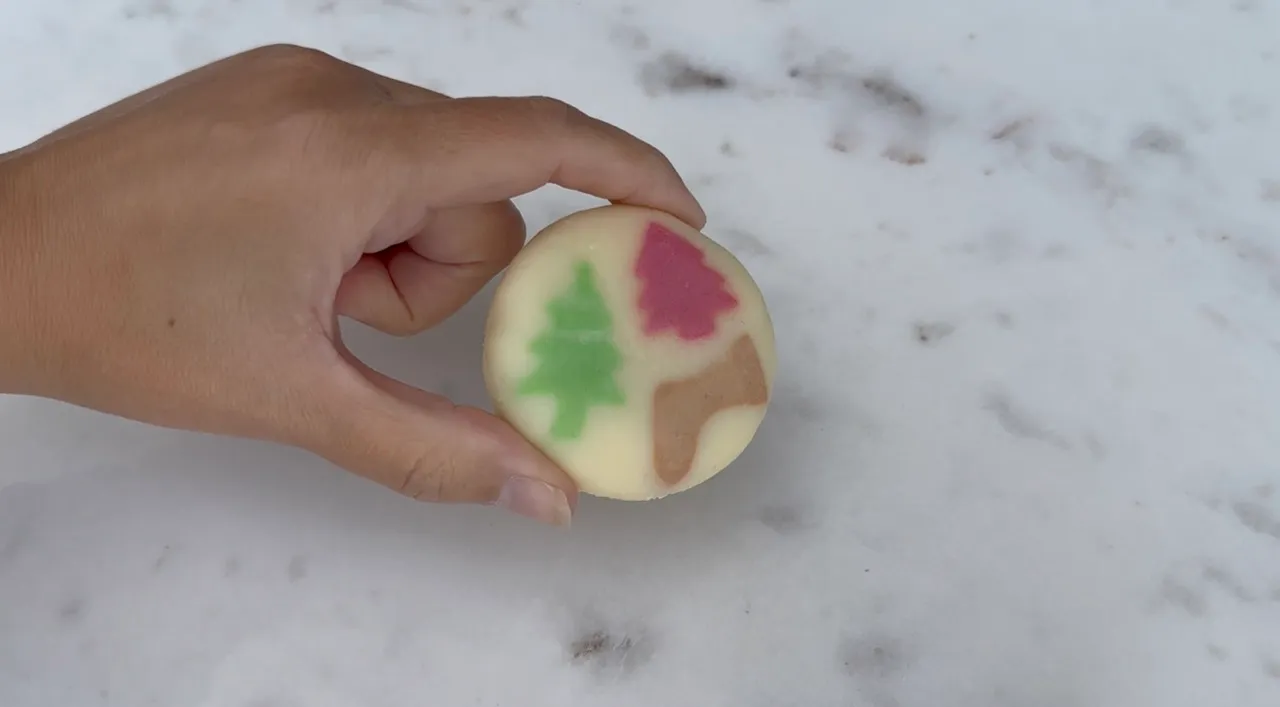
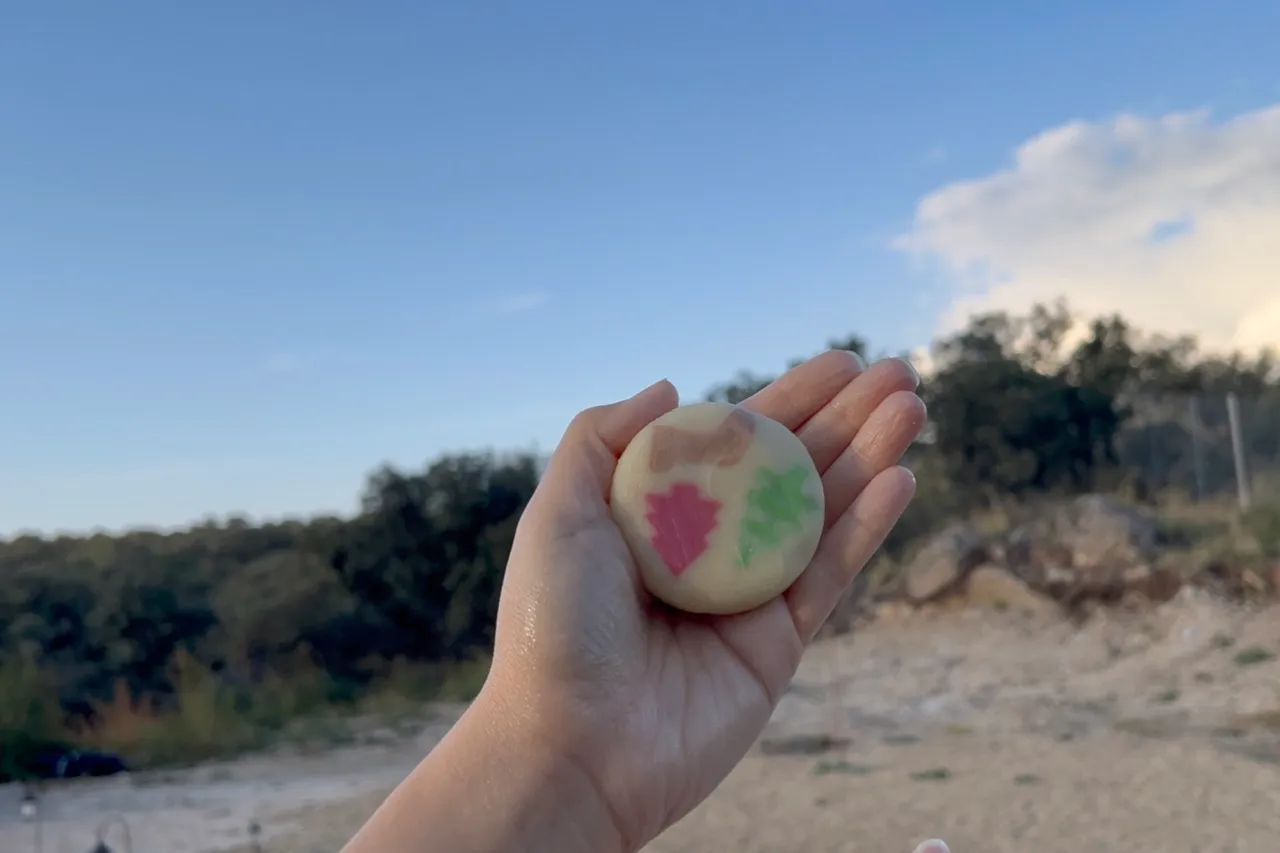
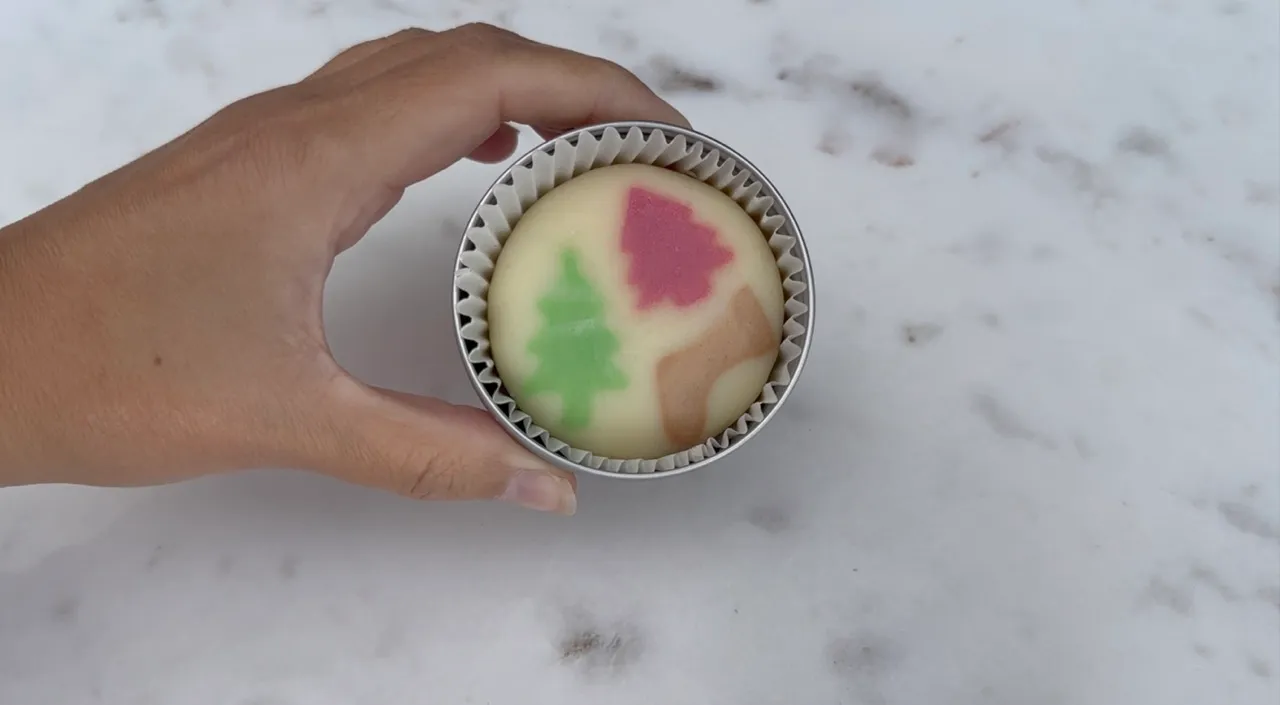
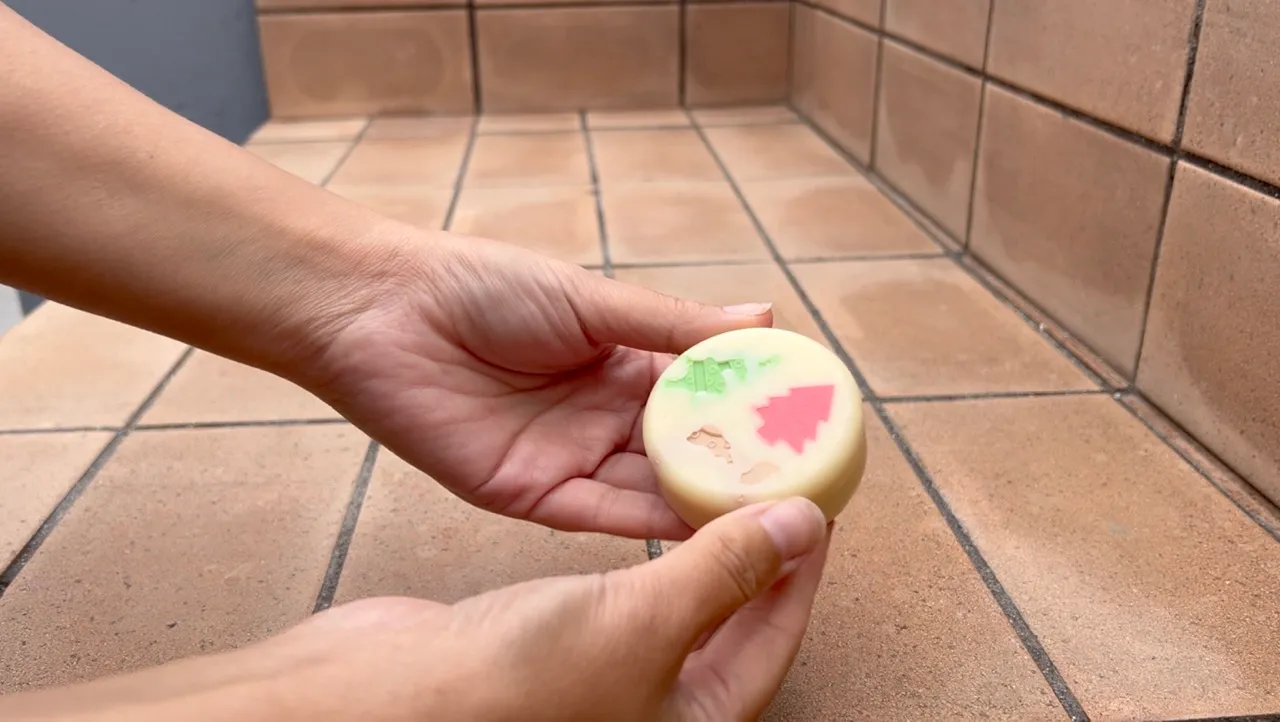
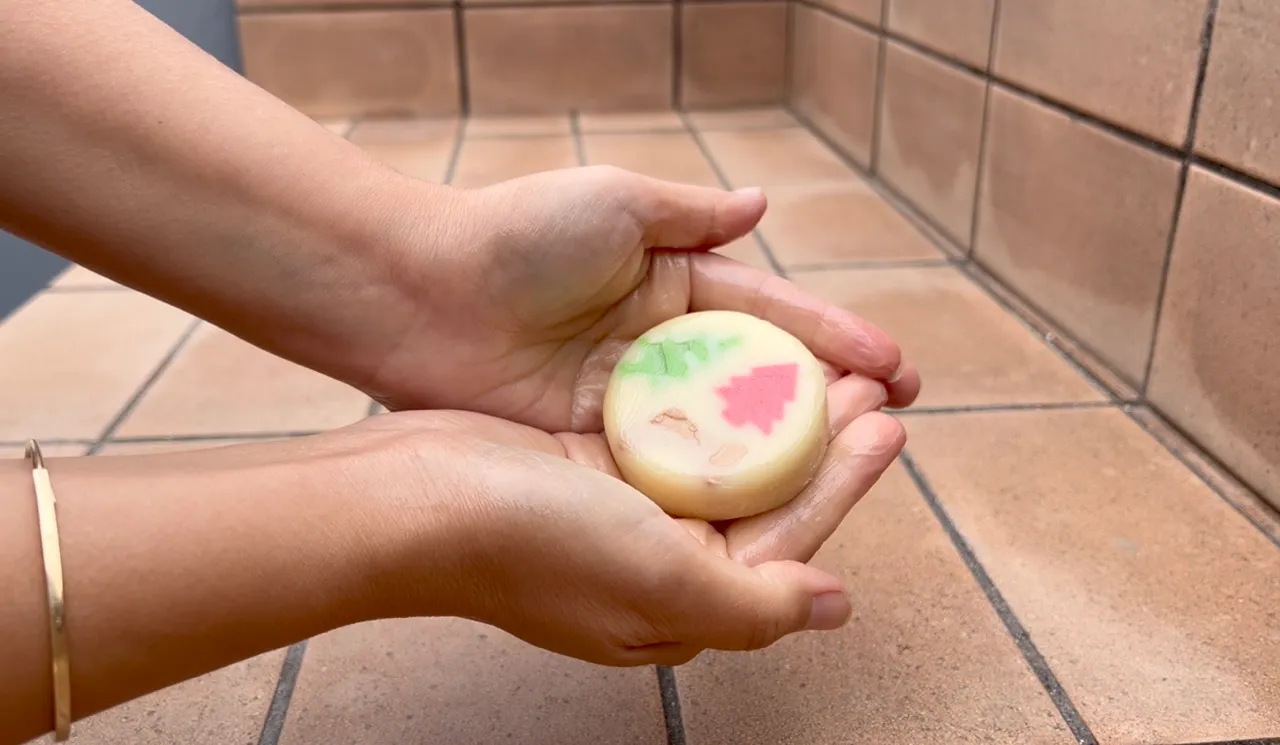
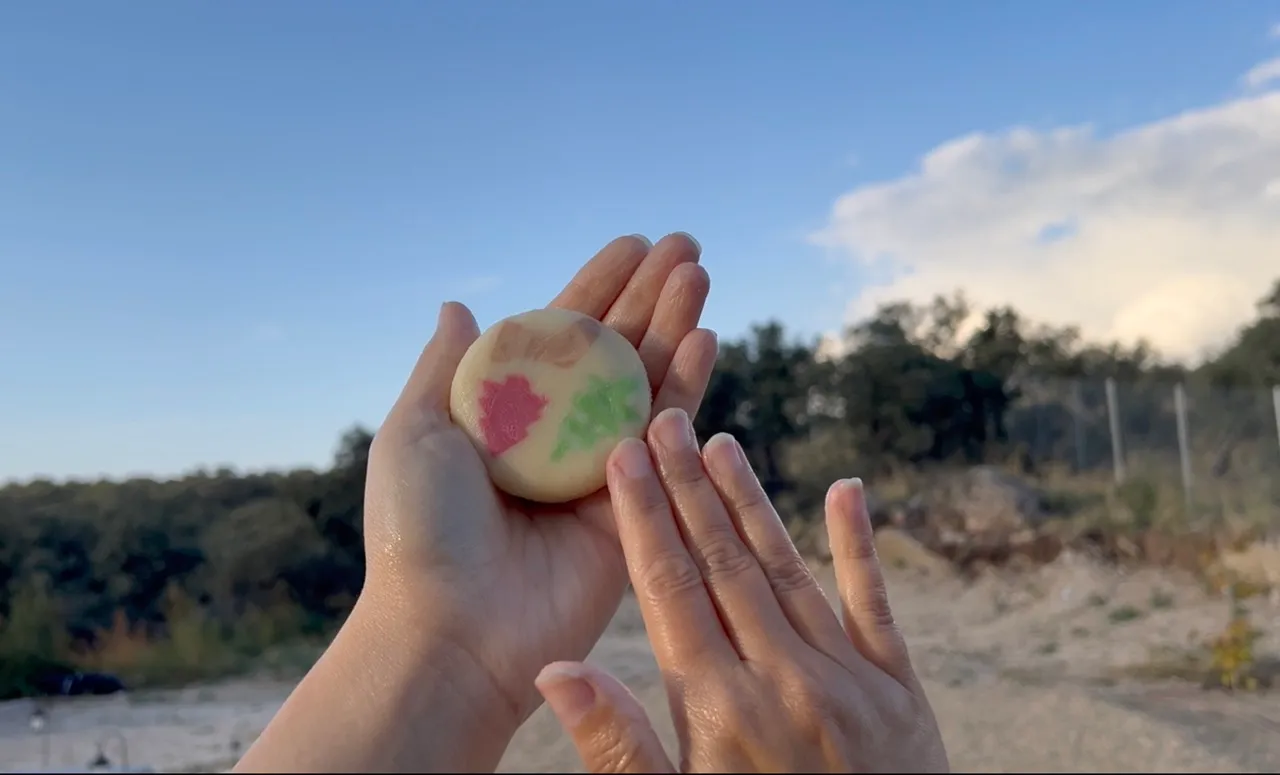
You can make this lotion bar anytime without the embeds or decorations. If you make it during the holidays, it is cute to add some decorations, hidden or visible. I made some Christmas embeds to place on the top of the lotion bar so they can be revealed while using the bar.
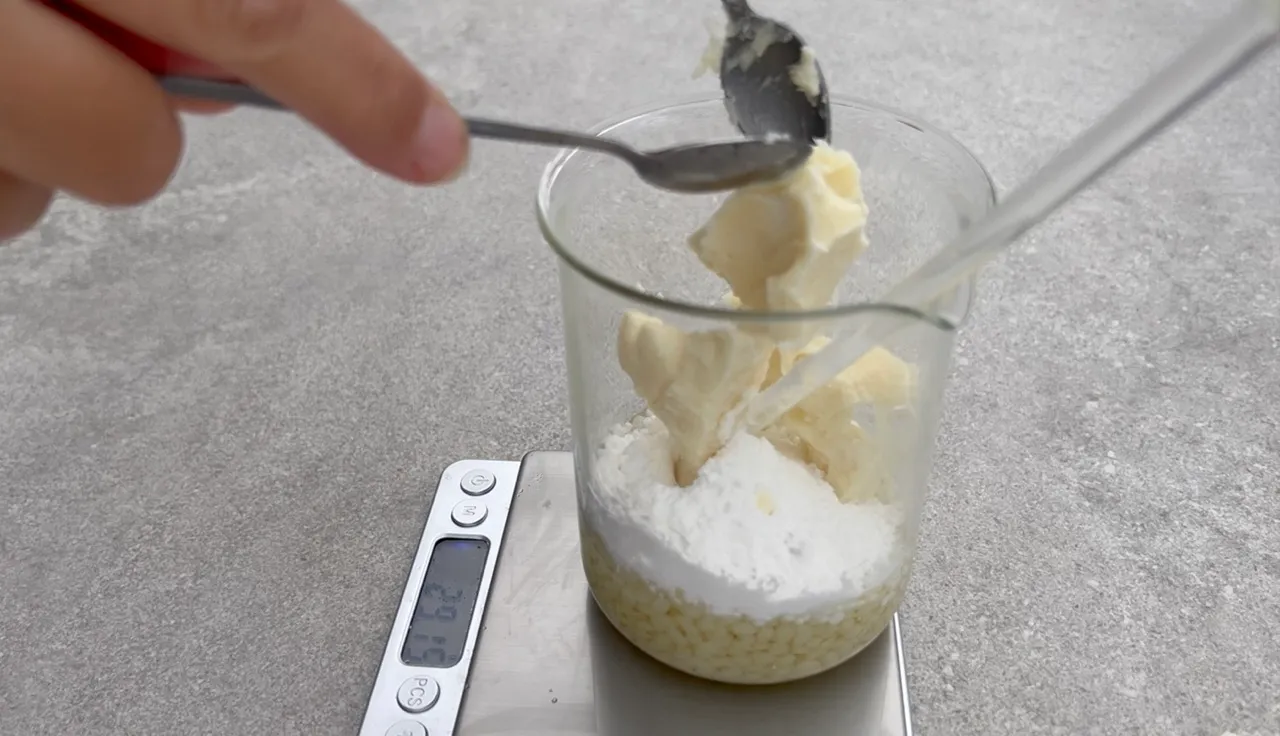
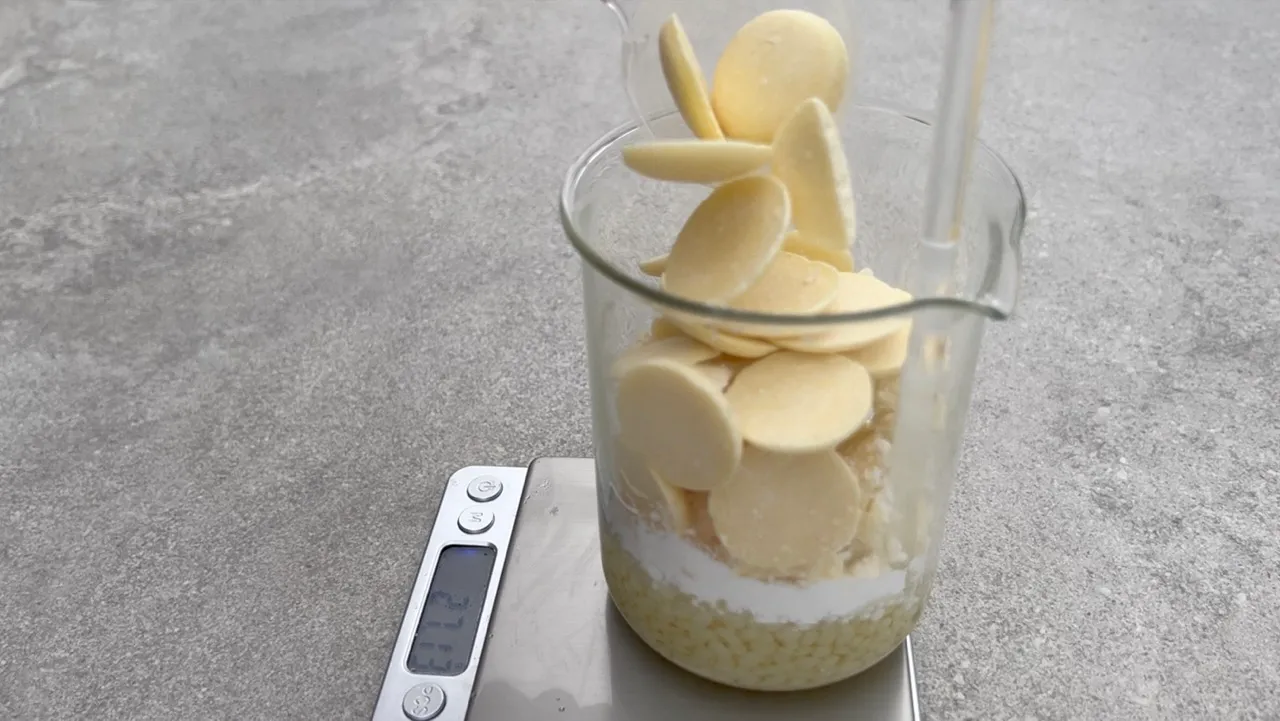
The two butters I used were shea butter and cocoa butter. You can replace the shea butter with mango butter and the cacao butter with kokum butter.
In this formula, I added cetyl alcohol. Cetyl alcohol gives a smooth, silky texture to the bar and emollients properties. Cetyl alcohol imparts a lightweight, non-greasy sensation when applied to the skin. You can swap it with cetearyl alcohol or jojoba wax.
For a carrier oil, I used refined avocado oil. The refined oil is odorless and colorless. You can use an unrefined version, but the bar will have a darker color and might have some odor in the final product. You can use other carrier oils such as safflower, grapeseed, fractionated coconut, sunflower, sweet almond, jojoba, or rice bran.
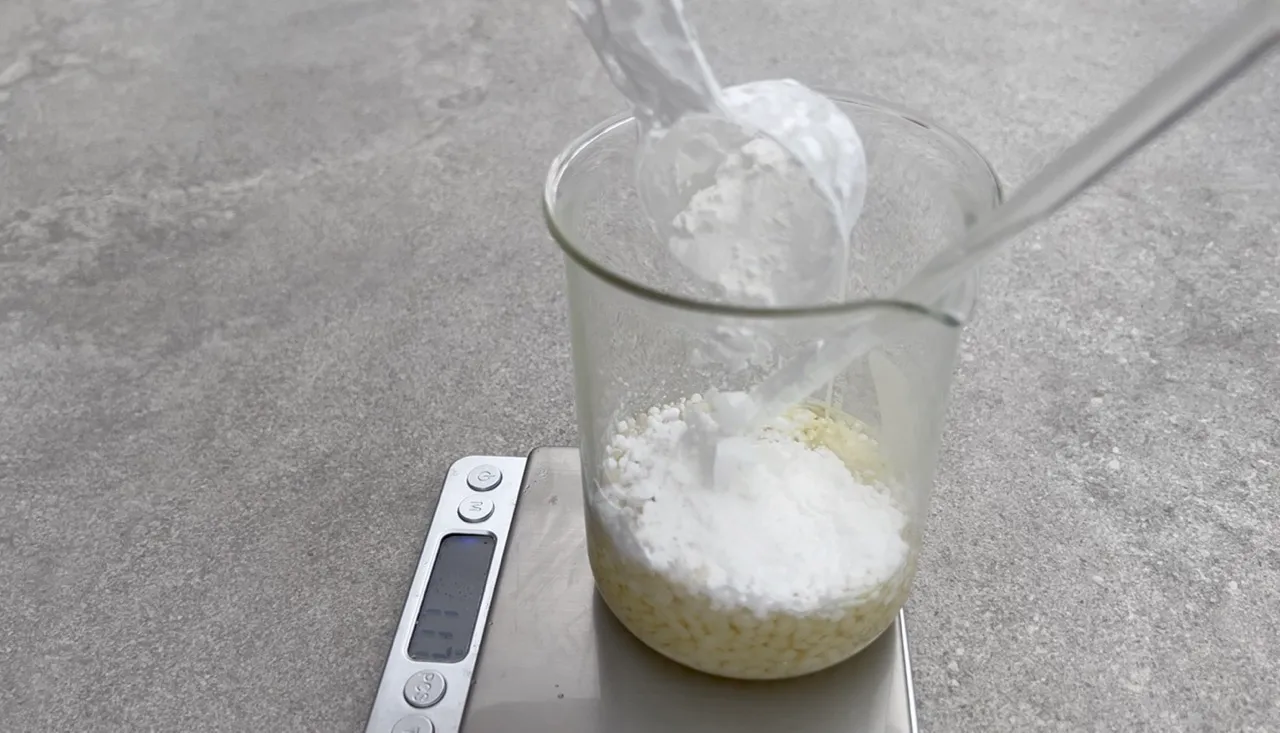
I added arrowroot powder, which helps minimize the greasy feeling on the skin and increases the silky texture of the final bar. You can use cornstarch instead.
I added vitamin E as an antioxidant, which you can skip and add to the carrier oil amount in case you don’t have vitamin E oil.
I added fragrance oil, which you can skip if you prefer an unscented lotion bar. If you skip the fragrance oil, add the amount to the carrier oil. If you are using an essential oil, make sure to use a skin-safe essential oil and use it according to the supplier’s instructions.
I used white beeswax, but you can use yellow beeswax as well.
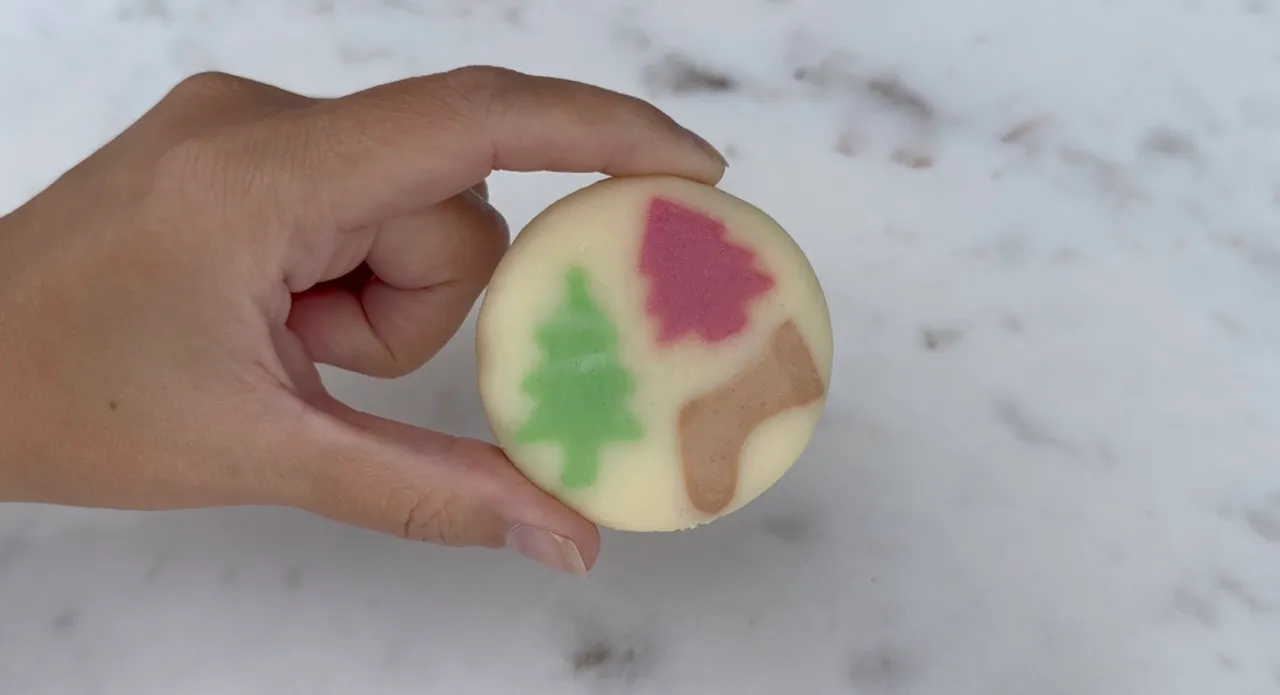
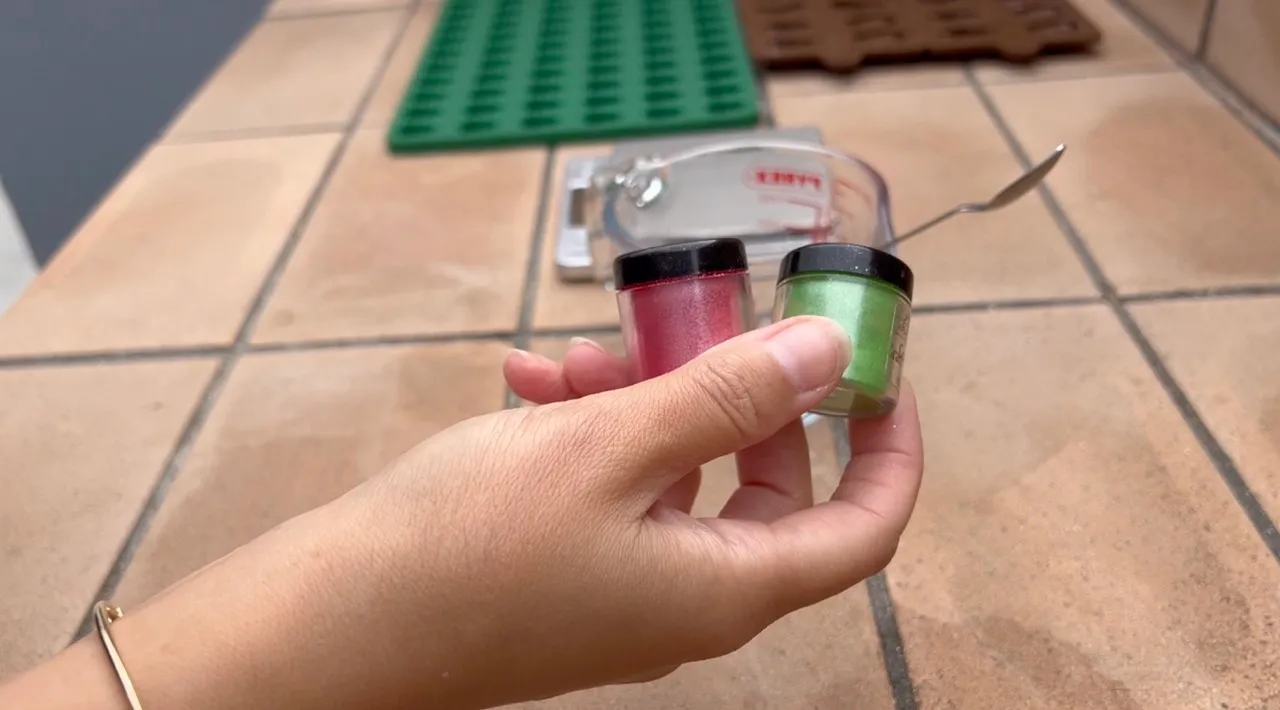
If you want to make embeds for decorations, you will need some mica colors.
Depending on the mold you are using, adjust the amount of the formula using the calculator.
If you like to share and gift your DIY, this formula is great to make and share with your family and friends. You can also make decorative candles to gift as a set with these lotion bars.
There is no need to test the PH since this lotion bar has no water-based ingredients.
If you make the embeds, I suggest you make them the day before you make the bars so they can completely solidify and be easily released from the mold. You can also place them in the fridge for 3-4 hours and remove them from the molds.
If you like to experiment with oil infusions, replace the carrier oil with an infused carrier oil for a natural colored bar. To read more about oil infusion, please check this post.
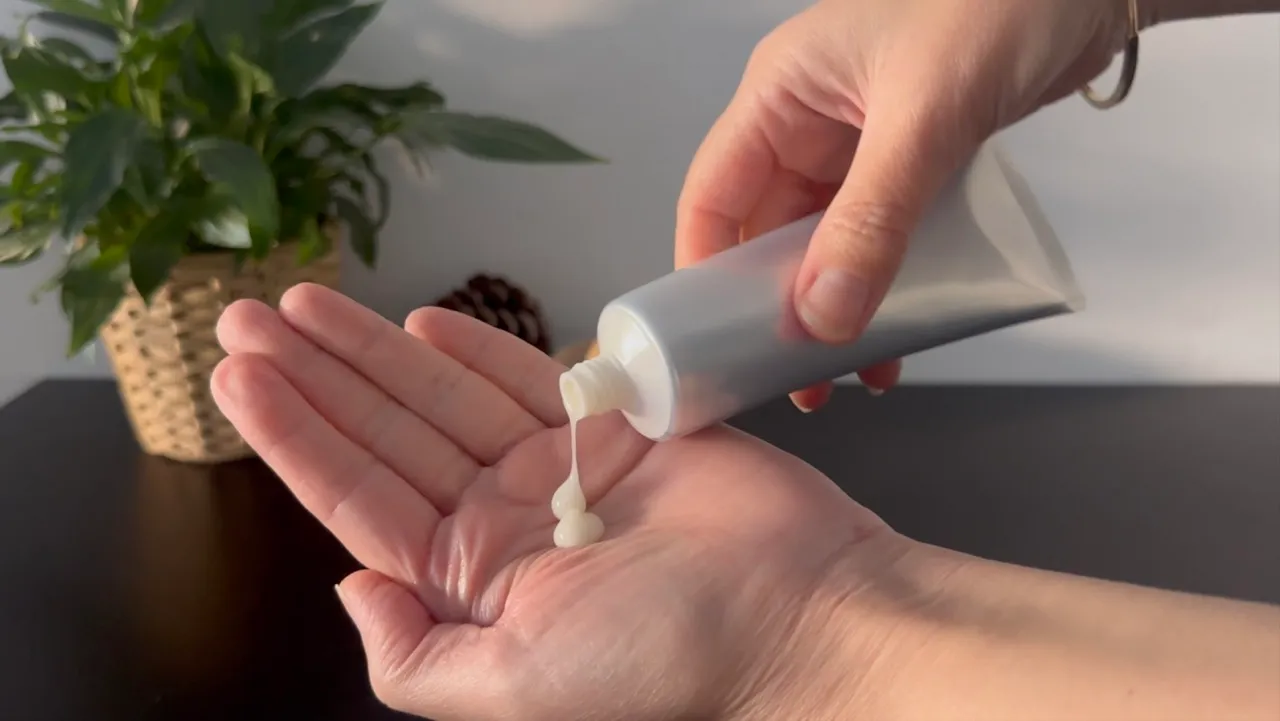
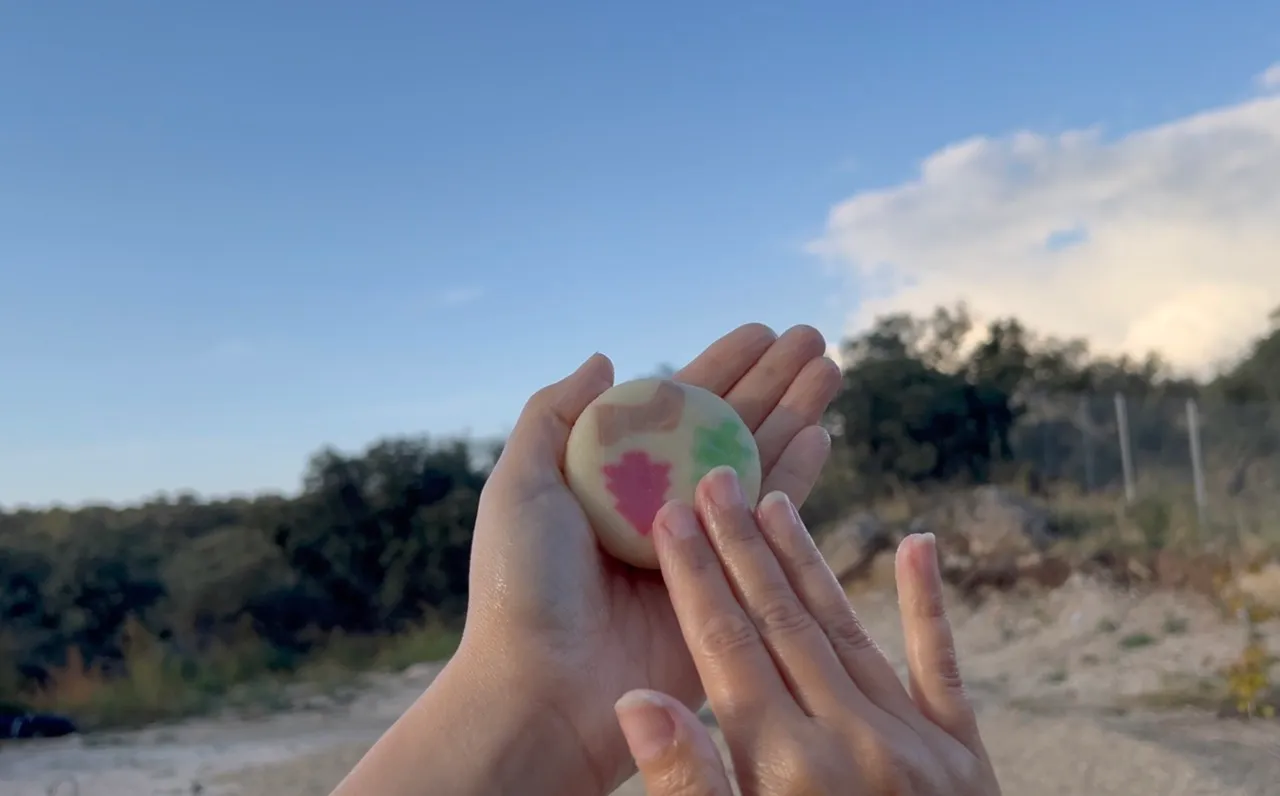
To use the lotion bar, glide it on your body or rub it between your hands.
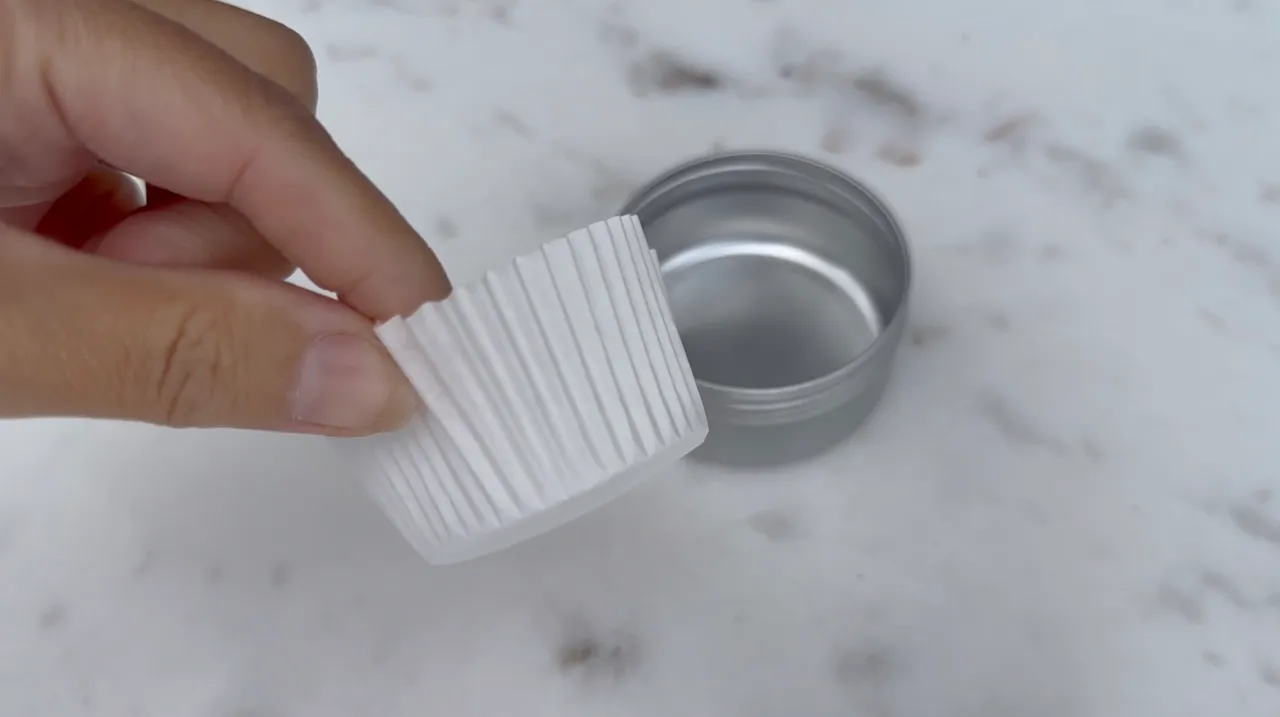
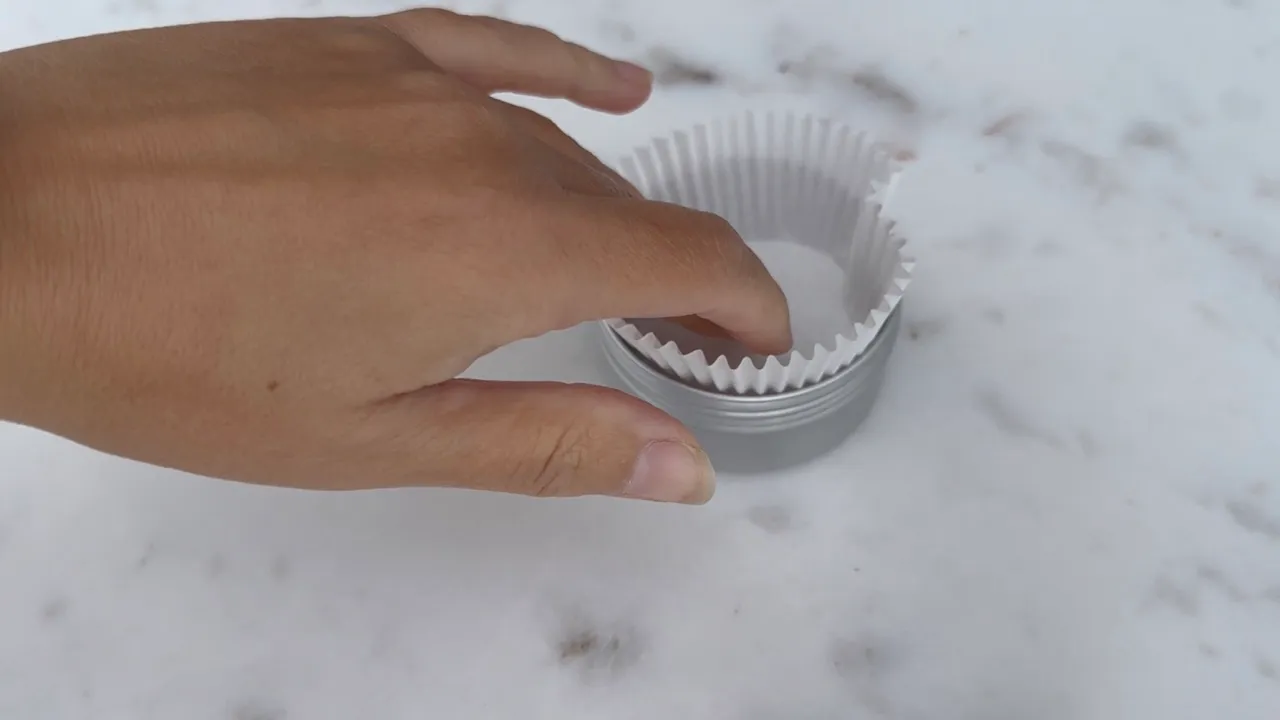
You can store the lotion bar in an aluminum container. I added cupcake paper inside the container. The paper helps to separate the aluminum container from the oily lotion bar.
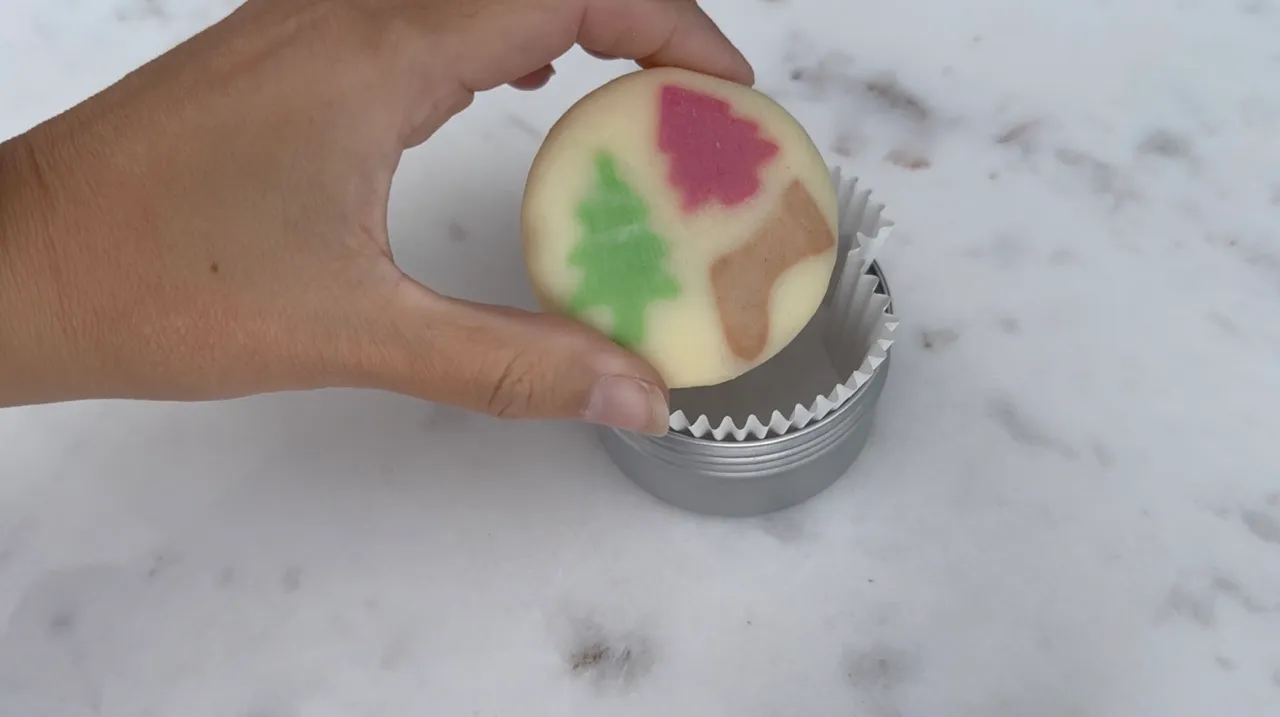
With time and use, the embeds will reveal and be more visible.
If you want to make just the lotion bars without the embeds, go ahead. If you wish to make decorated lotion bars, you need to start by making the embeds, letting them cool for a couple of hours or a day, and then repeat the process with a larger amount to make the lotion bars.
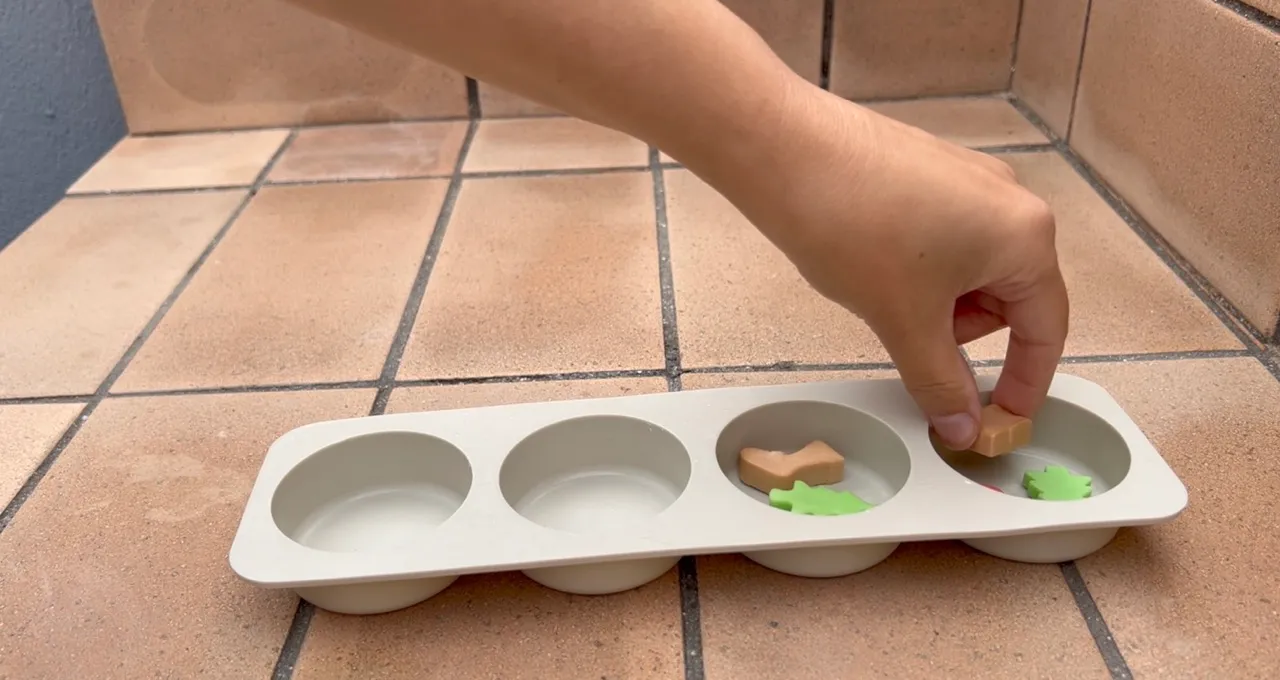
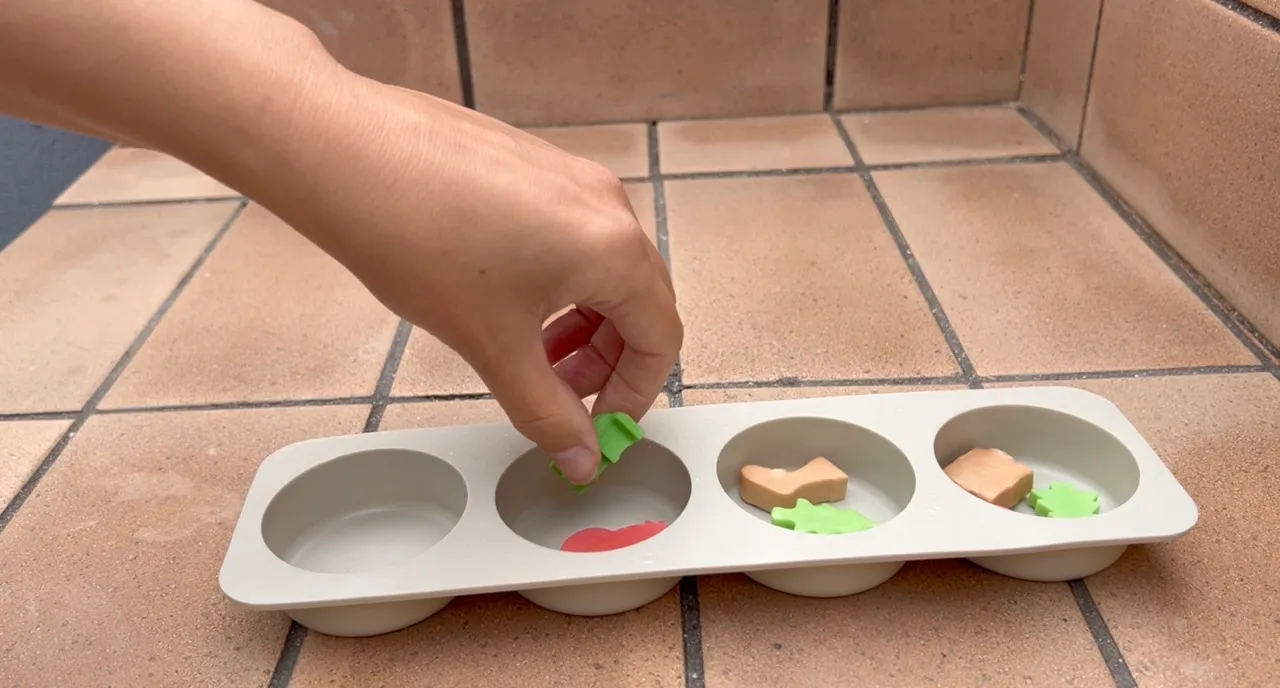
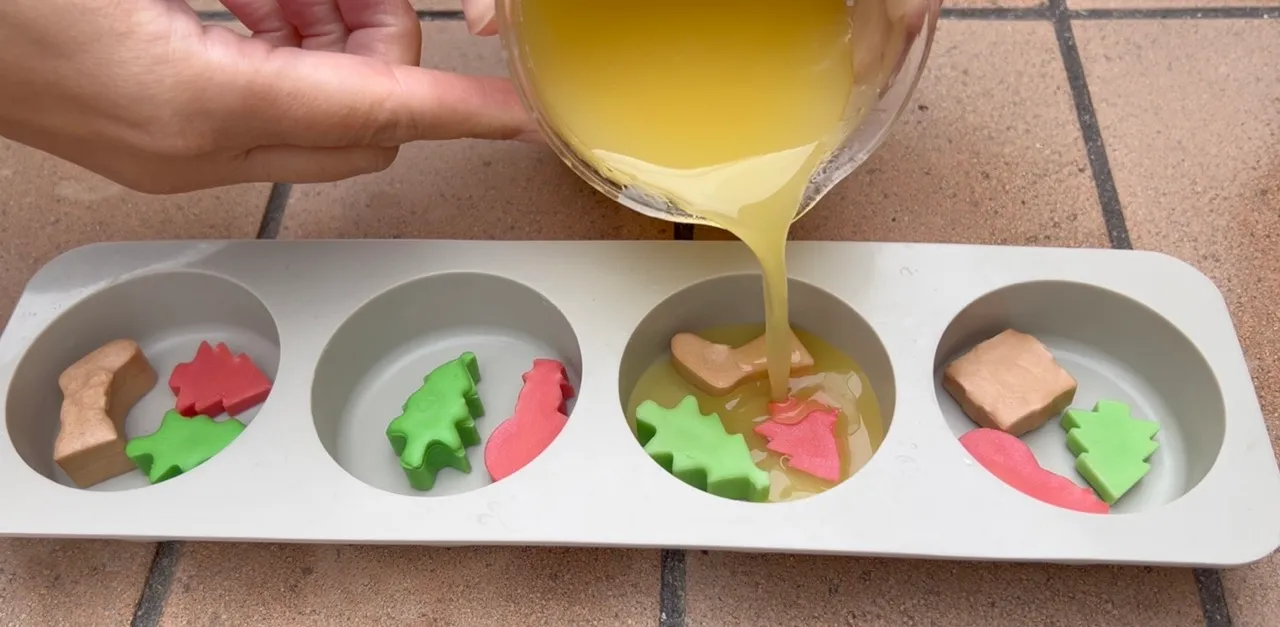
Place the embeds at the bottom of the mold and pour the second mixture on top of them to cover them.
Use the calculator to adjust the amount you wish to make.
These are lovely little gifts you can share with your family and friends during the holidays.
Method:
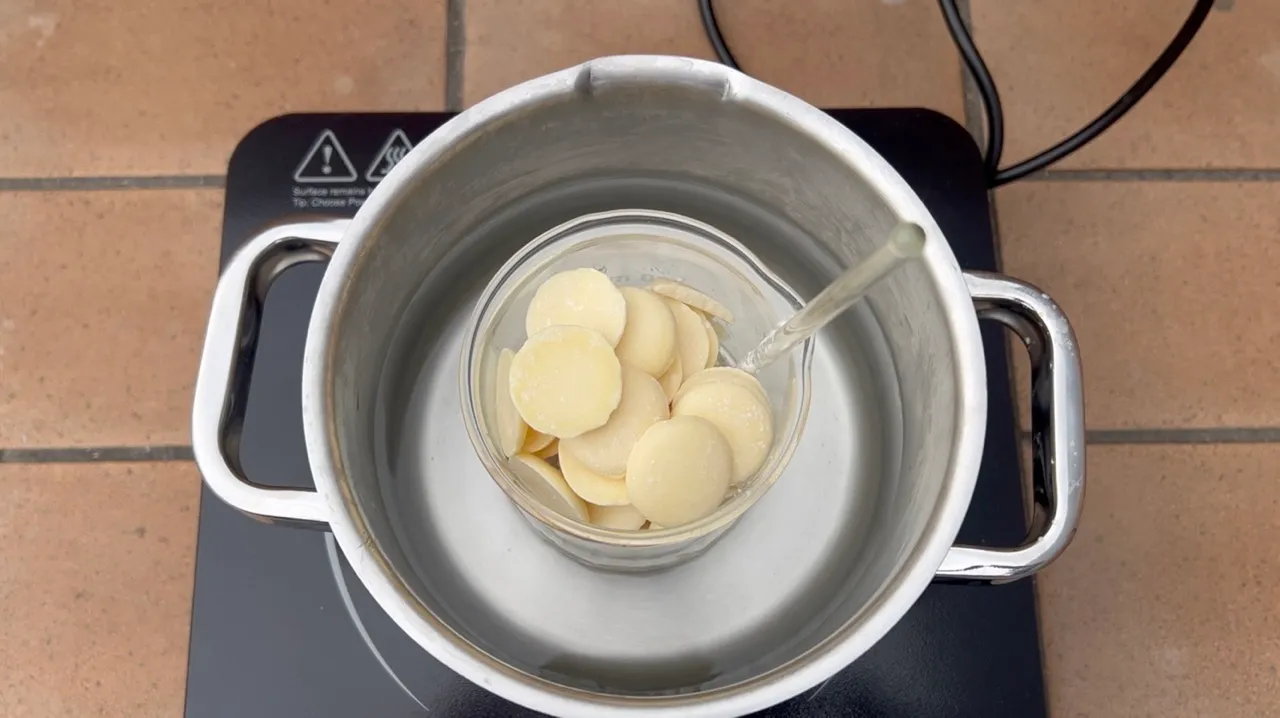
- In a heat resistance beaker, Add phase A ingredients. For embeds make a small amount.
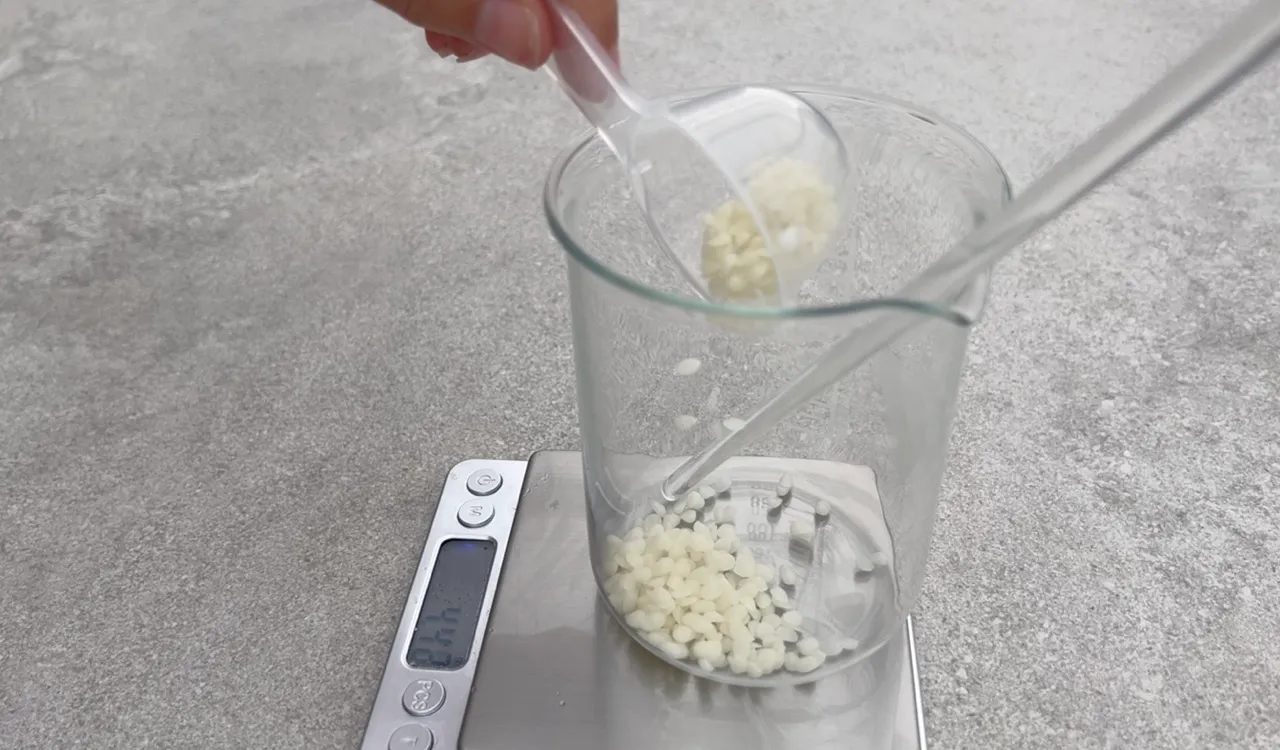
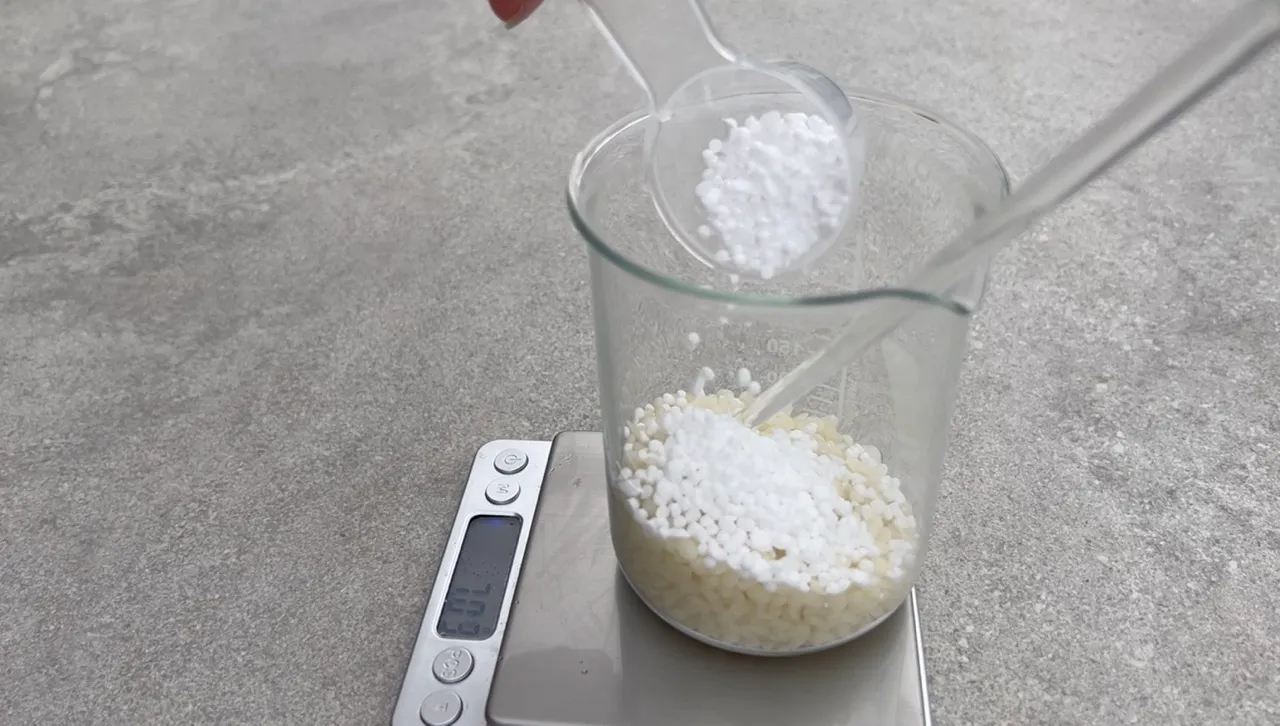
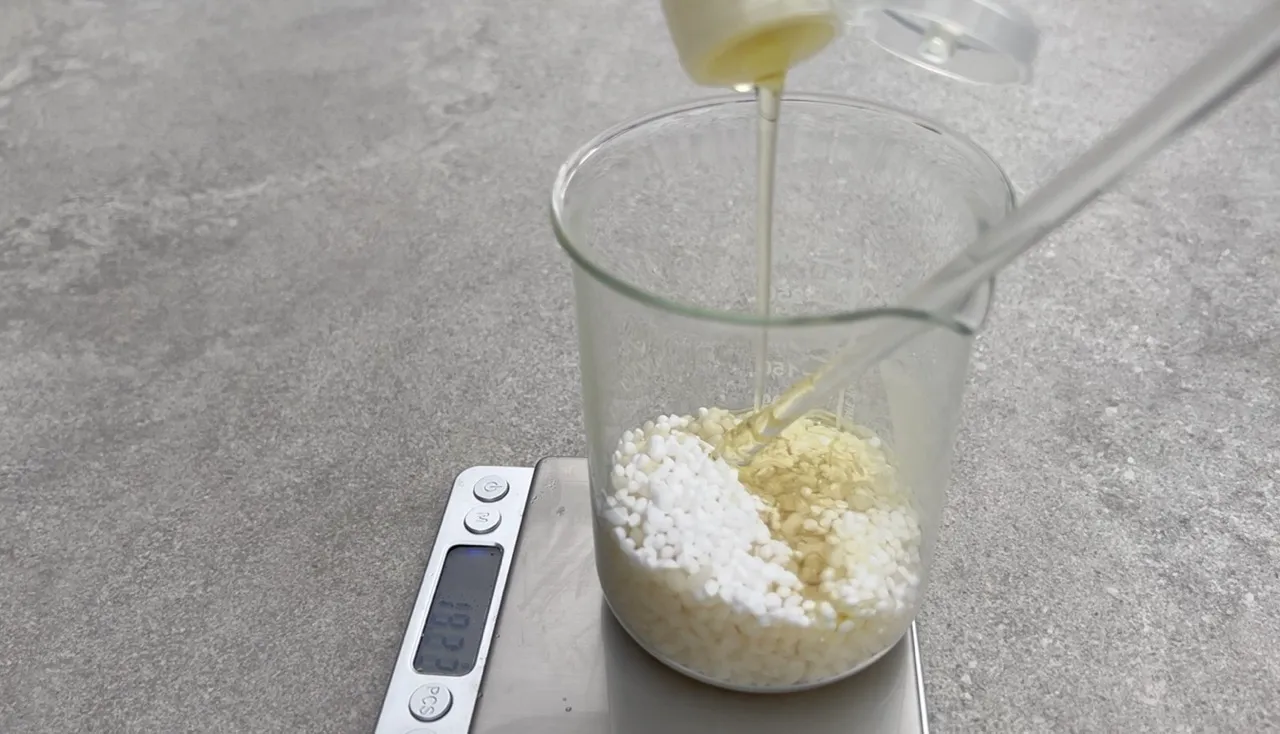
- Place phase A into a double boiler on medium heat to melt.
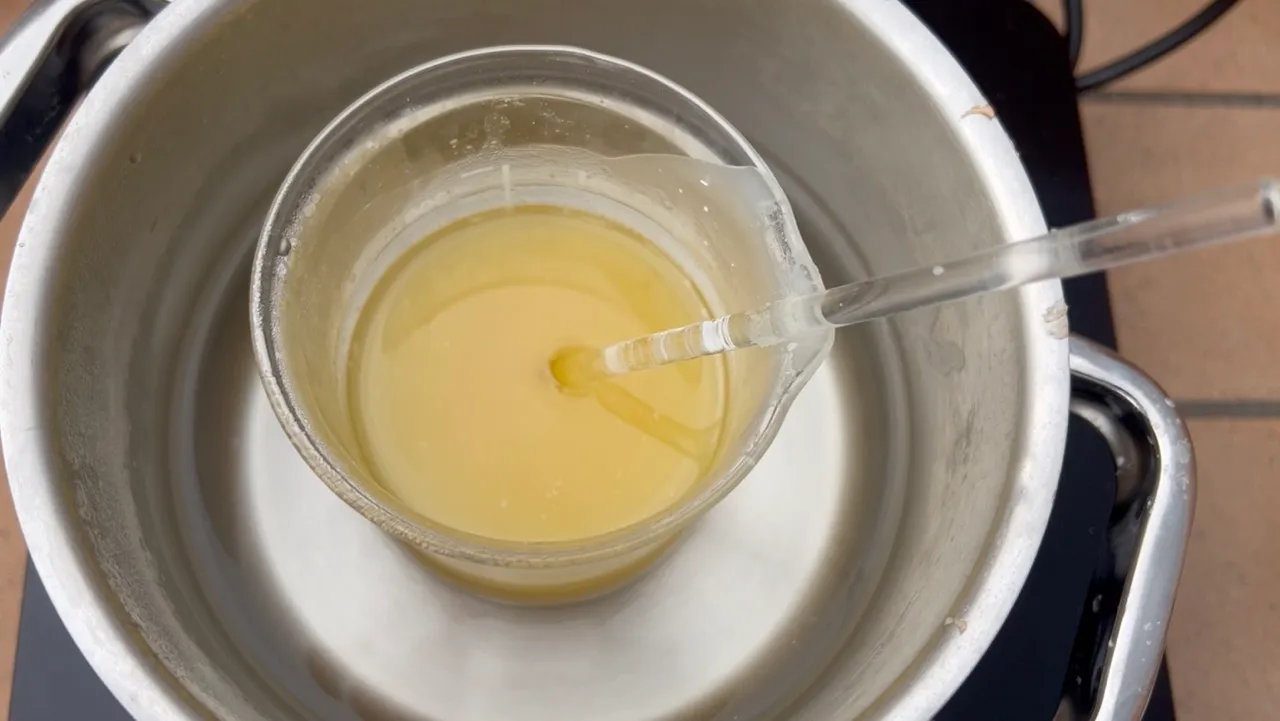
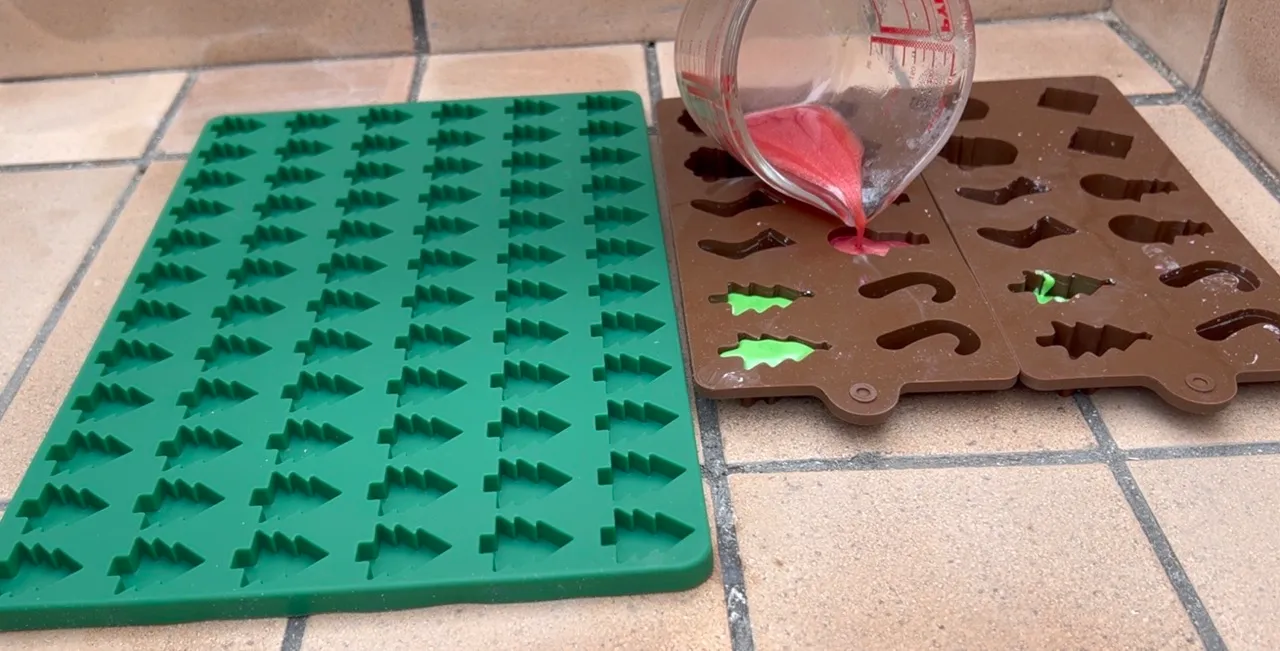
- Remove phase A from the heat, and ensure everything is melted and mixed. Prepare 2-3 beakers with mica colors for the embeds.

-
Add phase B ingredients and mix well. You can add phase B before dividing into different beakers with colors. Divide the mixture into different beakers with different colors.
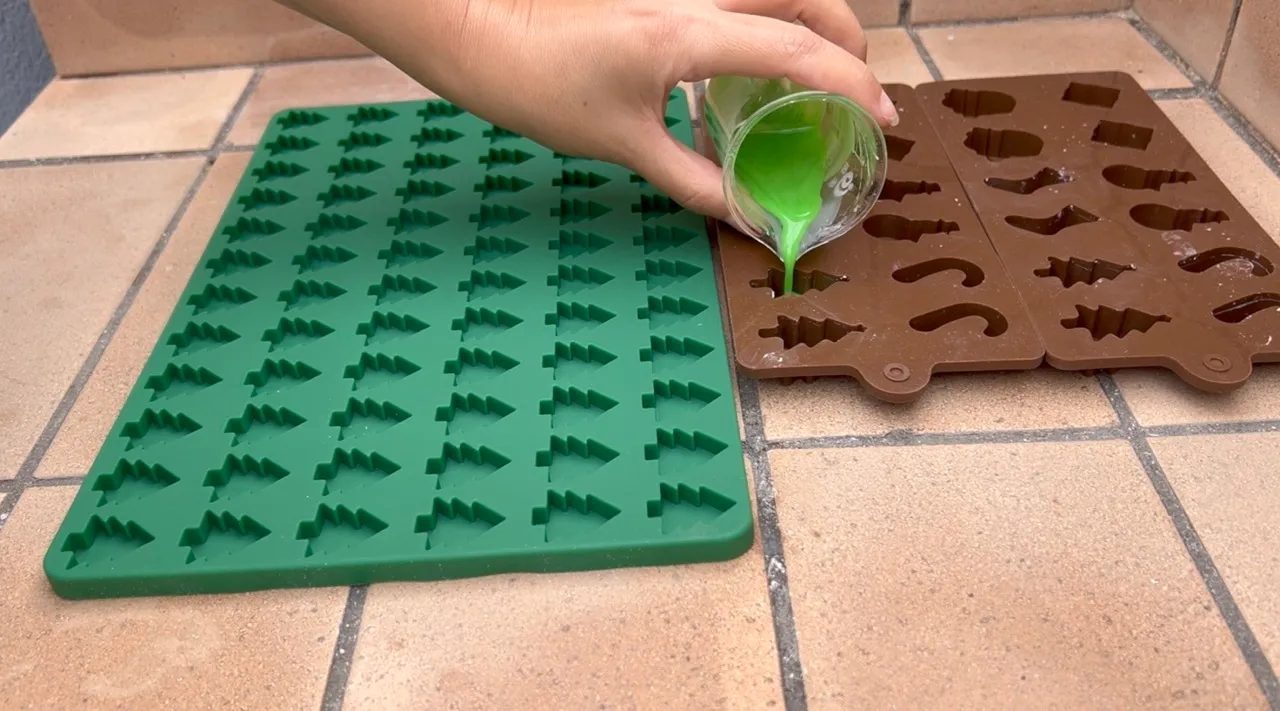
-
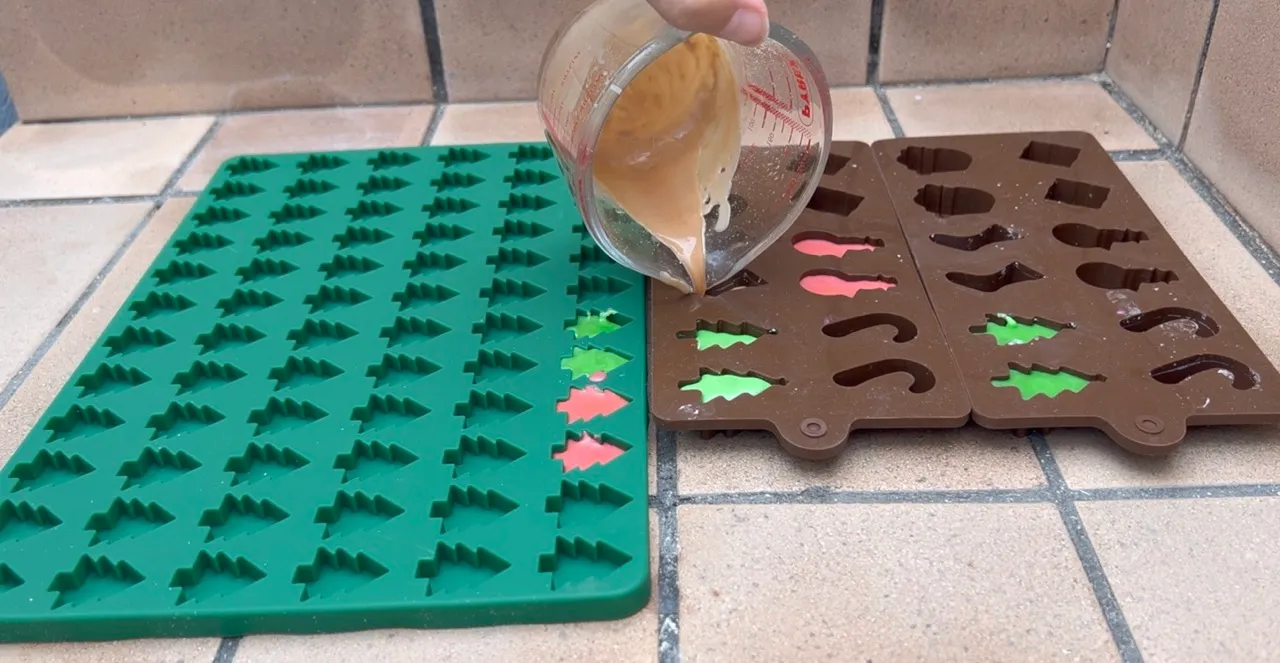
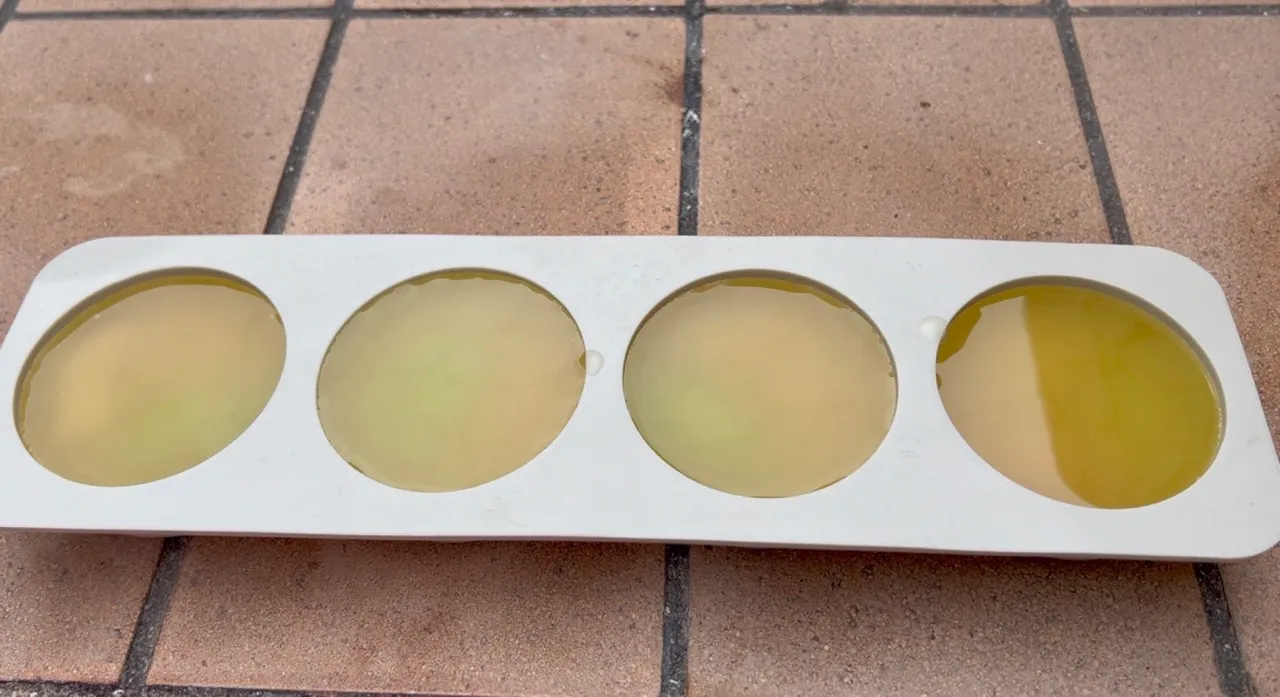
Pour into the silicone molds and let the embeds cool down.
-
Release the embeds from the molds. Set aside for later.
-
Make a larger amount of the product without colors. In a heat-resistance beaker, place phase A into a double boiler to melt. Remove phase A from the heat and add phase B; mix well.
-
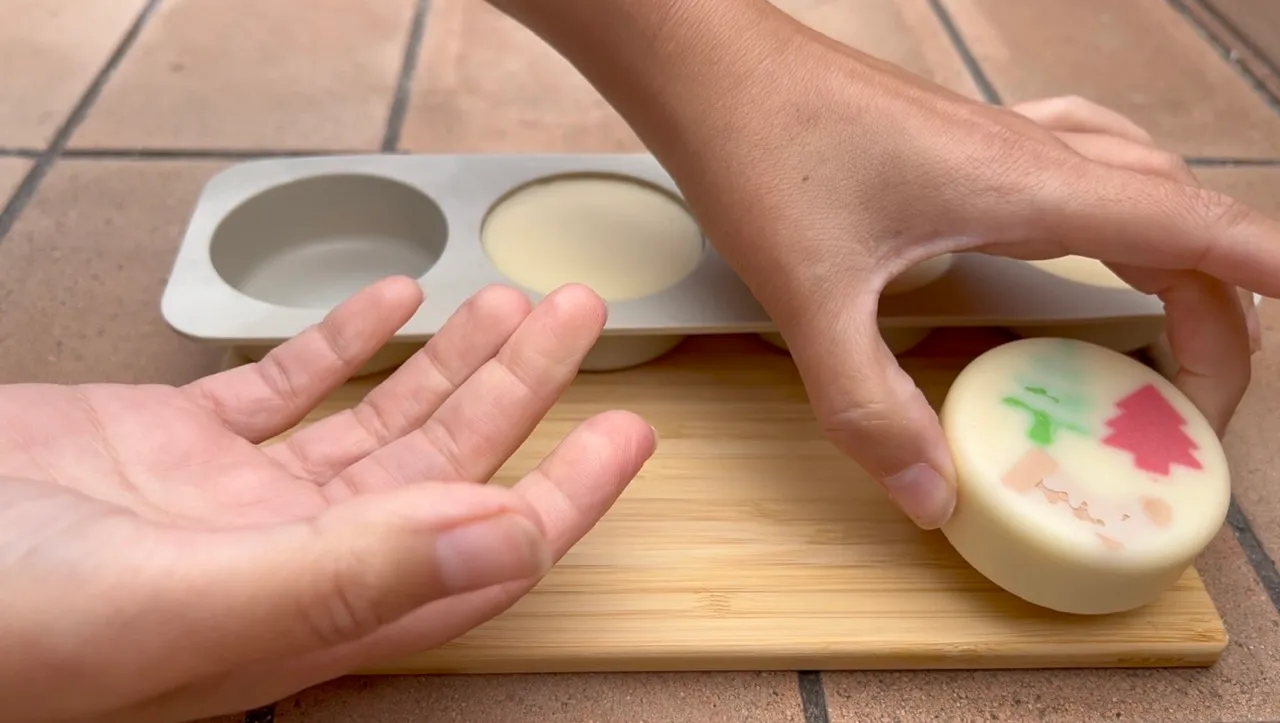
First, place the embeds you made earlier in the bottom of the molds, and then pour the mixture on top to cover them. Let the bars cool down and then release them from the molds.


- Place the lotion bars into aluminum tins. Add some cupcake paper to hold the bar inside the tin.