If you are a beginner in making creams or lotions, please start by reading this post to learn the basics of how to create creams / lotions.
An oil-free cream is an emulsion that can hydrate and moisturize your skin without using oils.
We use emollients that are not oils to obtain moisturizing properties, such as esters. Esters, in general, are lighter and less greasy than oils.
In the oil phase I use coco caprylate (a fatty alcohol derived from coconuts), which is considered a silicone alternative. It is very light and creates a silky feeling when applying the cream.
Oil-free creams are an effective product for those who experience excess oil production that can result in blocked pores, shiny skin, and acne. People with oily or acne-prone skin will benefit from a moisturizer that can provide hydration without leaving a greasy residue or clogging the pores.
Also, people with mixed skin will sometimes prefer an oil-free cream for their morning routine before they apply makeup or SPF cream.
You can help support my website and channel through the “buy me a coffee” page.
Here is the link: https://www.buymeacoffee.com/diycosmetica
Your support helps me keep sharing here more information and more formulas.
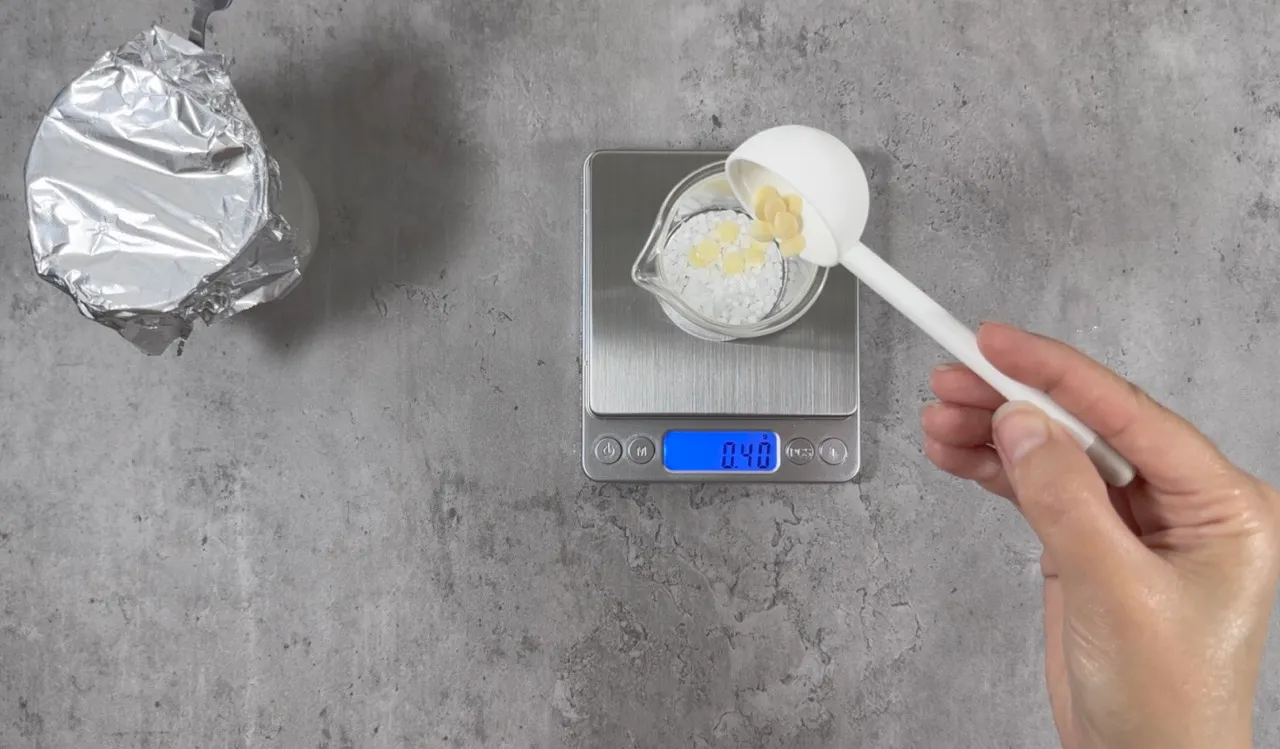
In this recipe, to add more viscosity and stability, I add myrica fruit wax.
Myrica fruit wax is not greasy on the skin and helps to obtain a smooth texture for the final product. If you can’t get Myrica fruit wax, swap it with rice bran wax.
If you do not want to use wax, you can replace the Myrica fruit wax with cetyl alcohol (a total of 4g of cetyl alcohol). To read more about waxes in cosmetics check this post.
For the emulsifying wax, I’m using Polawax NF (INCI: Cetearyl alcohol and polysorbate 60).
You can use different emulsifying wax, considering that each emulsifying wax has other properties and creates different viscosity and texture to the final product. You can read more about it here.
In the oil phase I also add Cetyl alcohol which is a fatty alcohol , Cetyl alcohol adds creaminess to the final product and helps to thicken it.
Cetyl alcohol is also a thickening agent that helps stabilize the final product.
In the water phase, I used distilled water which you can replace with aloe vera liquid or a hydrosol.
I added niacinamide (a form of vitamin B3) to the water phase (It can be processed either cold or hot at temperatures up to 70°C).
Niacinamide can increase the skin’s keratin, reduce hyperpigmentation and reduce fine lines and wrinkles. On top of that, niacinamide has anti-inflammatory properties that can help calm and soothe irritated skin.
I also added allantoin (it is recommended to add it to the heated water phase, as it is best dissolved at 50°C). Allantoin is a natural compound derived from plants such as comfrey and chamomile.
Allantoin has moisturizing, anti-inflammatory, skin conditioning and protecting functions. If you want to swap it, use Urea or skip it and add the amount to the distilled water.
In the cool-down phase, I used zinc PCA (pyrrolidone carboxylic acid), a natural mineral complex that can help regulate sebum production and reduce the appearance of pores.
You can replace the zinc PCA with green tea extract or skip it and add 1g to the water phase.
I also added Trehalose (a naturally occurring sugar derived from plants and fungi) for its moisturizing and antioxidant properties. Trehalose can help protect the skin from environmental stressors, such as UV radiation and pollution (by preventing water loss and promoting skin elasticity). Additionally, Trehalose has been shown to have anti-inflammatory properties.
You can replace the Trehalose with sodium PCA, betaine or sorbitol. If you don’t have any of those, you can replace the Trehalose with glycerin.
Another active ingredient I added in phase C is Licorice extract which has anti-inflammatory, antioxidant, and skin-brightening properties. (It contains a compound called glabridin, which has been shown to inhibit melanin production in the skin).
You can swap the licorice extract with bearberry extract, mulberry extract, green tea extract, pomegranate extract, blueberry extract, oats extract, calendula extract, aloe vera extract or cucumber extract.
I added some aloe vera liquid which can be replaced with rose hydrosol or distilled water, and Panthenol (known as vitamin B5) which you can also replace with aloe vera liquid, hydrosol or distilled water.
I used Cosgard (INCI: Benzyl Alcohol, Dehydroacetic Acid, Aqua) as my preservative. You can use a different kind of preservative, making sure you follow your supplier’s instructions regarding usage rate, PH range etc.
If you need to adjust the percentage of the preservative, add or subtract from the distilled water to balance the change. Using sodium benzoate and potassium sorbate as preservatives is not recommended when using coco caprylate.
For the scent, I have used green tea fragrance oil. You can use other fragrance oils or essential oils. (make sure you are using skin-safe essential oils or fragrance oils). Do not use tea tree essential oil. Tea tree essential oil combined with allantoin may cause skin irritation. Always research before adding essential oils to your skincare products.
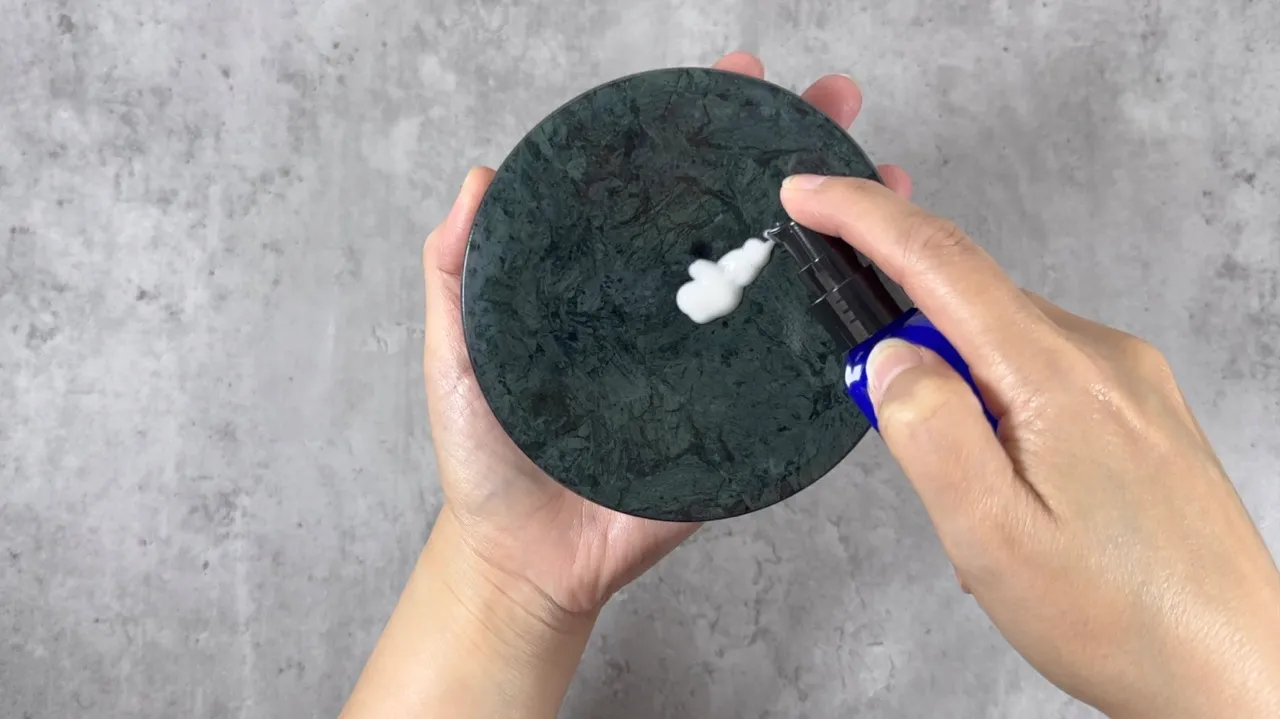
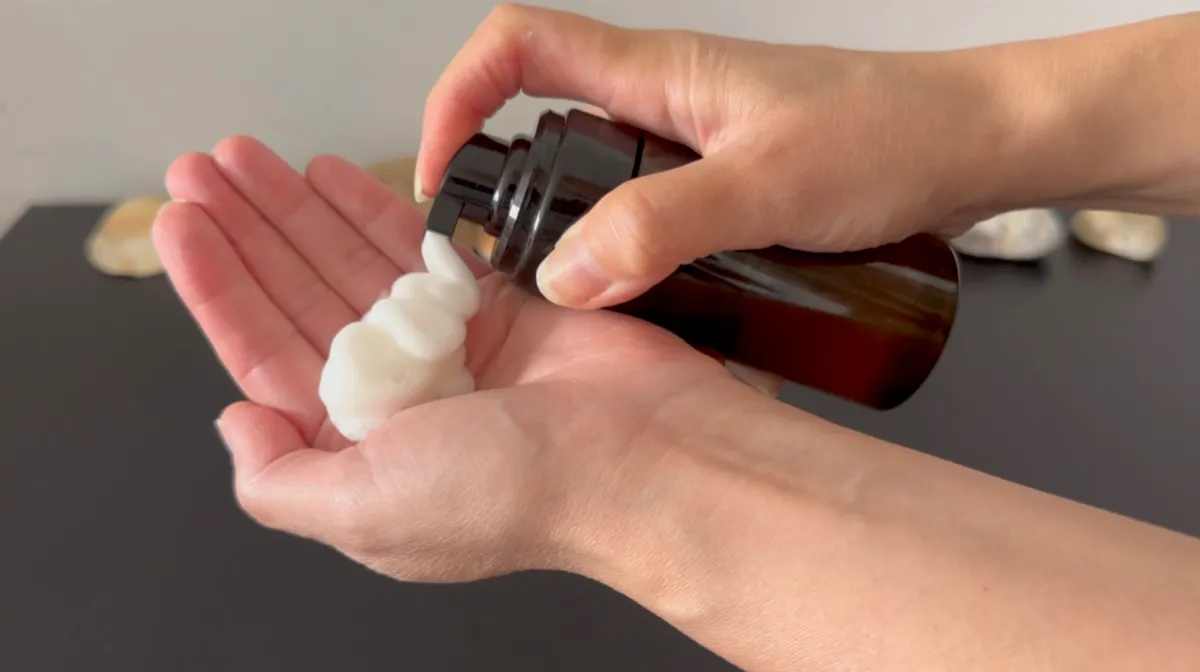
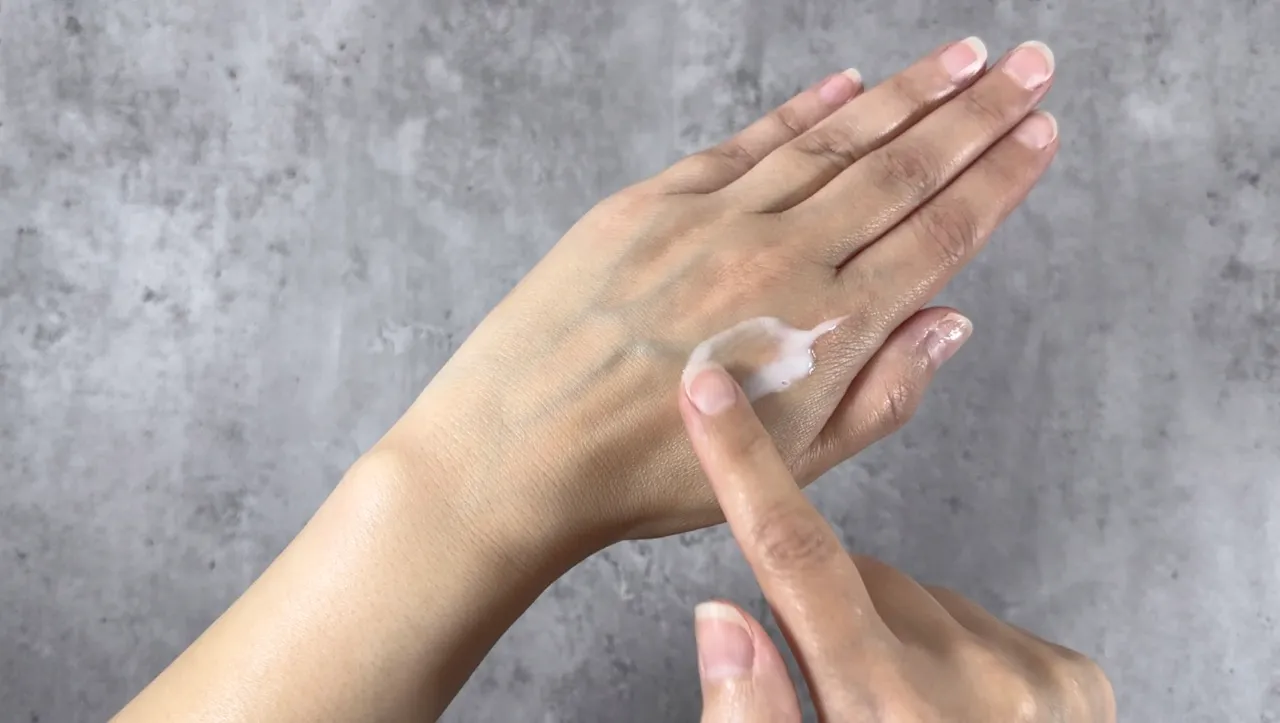
This formula will give a light-medium viscosity to the final product, which absorbs very fast and is very light on the skin.
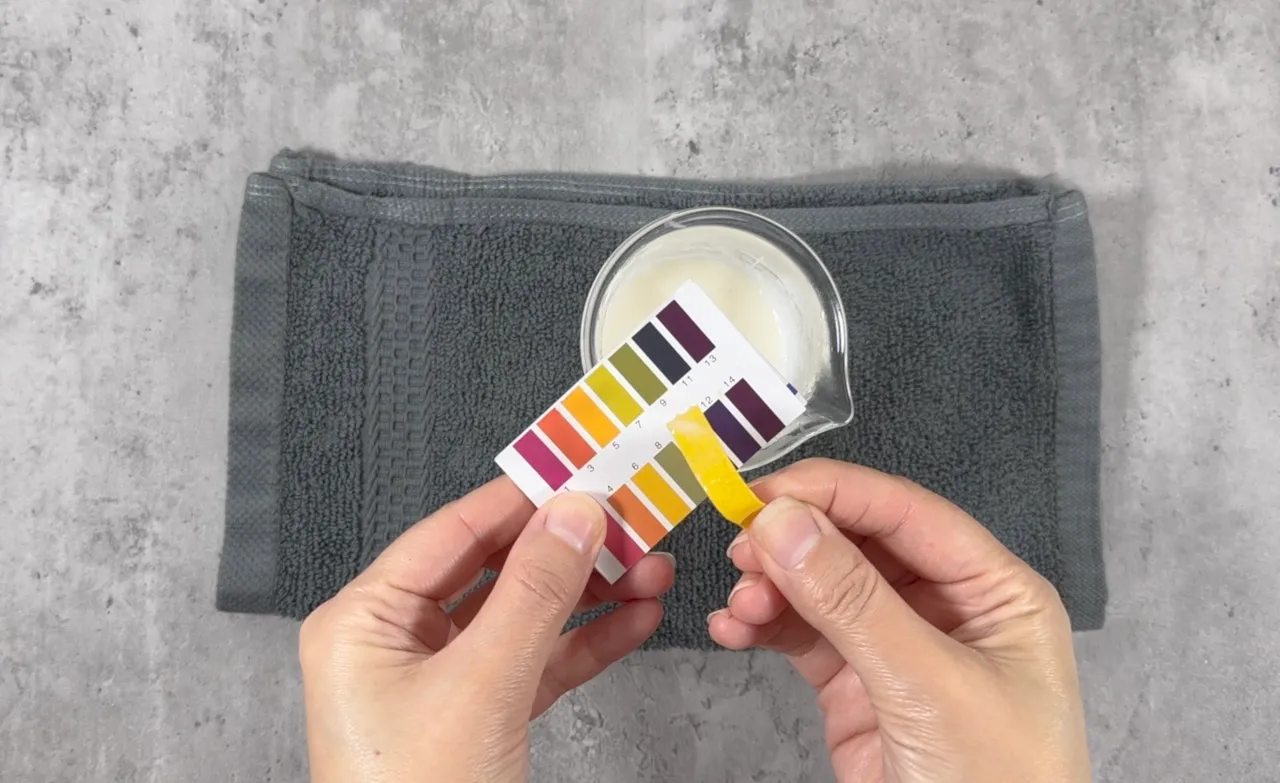
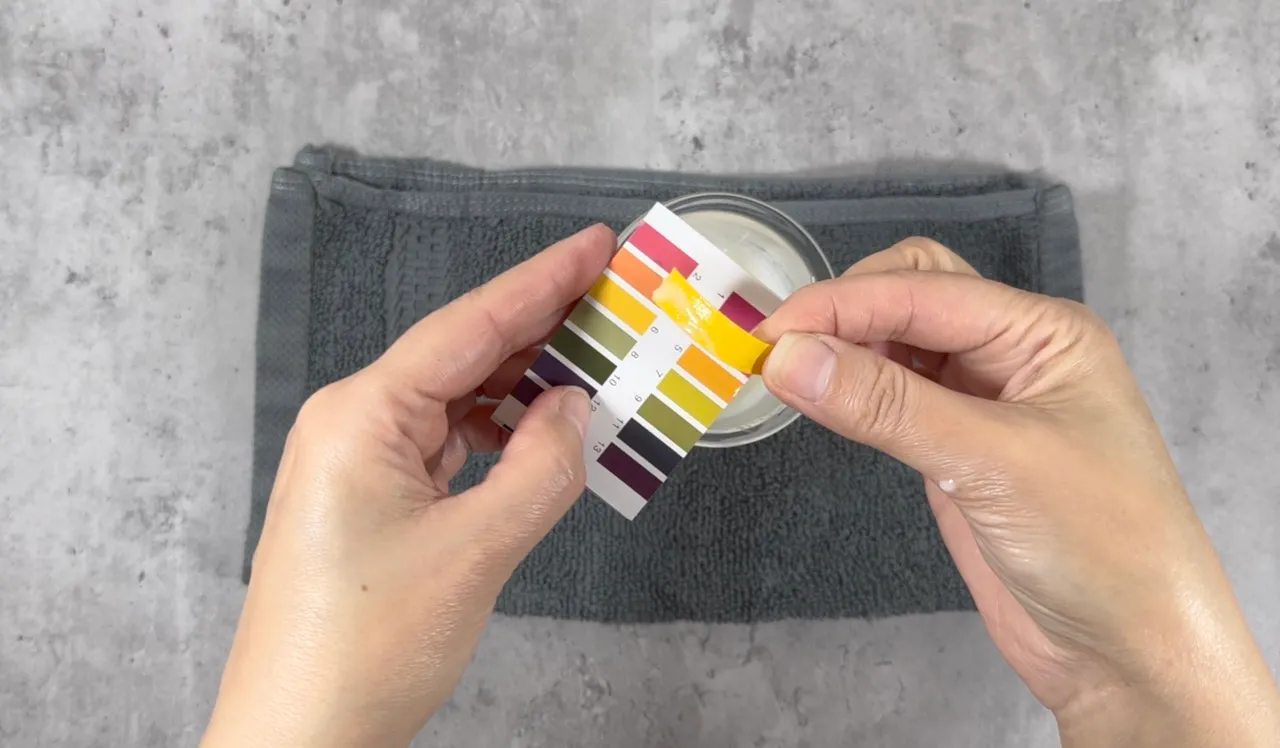
The PH of the final product should be 5.5-6. To read about PH adjustments in cosmetics, check this post.
Method:
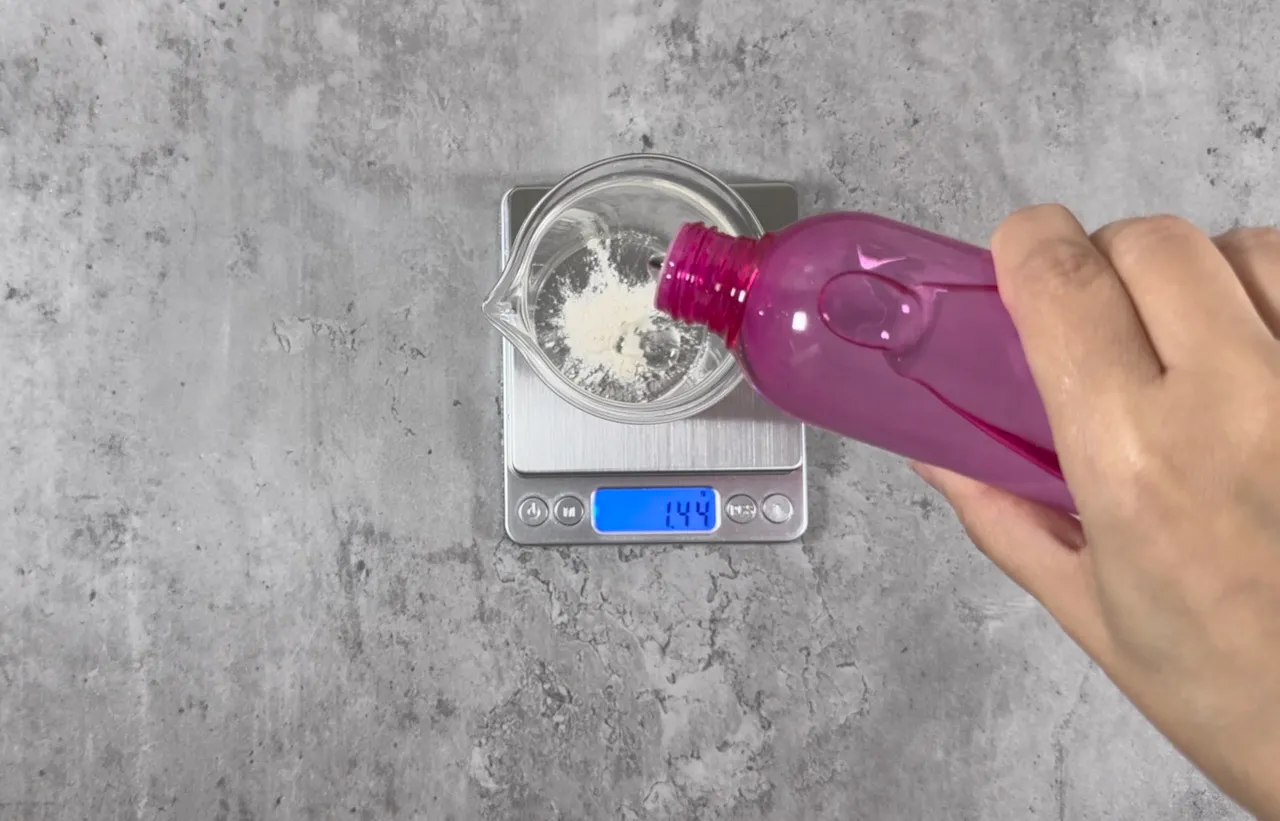
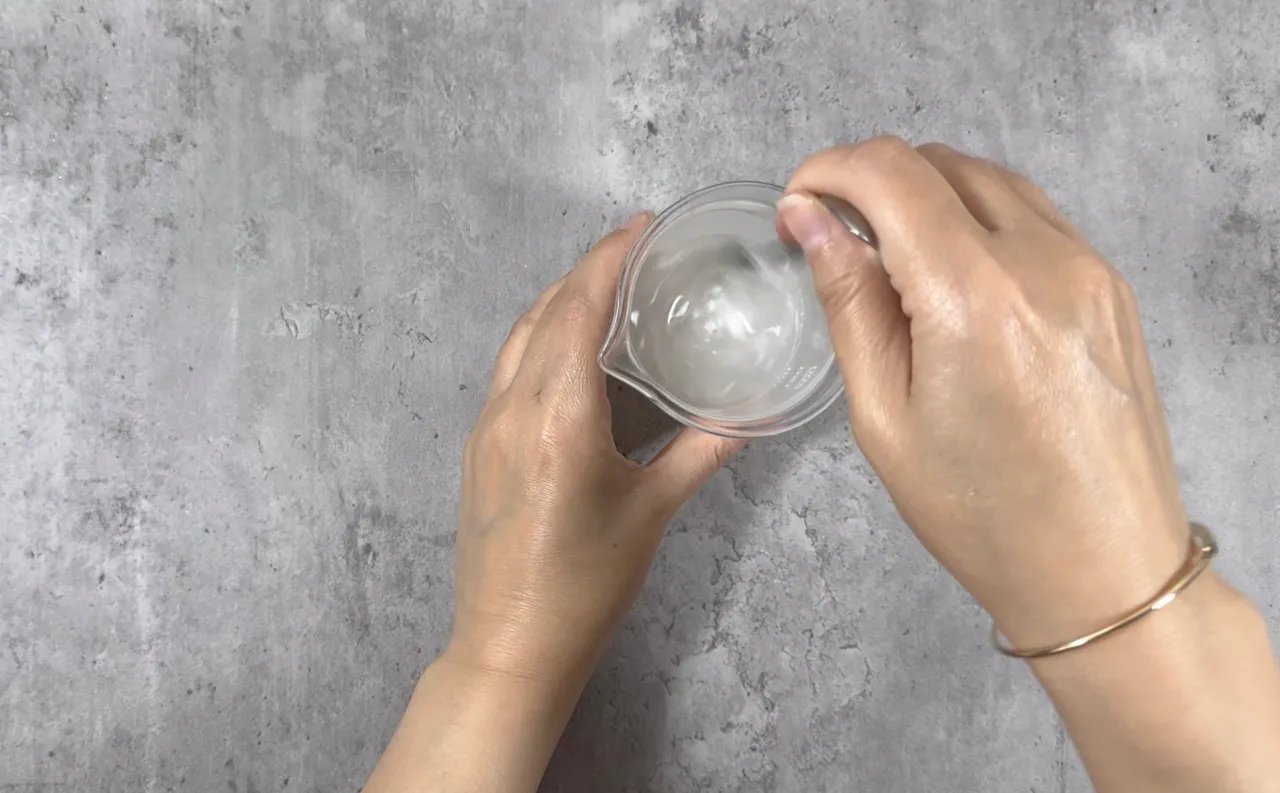
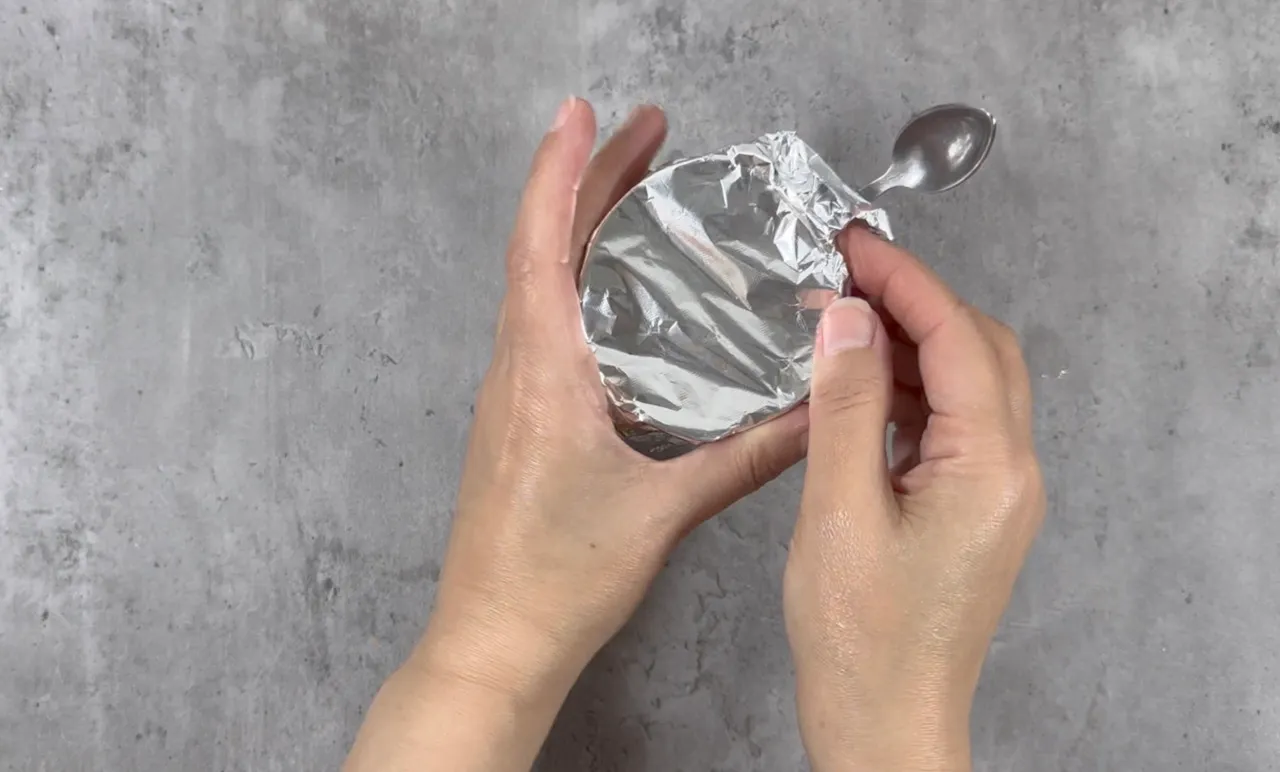
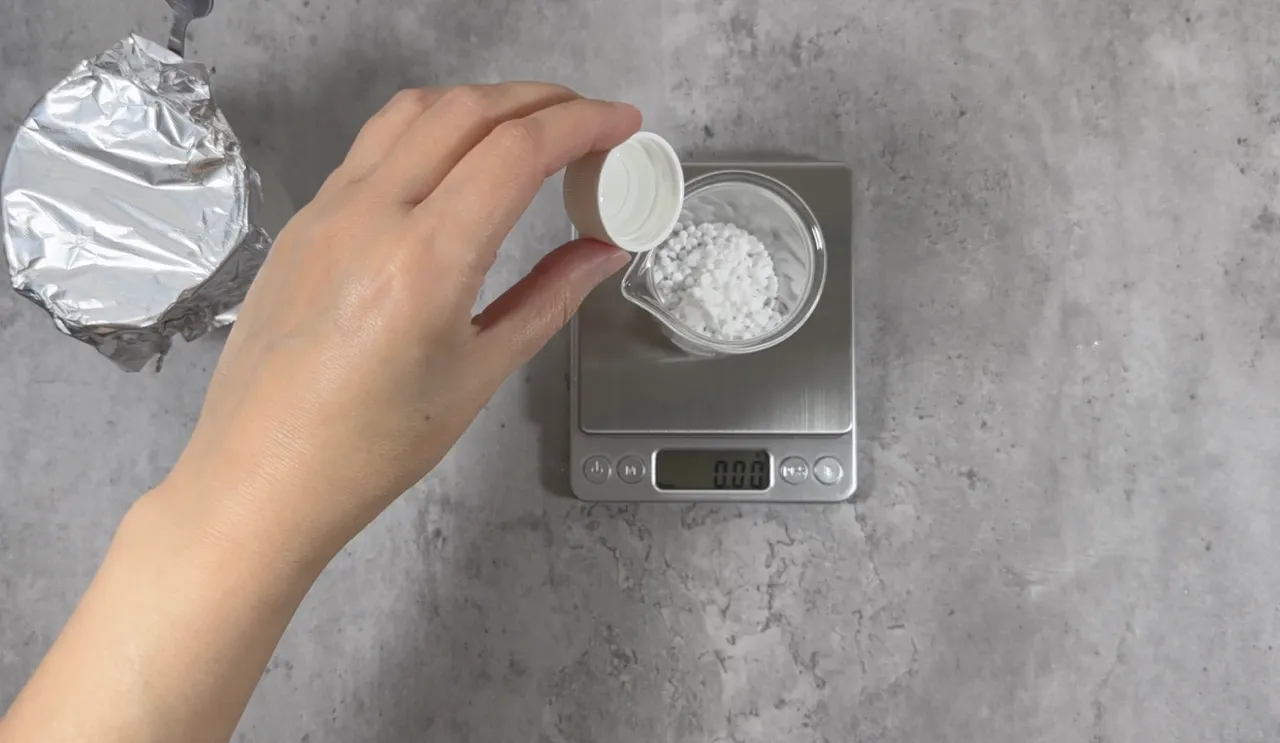
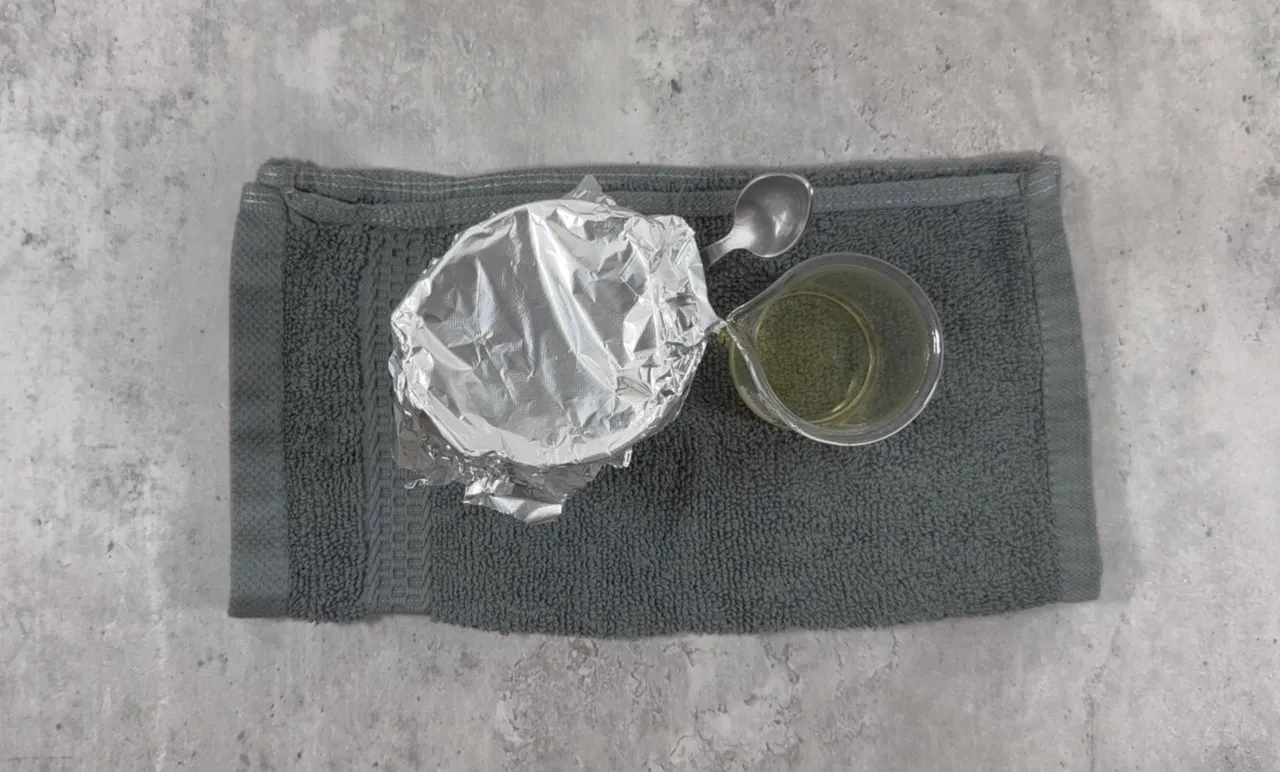
- In a heat resistance beaker, add phase A ingredients. First, mix the glycerin and gum to create a slurry, then add the rest of the ingredients. Cover with aluminum foil (to minimize evaporation) and set aside.
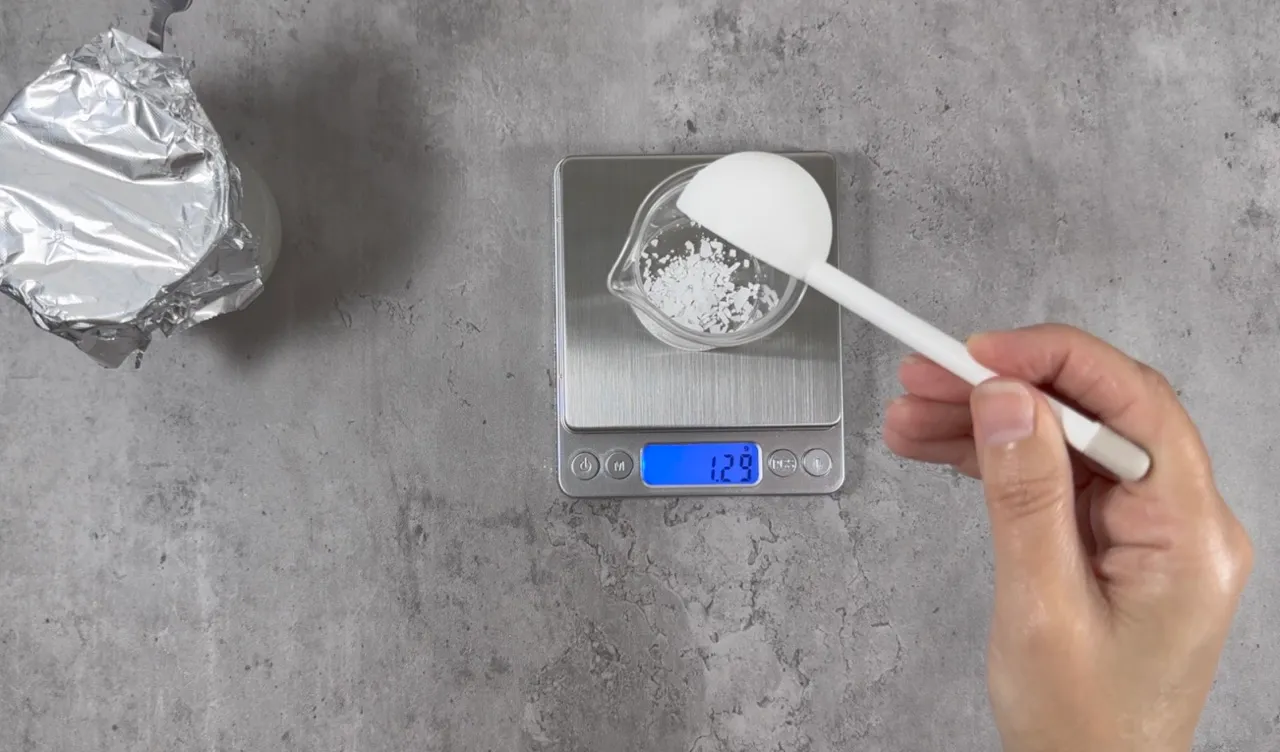
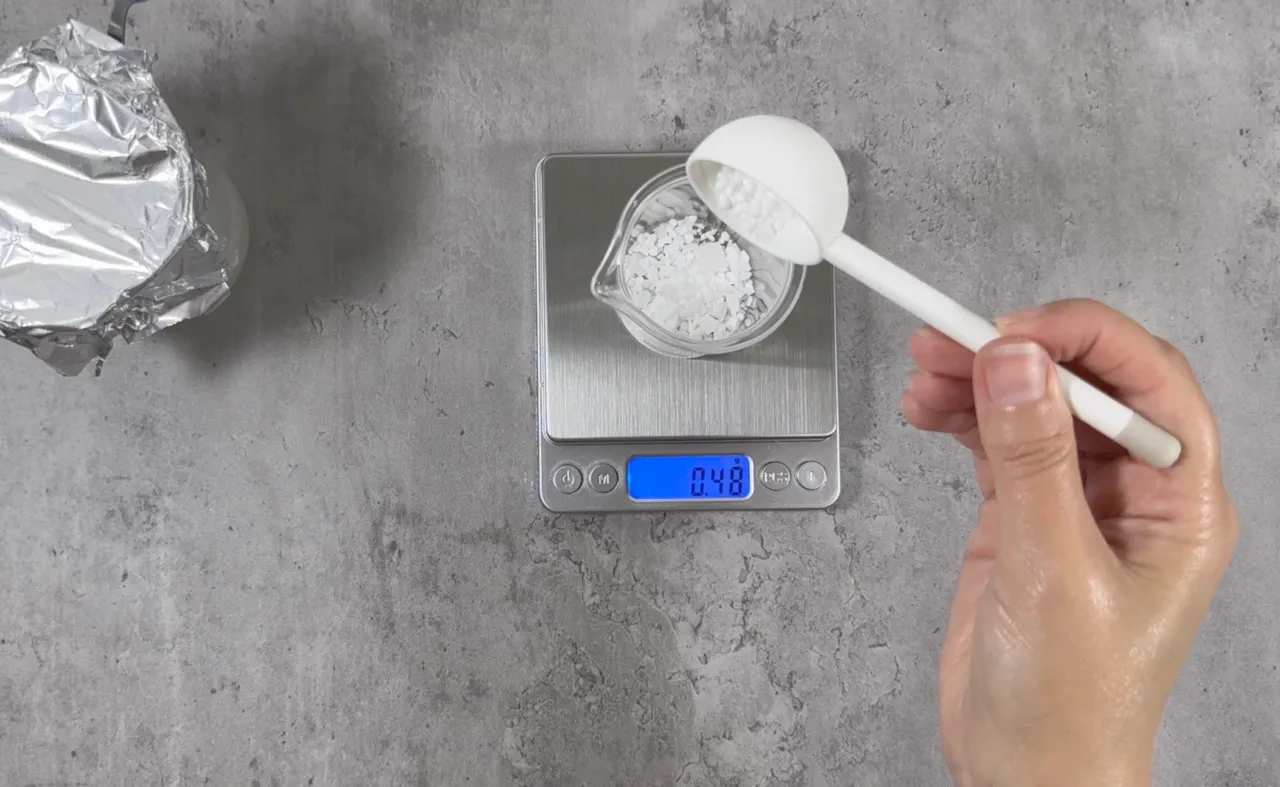
- In a second heat resistance beaker, add phase B ingredients.
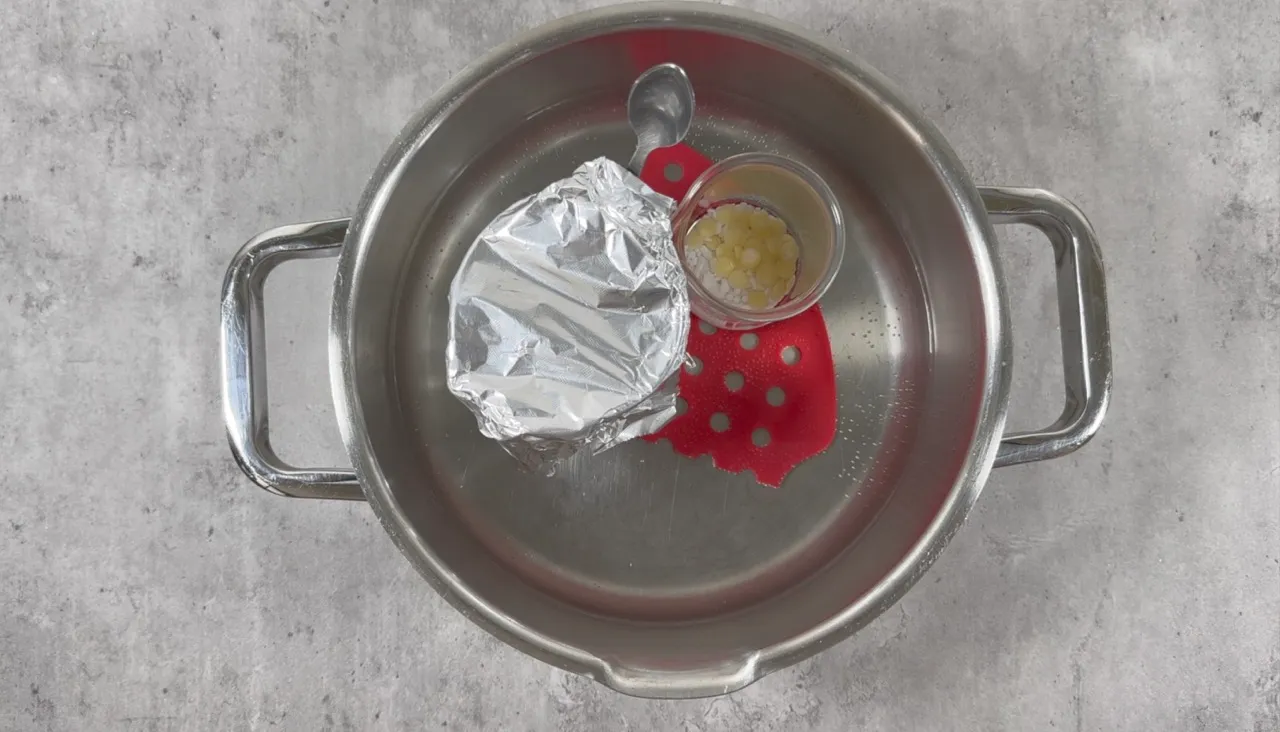
- Place phases A and B into a double boiler on medium heat.
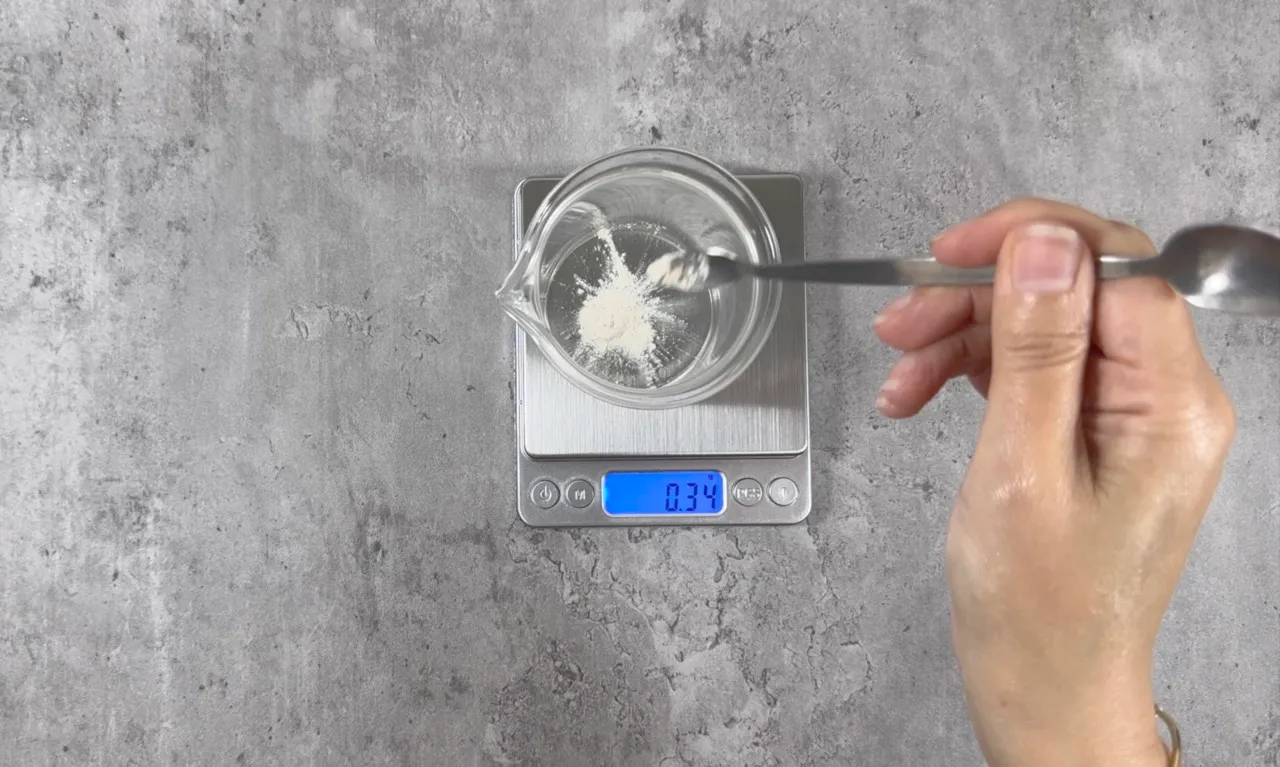
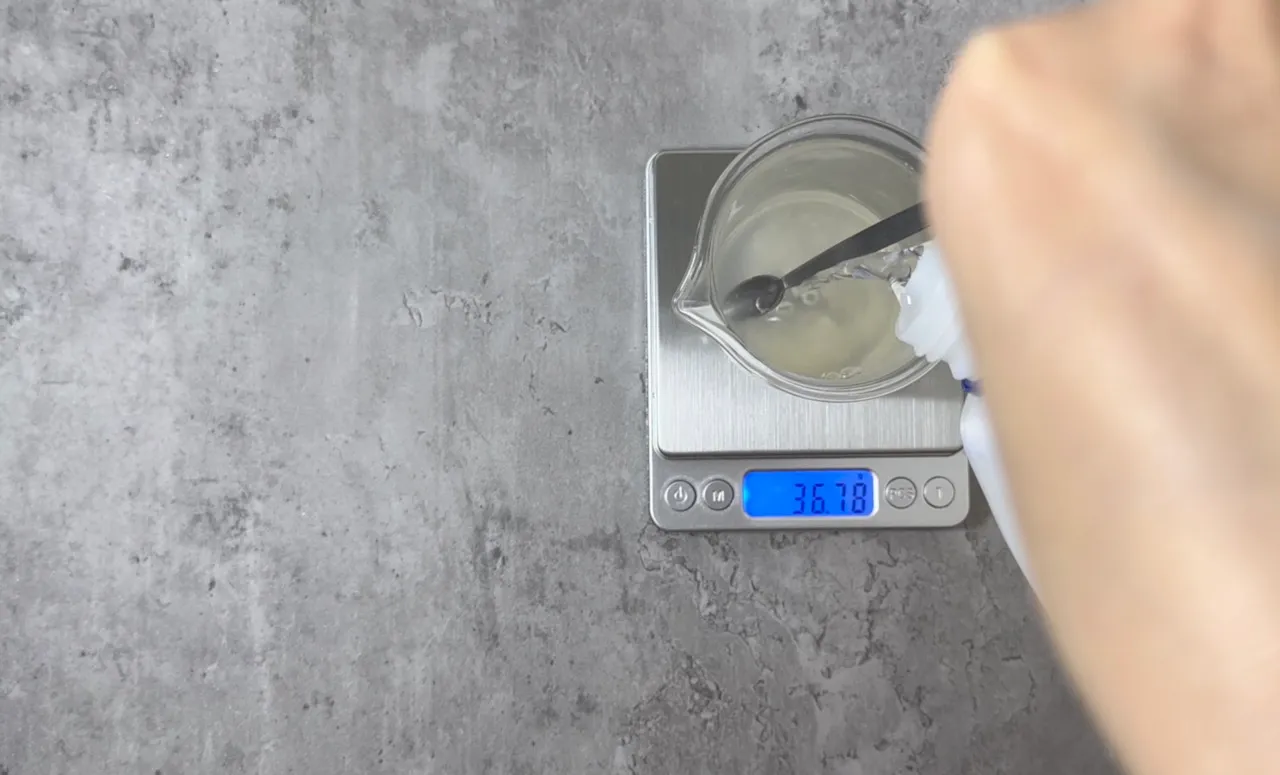
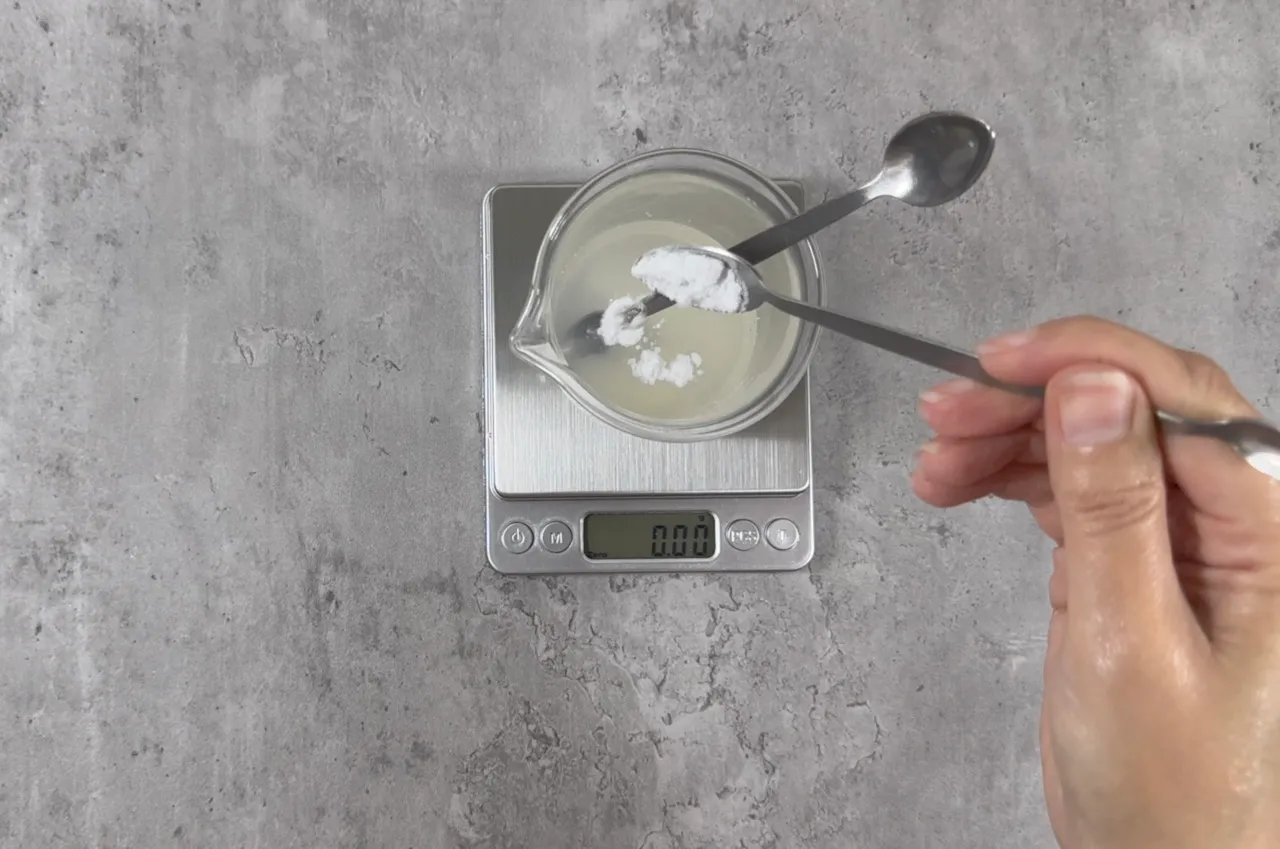
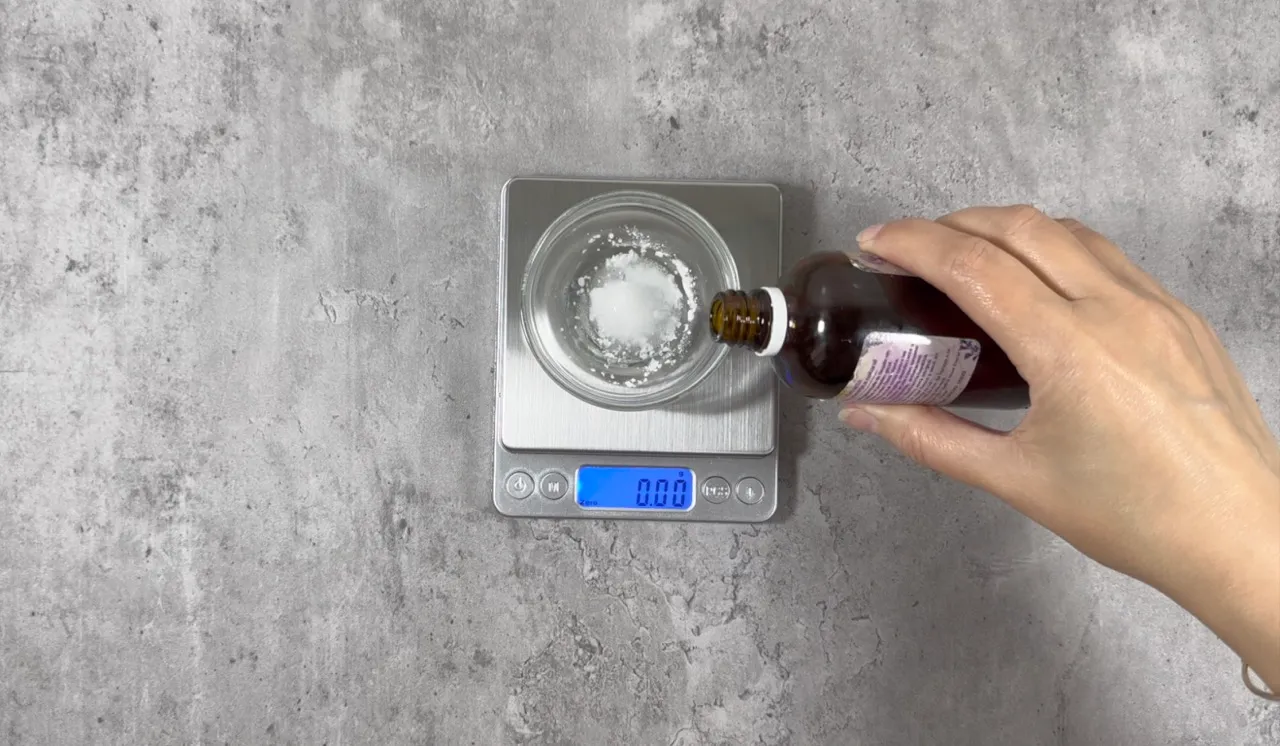
- In a different container, add phase C ingredients. Mix to dissolve the powders. Set phase C aside.
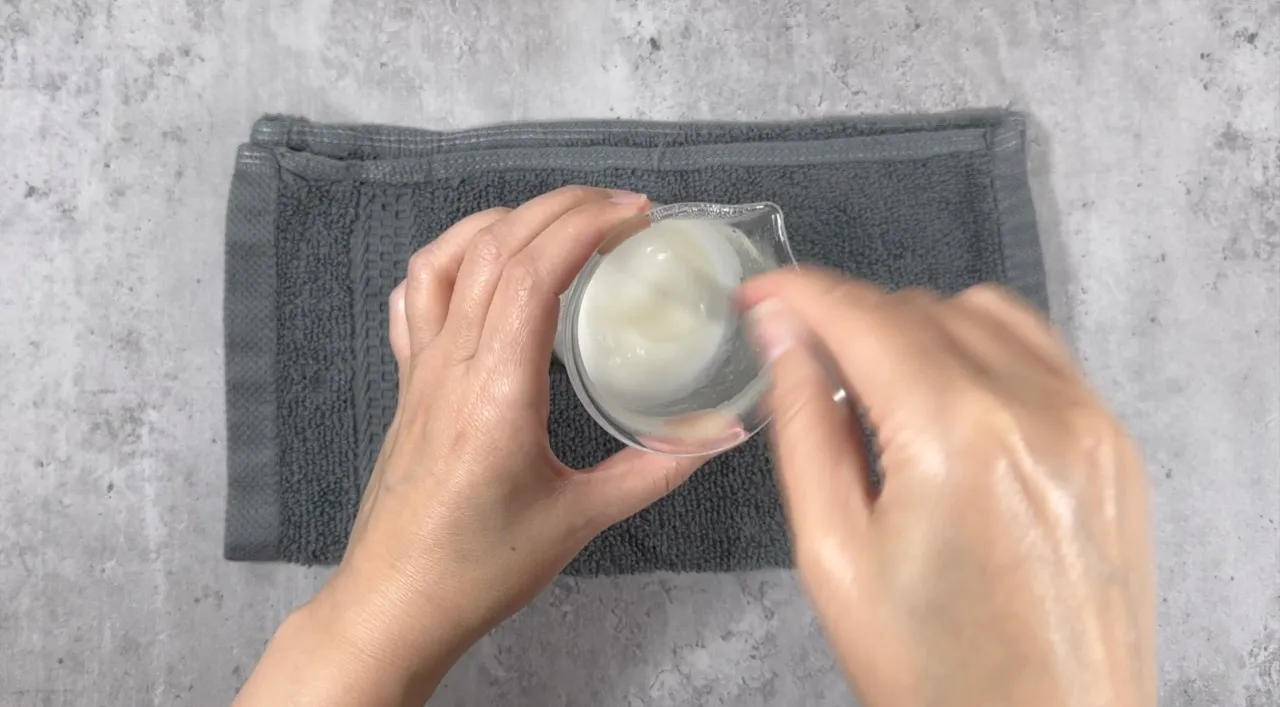
- When phase A is completely melted, and both phases are heated for around 20 minutes, remove phases A and B from the heat.
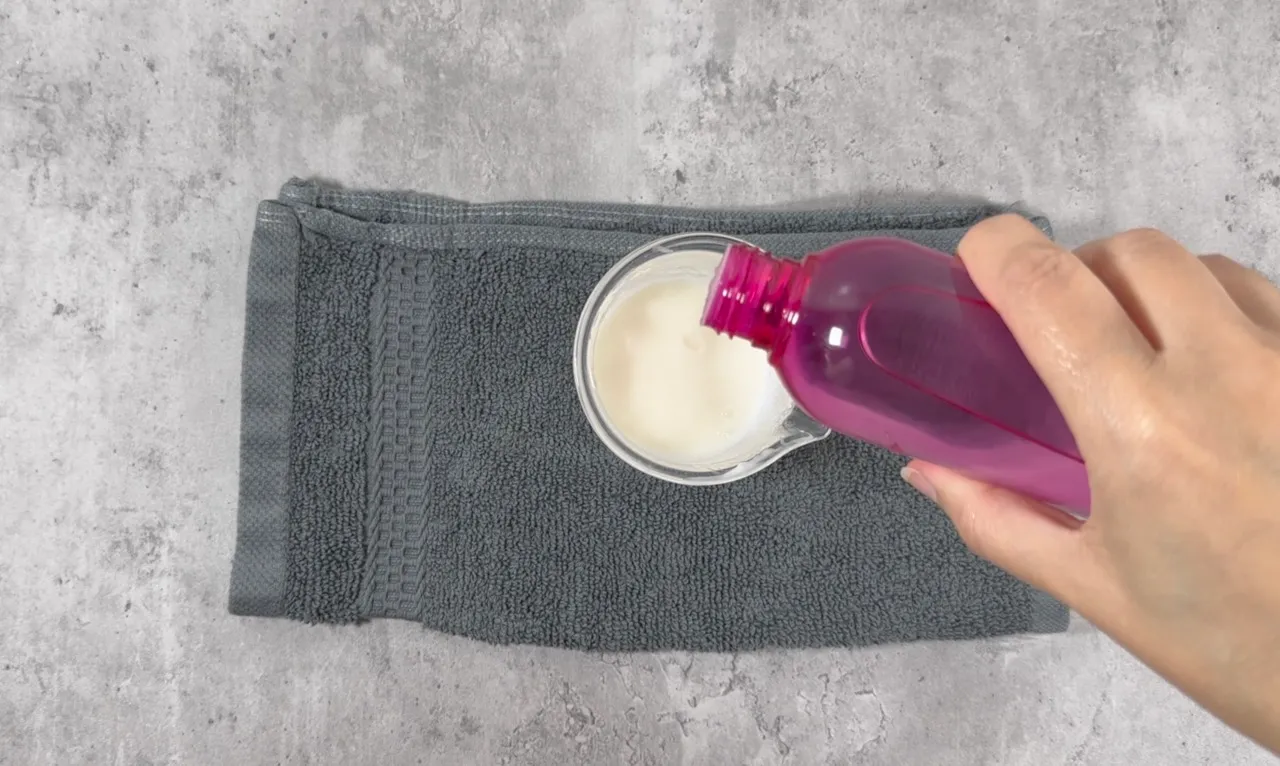
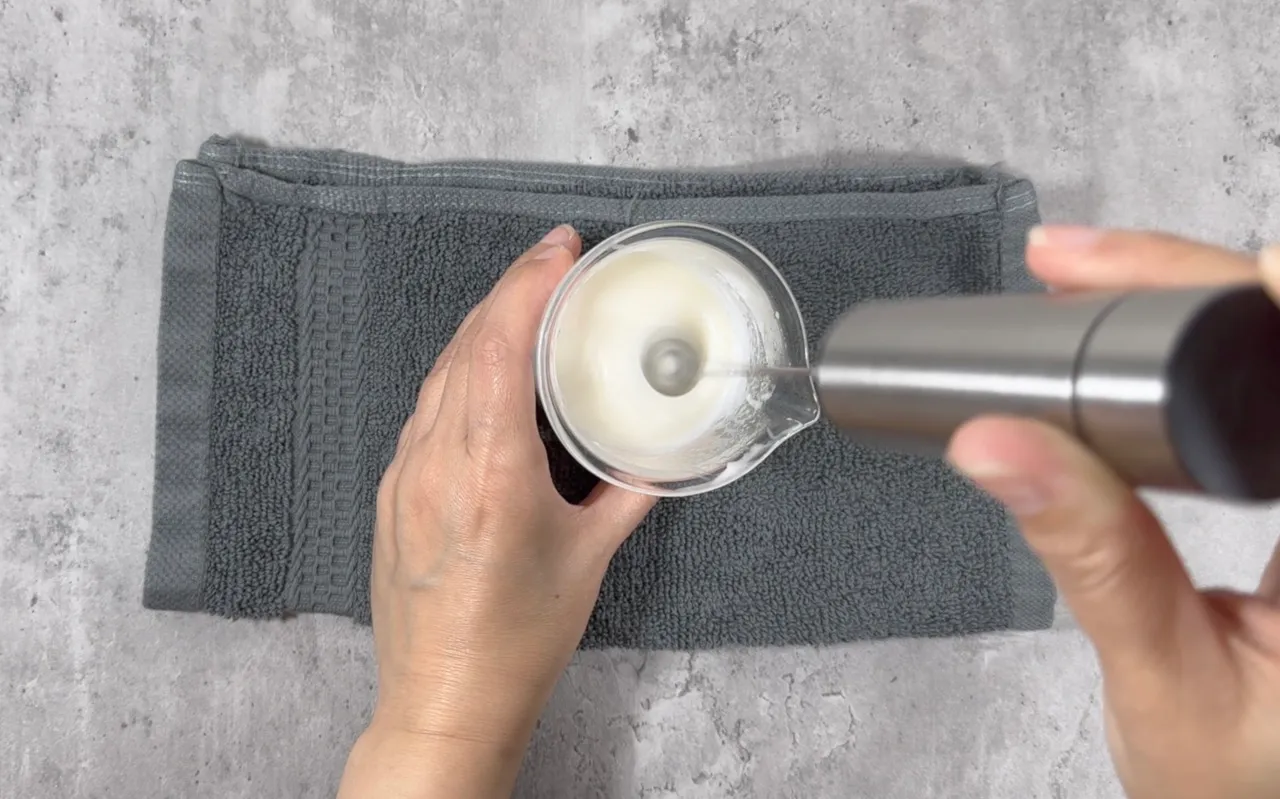
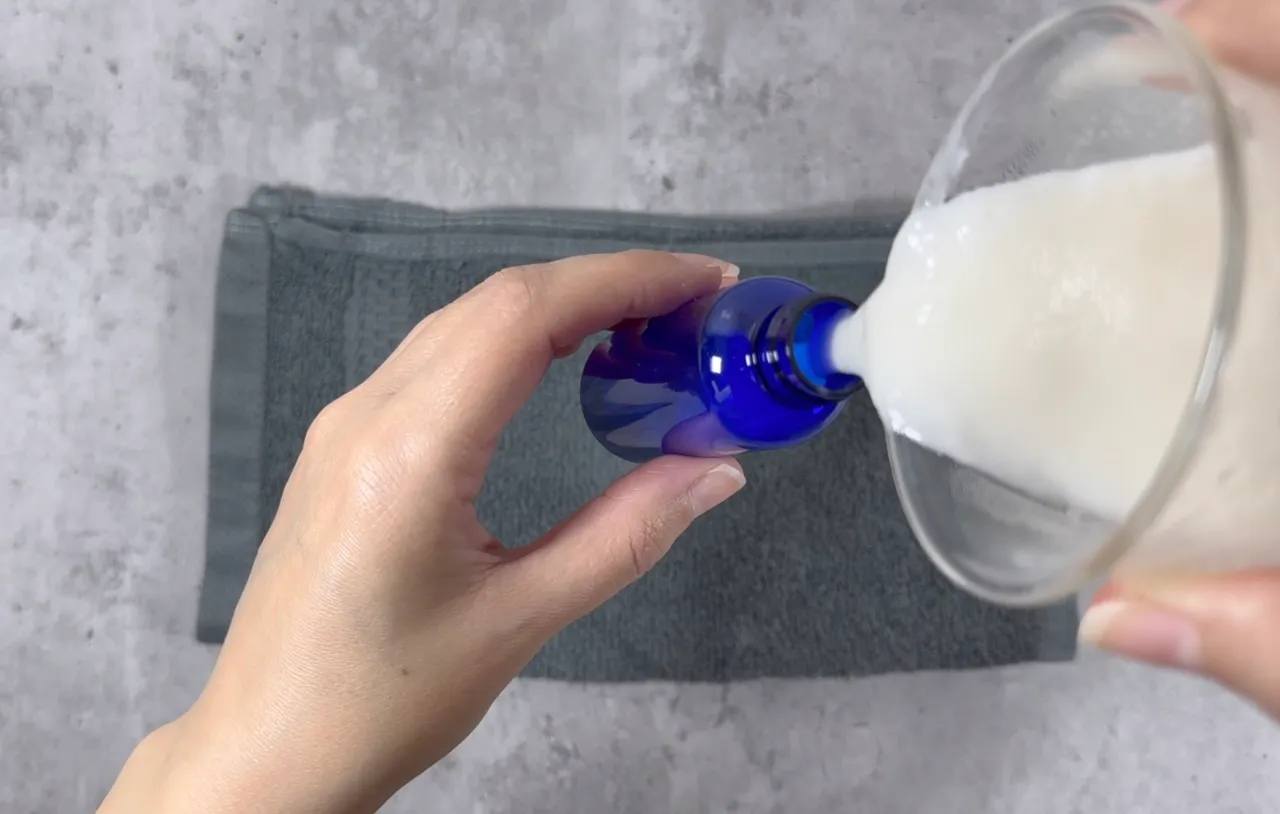
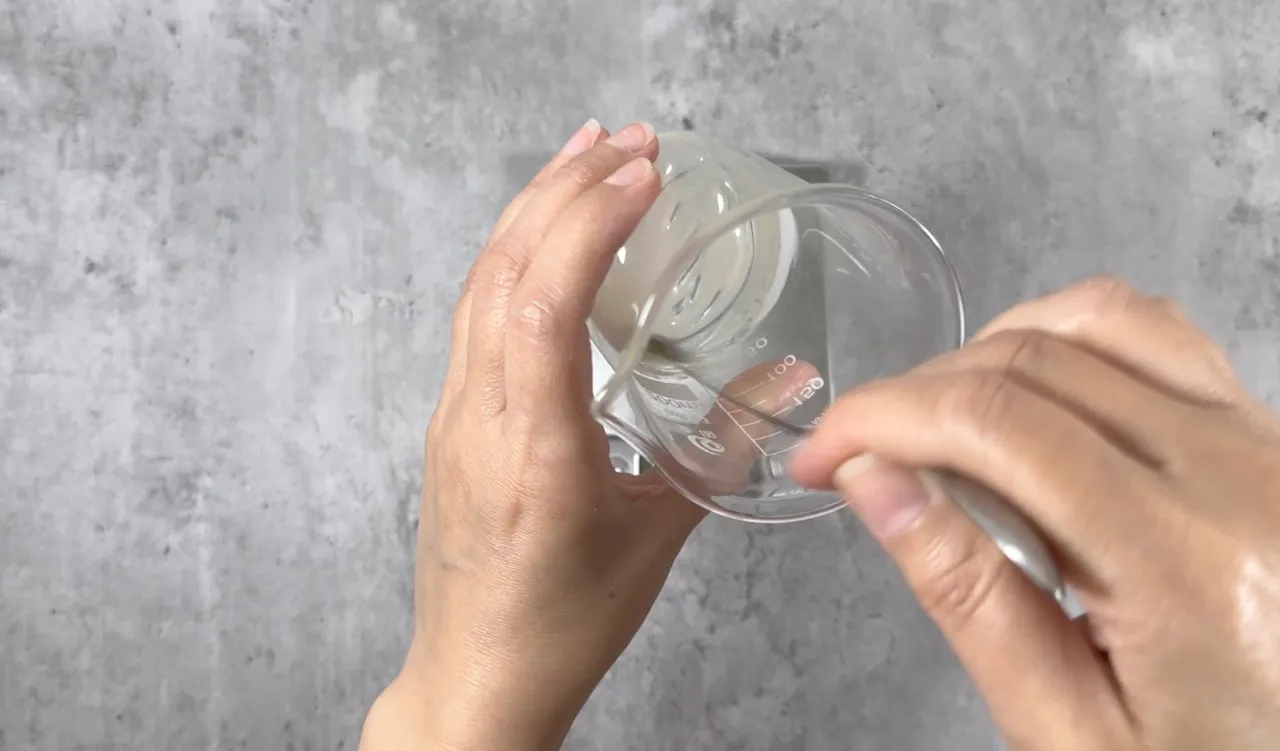
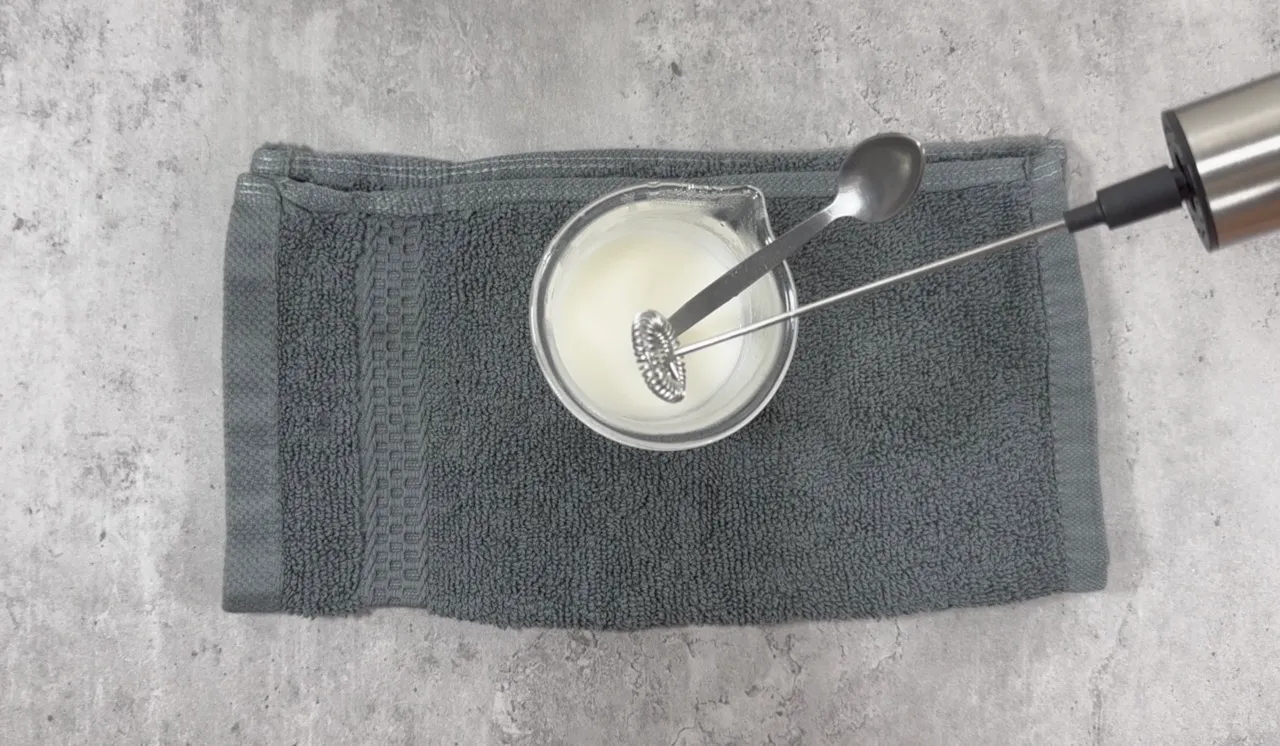
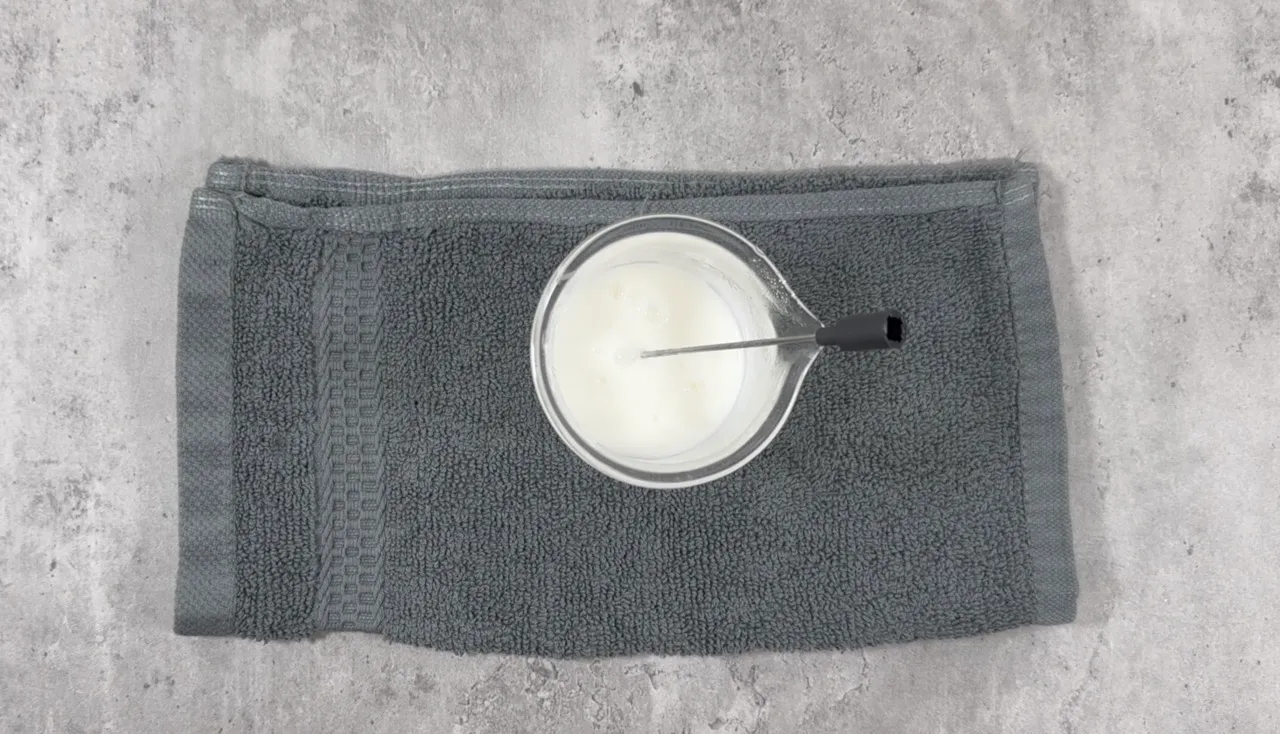
- Combine phases A and B. Use an immersion blender or a milk frother to emulsify. Let the emulsion cool down.

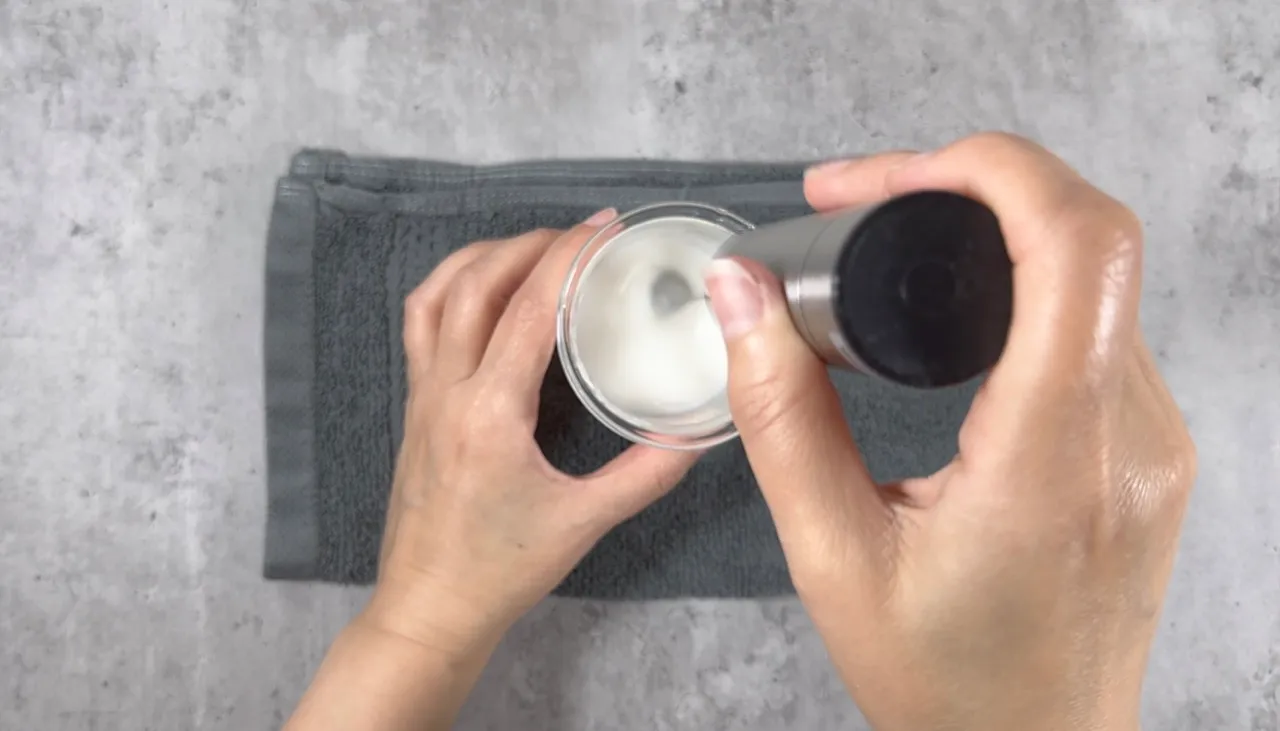
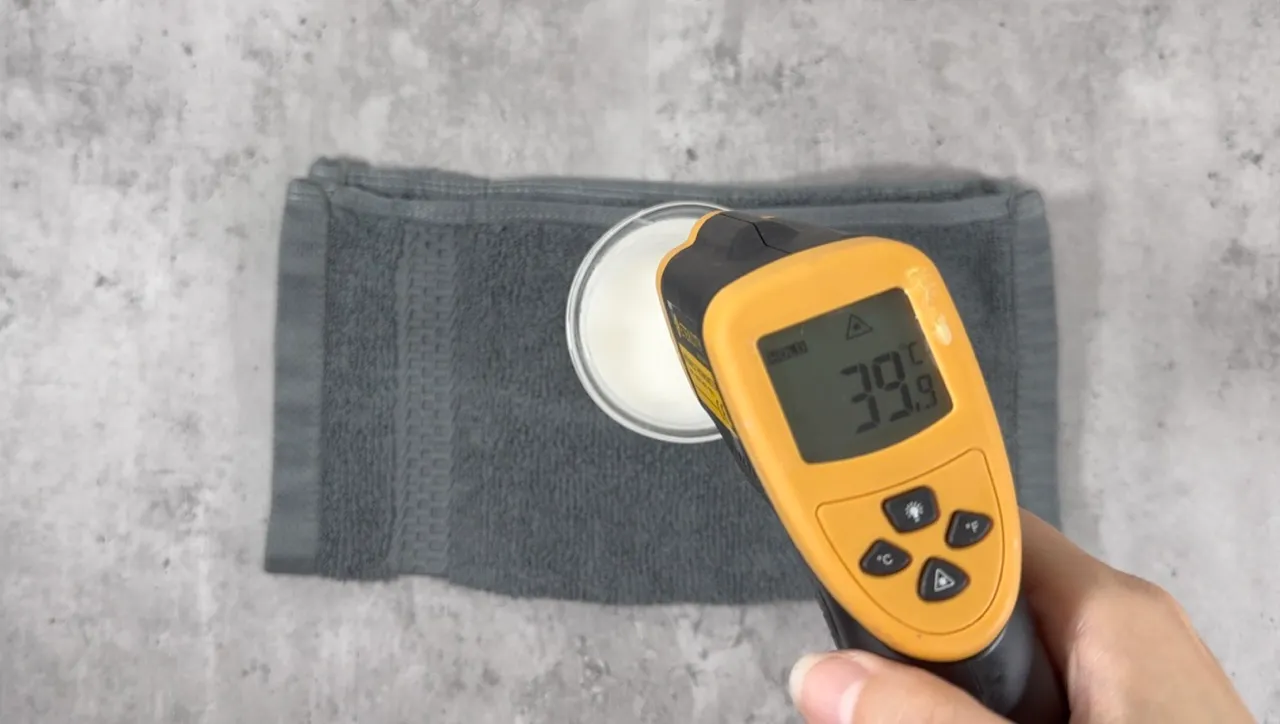
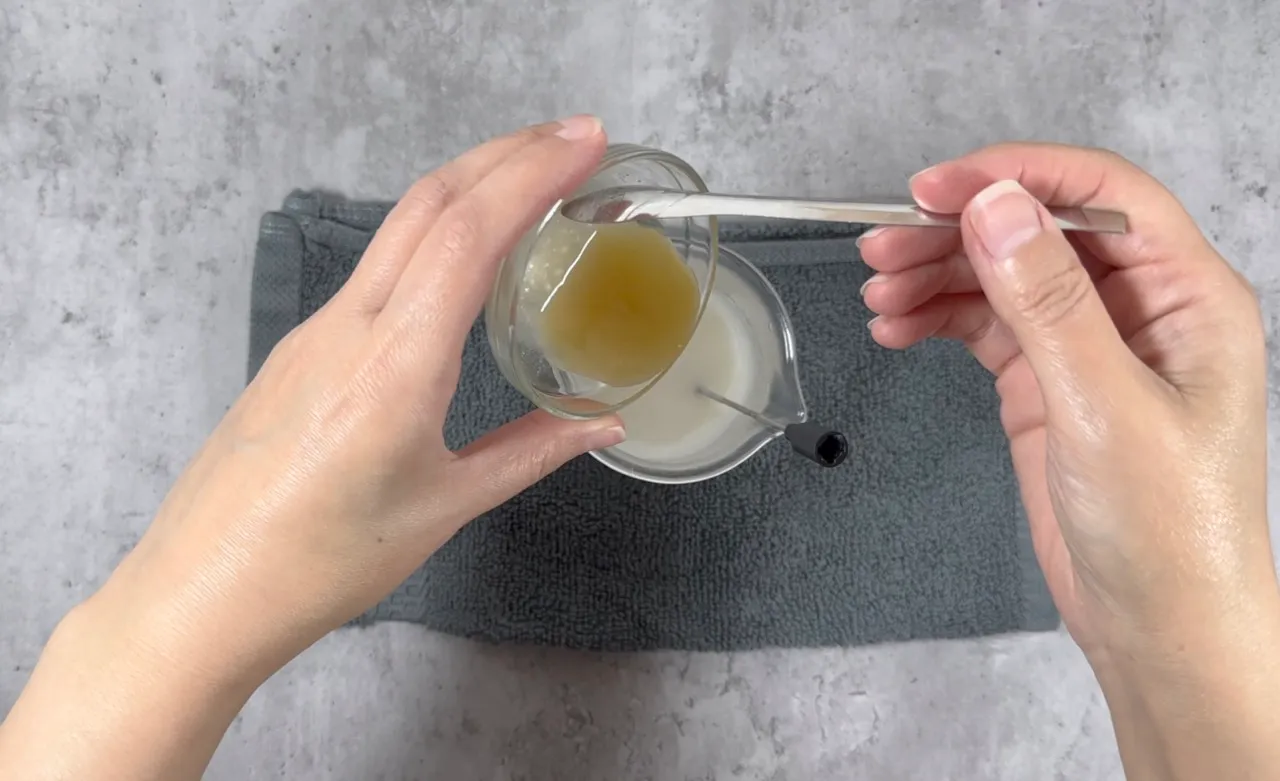
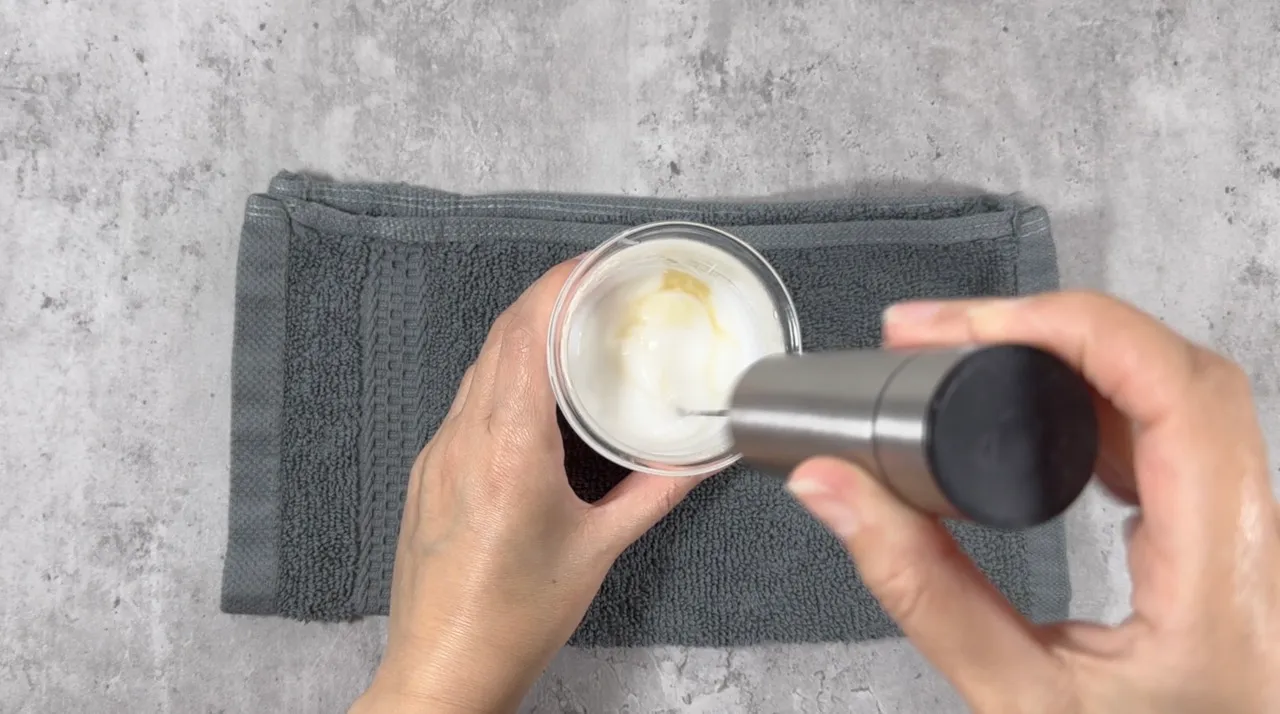
- Add phase C and blend to incorporate when the temperature is less than 40 degrees Celsius.
- Check the PH level. PH between 5-6 is fine. To read more about PH adjustments, check this post here.