Come join the forum, ask questions, learn from others, and share your own knowledge with the community.
If you have ever held a real, handmade bar of soap and wondered how it goes from a pile of oils to a beautiful, lathering bar, this post is for you. Soap making looks intimidating from the outside, but the basics are actually very simple once someone walks you through them. The goal here is to give you a clear, honest starting point — no fluff, no scare-tactics, and no overwhelming science lesson.
You can support this website through the Buy Me a Coffee platform. Your donation helps me continue creating free formulas, detailed written posts, tutorials, and educational content for anyone who wants to learn how to make their own cosmetic products.
Running the website takes time and effort, from researching ingredients and testing formulas to writing posts, filming videos, editing content, and maintaining the site. Even a small donation helps support this work and allows me to keep sharing useful content for free.
If you find the website helpful and want to support future formulas and tutorials, you can donate through Buy Me a Coffee. Your support is truly appreciated.
What Soap Actually Is
Soap is the result of a chemical reaction called saponification. When you combine fats or oils with a strong alkali (lye), the two react to form soap molecules and glycerin. That is the whole story, scientifically speaking.
The thing most people do not realize is that big factory soaps usually remove the glycerin and sell it separately, while handmade soap keeps it built into the bar. Glycerin is naturally moisturizing, which is one of the reasons handmade soap feels so different on the skin compared to mass-produced bars.
The “lye” used in soap making is one of two ingredients:
- Sodium hydroxide (NaOH) for solid bar soaps.
- Potassium hydroxide (KOH) for liquid soaps and soap pastes.
Both are caustic on their own. After saponification finishes, there is no free lye left in a properly formulated soap — only soap and glycerin. That is the whole point of using a calculator: it makes sure the math is right, so all the lye gets consumed by the oils.
The Three Ways to Make Soap
There are three common methods, and the right one depends on how much control you want, how much time you have, and how comfortable you are working with lye.
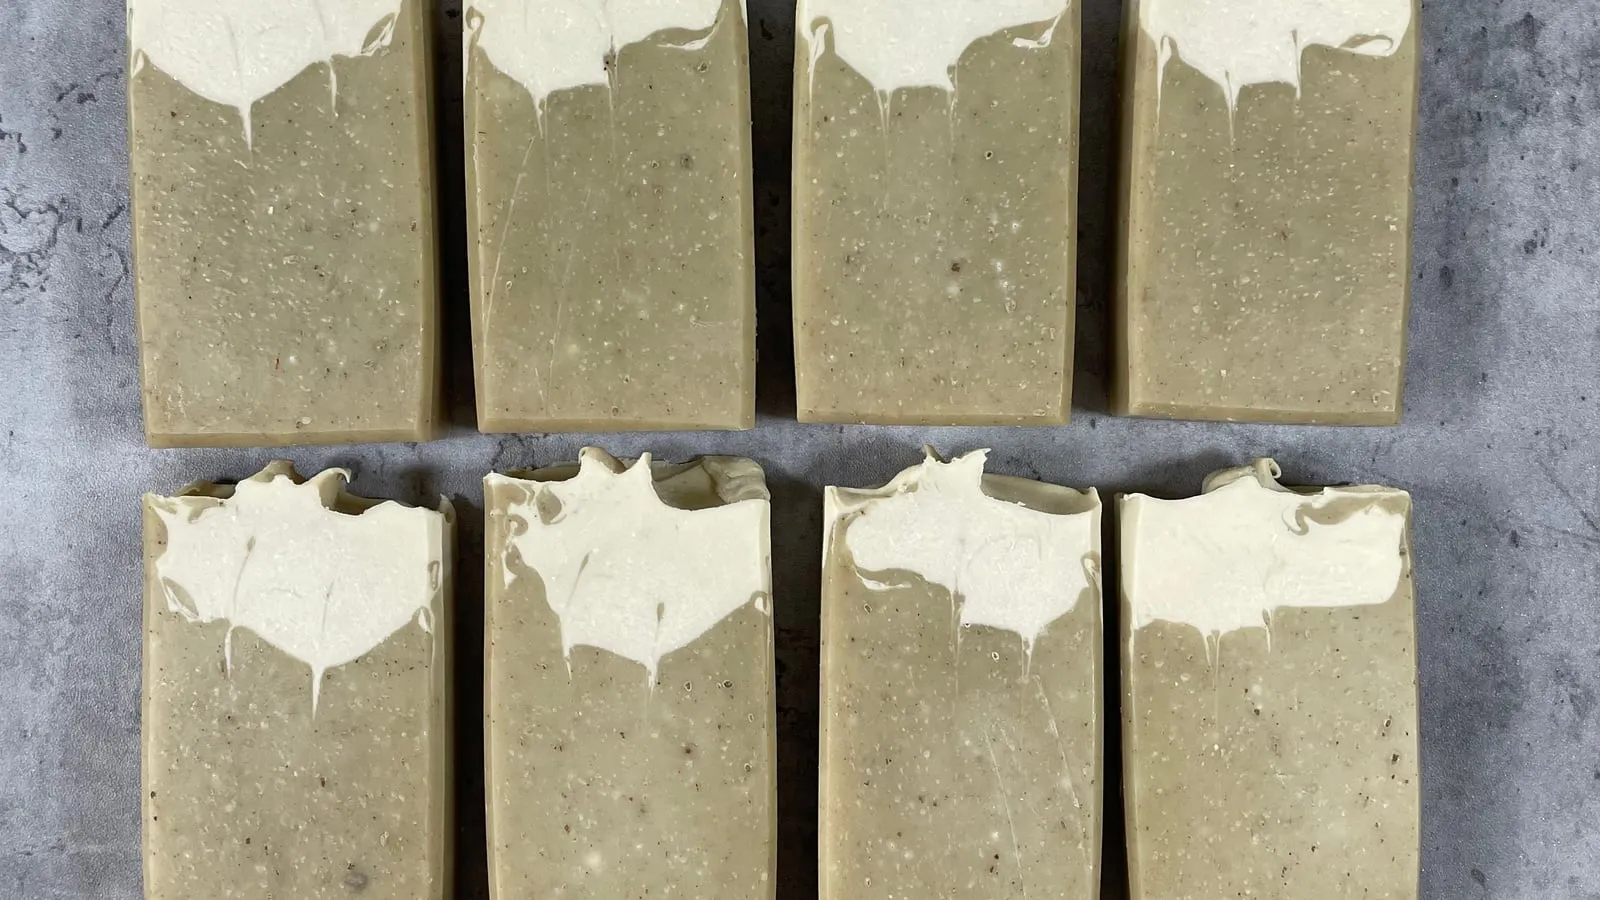
Cold Process (CP)
This is the most popular method and the one most experienced soap makers use. You mix lye solution into your oils at a relatively low temperature, blend until it thickens slightly, pour into a mold, and then wait. Active work takes about an hour, but the bars need to cure for four to six weeks before they are ready to use.
The cure time is not just about hardening. As the water slowly evaporates, the soap crystals reorganize, the bar becomes harder, and the soap becomes milder. A cured cold process bar lathers better, lasts longer in the shower, and is gentler on the skin than a freshly poured one.
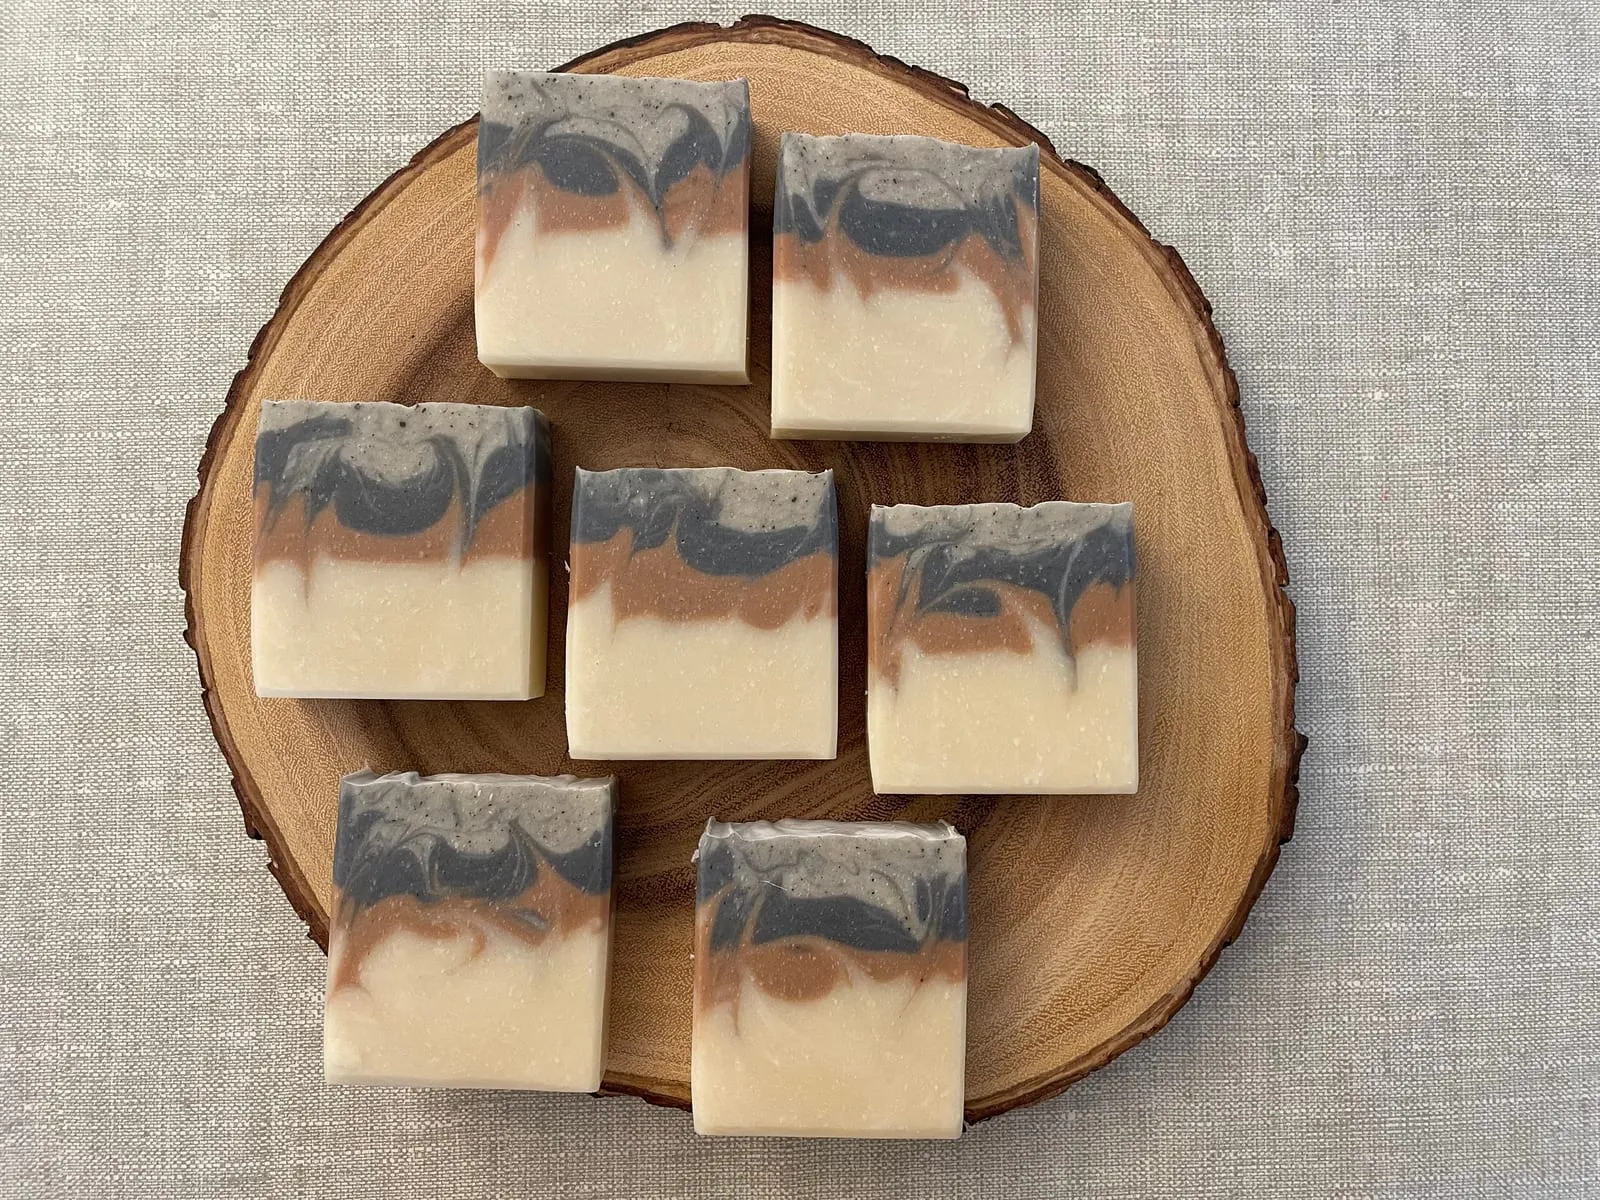
Cold process gives you the most freedom in terms of design, color, and ingredients. It is also the method that requires the most care with lye safety, since you are working directly with the alkali.
Hot Process (HP)
Hot process uses exactly the same math and the same ingredients as cold process — same lye, same oils, same calculation. The difference is that after mixing, you cook the mixture in a slow cooker for about one and a half to two hours until saponification finishes on the spot.
Because the chemical reaction is already complete when the soap goes into the mold, hot process soap can be used within a few days instead of weeks. The trade-off is appearance: the texture is thicker and rustic-looking, and intricate swirls or layered designs are much harder to achieve.
If you want fast results and do not care about a perfectly smooth finish, hot process is a great option.
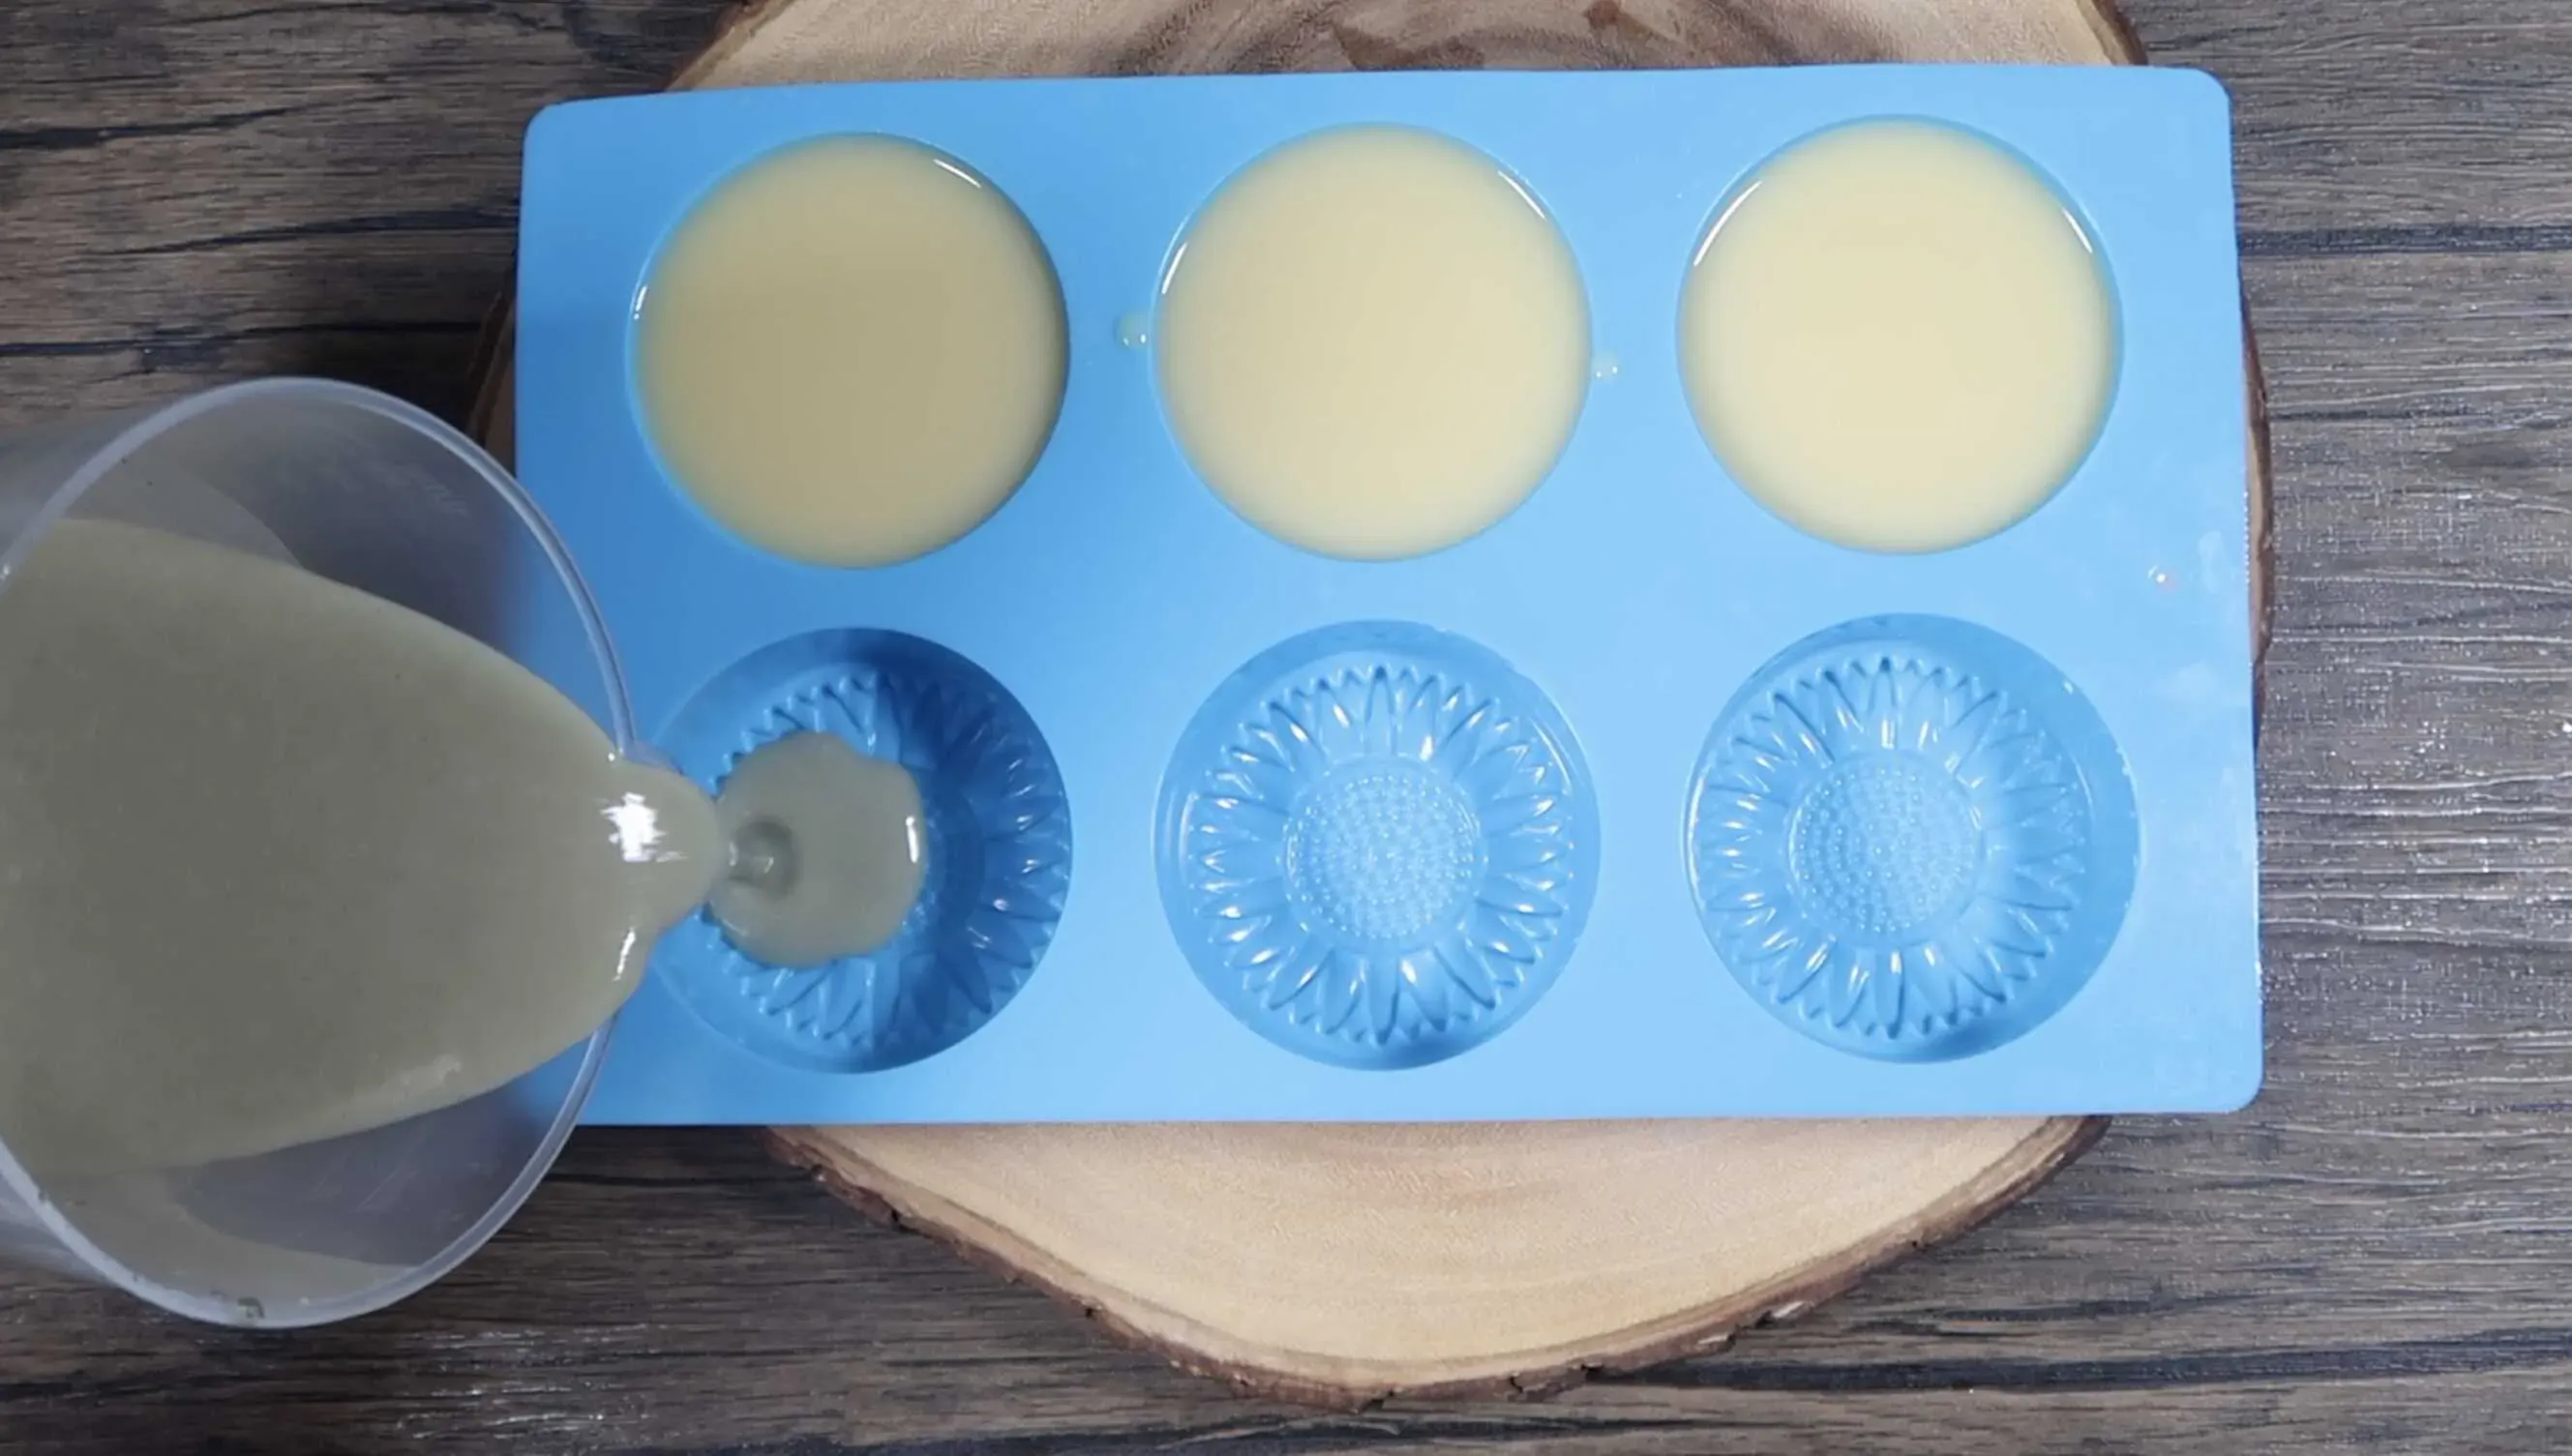
Melt and Pour (M&P)
This is the easiest entry point. You buy a pre-made soap base that has already gone through saponification, melt it, add your colors and fragrances, and pour it into a mold. There is no lye involved at any step.
Melt and pour is the right choice if you want to dip your toe in without buying lye, or if you want a project you can safely do with children supervised. The full process takes under an hour and the soap is ready to use as soon as it sets.
The downside is that you have very little control over what goes into the bar. You are working with the formulation the base manufacturer chose. For a first project or for crafty gifts, that is fine. For full creative control, you will want to graduate to cold or hot process.
What You Need to Start
The shopping list looks different depending on the method.
For cold process and hot process
- A kitchen scale that weighs in grams (soap making is by weight, not volume — always).
- A stainless steel or enamel pot. Never aluminum, which reacts with lye.
- A stick blender (immersion blender). This is the single biggest time-saver in soap making — stirring by hand can take an hour, a stick blender brings the batter to trace in minutes.
- A thermometer.
- A mold. Silicone loaf molds are the most beginner-friendly because the soap pops out cleanly.
- Safety gear: goggles, rubber or nitrile gloves, long sleeves, closed shoes.
- Distilled water. Tap water contains minerals that can cause problems in the bar.
- Sodium hydroxide (lye) for bar soap, or potassium hydroxide for liquid soap.
- Your chosen oils and butters.
- Optional: fragrance or essential oils, colorants, botanicals.
For melt and pour
- A soap base (clear glycerin, shea, goat milk, oatmeal — there are many).
- A microwave-safe container or a double boiler.
- A mold.
- Optional: fragrance, colorant, exfoliants like oats or poppy seeds.
A Word About Lye Safety
Lye is not scary if you respect it. It is caustic — meaning it will burn skin on contact and the fumes that briefly appear when you mix lye into water are sharp and unpleasant to breathe.
The rules are simple and non-negotiable:
- Always add lye to water, never water to lye. Pouring water onto solid lye can cause a violent reaction.
- Work in a ventilated space. Open a window, turn on the extractor fan, or mix outside if you can.
- Wear goggles, gloves, long sleeves, and closed shoes every single time.
- Keep children and pets out of the room while you work.
- Have white vinegar nearby. If lye solution lands on your skin, rinse with cold running water for several minutes. Vinegar can help neutralize splashes on surfaces, but on skin, water is what you want.
- Label your lye solution clearly while it cools.
Tens of thousands of people make soap safely every week. Follow the rules, take it slow, and you will be fine.
A Beginner-Friendly First Recipe
A reliable starter recipe for cold process is:
- 40% olive oil — for conditioning and mildness.
- 30% coconut oil — for hardness and big bubbly lather.
- 30% palm oil or lard — for hardness and a creamy, stable lather.
Each oil contributes something specific:
- Coconut oil gives the bar its hardness and the kind of fluffy, bubbly lather most people picture when they think of soap. Above about 30 to 35 percent it starts to feel drying on the skin, which is why you balance it with conditioning oils.
- Olive oil is gentle, conditioning, and gives a creamy soap. On its own it produces a soft bar that takes a very long time to harden, which is why most recipes pair it with harder oils.
- Palm oil or lard brings stability, creaminess, and structure. They both behave similarly in soap. If you prefer plant-only formulas, palm is the choice; if you are not concerned about sustainability sourcing or you want to use what is already in your kitchen, lard works beautifully.
You feed those oil percentages into a soap calculator with a 5% superfat and a 33% lye concentration (which is the same as about 38% water as a percentage of oils). The calculator tells you exactly how much lye and how much water to weigh out.
How a Soap Calculator Works
A soap calculator is the most important tool in cold and hot process soap making. Every oil has a specific saponification value (SAP value) — the precise amount of lye needed to fully turn that oil into soap. Coconut oil needs more lye per gram than olive oil. Shea butter needs less than coconut. A calculator looks up the SAP value for each oil in your recipe, multiplies it by the weight you are using, and adds everything up.
The calculator also handles two things that come up in every recipe:
- Superfat (or lye discount). Most soap makers leave a small percentage of oils unsaponified — usually around 5%. Those extra oils stay in the bar and make it gentler on the skin. The calculator reduces the lye amount accordingly. A 0% superfat bar would be a very clean, very strong cleanser; a 20% superfat bar would feel almost lotion-like but spoil faster.
- Water amount. Water dissolves the lye and gives the mixture enough fluidity to mix properly. Most calculators let you set water as a percentage of oils (around 33 to 38% is common), or as a “lye concentration” (the percentage of lye in the lye-water mixture). Less water makes the soap unmold faster but speeds up trace, which is something to be aware of as a beginner.
Once you have those numbers, the calculator usually also gives you a snapshot of the bar’s predicted qualities:
- Hardness — how solid the cured bar will be.
- Cleansing — how stripping the lather will feel.
- Conditioning — how moisturizing the bar will feel.
- Bubbly — how foamy the lather will be on first use.
- Creamy — how dense and stable the lather will feel as you keep washing.
- Iodine value — a measure of unsaturated oils; high iodine bars are softer and more prone to rancidity.
- INS — an overall hardness/longevity gauge. Around 145 to 170 is generally considered a balanced bar.
There is no perfect score. A bar tuned for max cleansing will feel drying; a bar tuned for max conditioning will be soft and use up fast. The numbers are there to guide your trade-offs.
What Happens After Your First Batch
Once you have made one or two batches, the fun part starts. You can swap palm oil for shea butter and feel how the bar becomes softer and more conditioning. You can push olive oil up to 70 percent and make a near-Castile bar that takes longer to cure but feels incredibly mild. You can add a small amount of castor oil to boost lather, or reduce the water to unmold faster and cure in a slightly shorter time.
Every change shifts something — usually more than one thing at once. That is exactly why the calculator exists. You change a recipe on paper, look at the new numbers, decide if the trade-off is worth it, and only then commit to the ingredients.
This is the rhythm of soap making: small batches, careful notes, slow improvements, and a kitchen that smells like whatever you blended that day. Once it clicks, it is honestly addictive.
I hope this gives you the picture you needed to take the first step. Use what is in your kitchen, start small, respect the lye, and trust the math. The bar you pull out of the mold four weeks from now will surprise you.
Come join the forum, ask questions, learn from others, and share your own knowledge with the community.