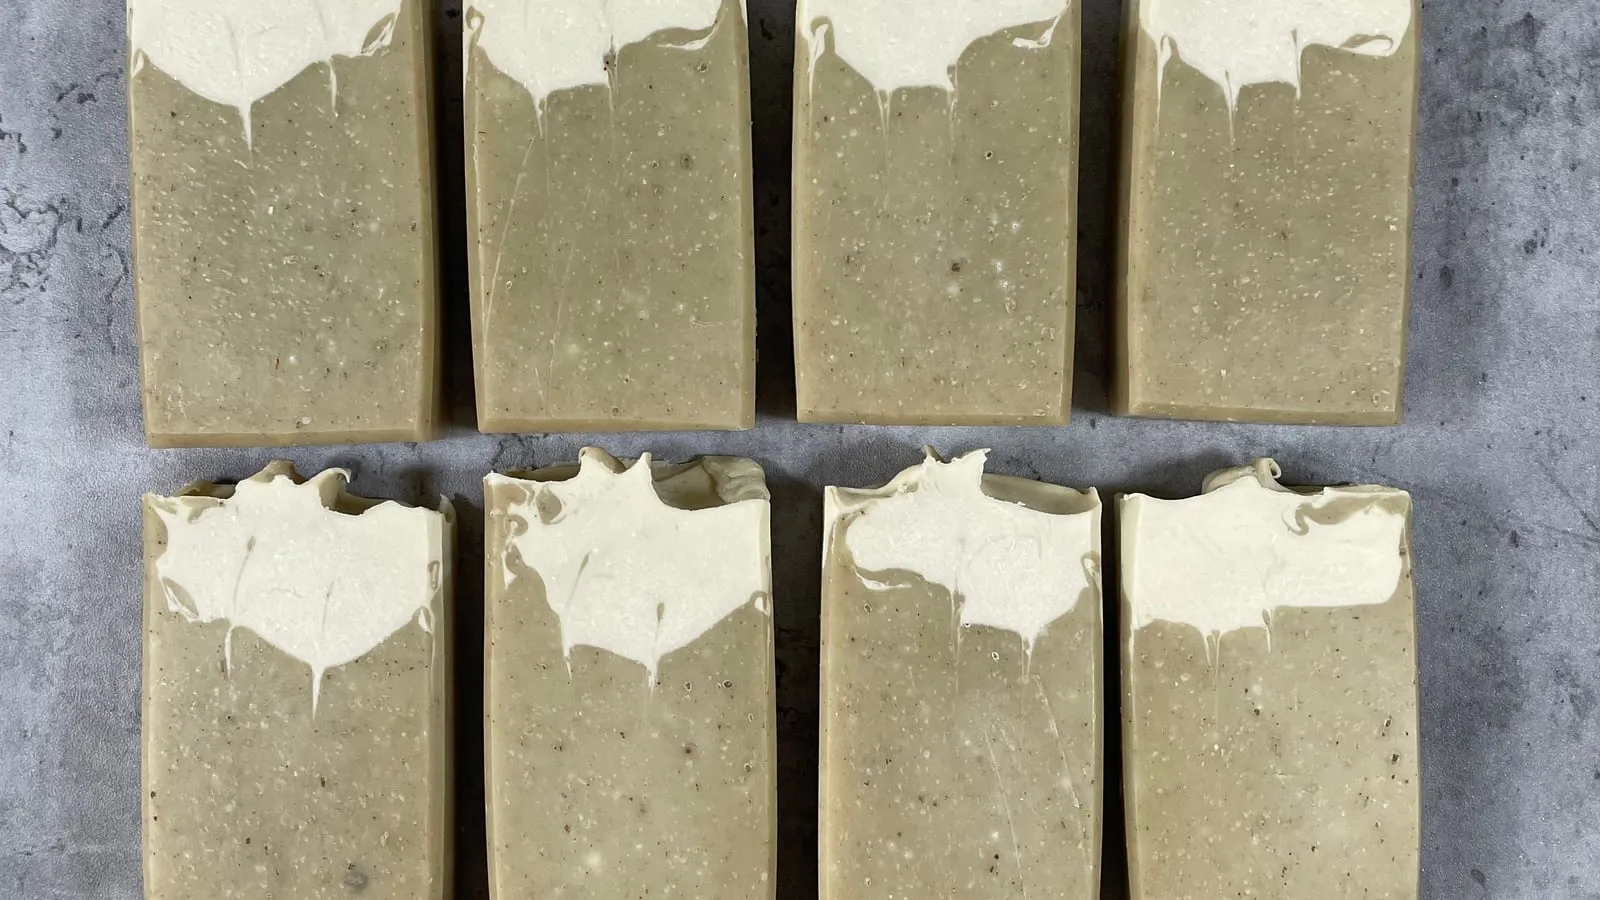
Walk into any DIY soap or skincare forum and you'll hit a wall of technical-sounding words within the first paragraph. Trace. Gel phase. Heat and hold. Phase order. Anhydrous. Discount water. Most beginner tutorials use these terms as if everyone already knows them, and most short glossaries online give one-line definitions that don't actually explain what's going on.
This post is the reference I wish I'd had when I started — the techniques and concepts behind handmade cosmetics, explained in plain English, with enough of the why that you can spot when something's about to go wrong in your own batches.
Come join the forum, ask questions, learn from others, and share your own knowledge with the community.
You can support this website through the Buy Me a Coffee platform. Your donation helps me continue creating free formulas, detailed written posts, tutorials, and educational content for anyone who wants to learn how to make their own cosmetic products.
Running the website takes time and effort, from researching ingredients and testing formulas to writing posts, filming videos, editing content, and maintaining the site. Even a small donation helps support this work and allows me to keep sharing useful content for free.
If you find the website helpful and want to support future formulas and tutorials, you can donate through Buy Me a Coffee. Your support is truly appreciated.
Saponification
Saponification is the chemical reaction that turns oil and lye into soap. When sodium hydroxide (NaOH) meets a triglyceride — the form most plant and animal fats take — the lye splits the triglyceride into glycerin plus three fatty acid chains, and the fatty acids combine with sodium to form soap.
You can't have soap without saponification. A "soap" made by melting butters together without lye is not soap, chemically — it's a moisturizing bar that happens to clean a little because of physical residue removal. Real soap is the sodium (or potassium, for liquid soap) salt of a fatty acid.
The reaction is exothermic — it gives off heat as it runs. That heat is what drives gel phase, accelerates trace, and is the reason hot-process soap can finish cooking in a couple of hours instead of waiting weeks for a cold-process bar to fully react.
Trace
Trace is the point in cold-process soap-making where the oil-lye mixture has emulsified enough that a drizzle of it leaves a visible "trace" on the surface before sinking back in. It's the cue that the reaction is underway and the batter is ready for fragrance, colour, and pouring.
There are three commonly named stages:
- Light trace — pudding-thick. A spoonful drizzled across the surface leaves a faint line that disappears within a few seconds. This is the stage for swirls, layers, and intricate designs.
- Medium trace — yogurt-thick. The drizzle holds its shape for several seconds. Good for plain pours and most fragrance additions.
- Thick trace — mashed-potato-thick. Holds peaks. Used for textured tops, in-the-pot swirls that need to stay distinct, or when you want a forgiving margin for a slow recipe.
Trace is not "doneness." A batter at trace is still mostly unreacted — saponification continues for hours or days after pouring. Trace just means the emulsion is stable enough that the oil and lye won't separate in the mould.
Acceleration
Acceleration is when your batter thickens faster than you want it to. A recipe that should be giving you ten minutes of working time at light trace might suddenly seize into thick trace within thirty seconds.
The usual culprits:
- Fragrance oil chemistry — certain notes (spice, woody, vanilla-heavy, some florals) accelerate aggressively. Suppliers usually flag this on the product page.
- High percentage of solid fats — palm, lard, tallow, and high-butter recipes naturally trace faster than oil-heavy recipes.
- Hot temperatures — pouring lye and oils at 50°C+ instead of 40°C cuts your working time dramatically.
- Too-high water discount — see "Discount water" below.
When acceleration hits, your options narrow fast. Pour and smooth the top — fancy swirls are off the menu. If it's truly seizing, you can switch to a hot-process finish: glop it into a crock pot and cook out the rest of the saponification. The bar will be ugly but usable.
False trace
False trace looks like trace but isn't. It happens when one of the solid fats in your recipe (usually palm, coconut, or a butter) starts to harden as the batter cools, thickening the mix mechanically without any actual emulsification.
The tell-tale signs: the batter thickens almost immediately after combining, but if you stop blending and let it sit, it stays at the same thickness instead of continuing to thicken on its own. Real trace keeps progressing. False trace is just oil re-solidifying.
The fix is heat. Warm the batter gently (a brief stir over warm water, or short pulses with the stick blender), and the solid fat re-melts. Real trace can then proceed normally.
False trace is especially common when soaping cool with palm-heavy recipes in a cold kitchen.
Gel phase
Gel phase is the hot stage cold-process soap goes through while saponification accelerates inside the mould. The bar's internal temperature climbs (often to 70–90°C), the soap becomes translucent and gel-like from the centre outward, and the chemistry runs much faster while it lasts.
Gel-phased bars are typically:
- More vivid in colour, especially with natural colourants like indigo, madder, and turmeric
- Harder to cut but cleaner-edged once cut
- Faster to be ready for use (though you still want the full 4–6 week cure for hardness and mildness)
- Slightly darker overall than ungelled bars of the same recipe
To encourage gel, insulate the mould (towel-wrap, cardboard cover) or use a heated CPOP (cold-process oven process) approach.
To prevent gel — useful when you want pastel colours or are working with milk soaps that scorch easily — refrigerate or freeze the mould for the first 12–24 hours.
Partial gel is the worst-of-both outcome: a darker gelled centre and a lighter ungelled outer ring, visible as a "soap circle" when you cut. Either insulate fully to encourage complete gel, or chill aggressively to prevent it altogether.
Cool-down phase
Cool-down is the phase in lotion, cream, and serum formulation where the emulsion has cooled to roughly 40°C and the heat-sensitive ingredients go in. This includes preservatives, fragrance, essential oils, vitamin C, niacinamide, salicylic acid, and most peptides.
The reason for waiting: many of these ingredients degrade or evaporate at the temperatures used during the heat-and-hold step (70–75°C). Adding them at cool-down preserves their activity in the finished product.
Cool-down is also where you do final pH adjustments, because most pH testing strips and meters are calibrated for room temperature.
A useful rule of thumb: if the ingredient's product information says "add at cool down," "add at temperatures below 40°C," or specifies a heat-sensitivity warning, it belongs in the cool-down phase.
Heat and hold
Heat and hold is the step in emulsion-making where the water phase and the oil phase are each heated to 70–75°C and held there for 20 minutes before combining.
There are two reasons for the hold:
- Pathogen reduction. Holding both phases at 70°C+ for 20 minutes meaningfully reduces the microbial load in waxes, butters, herbal infusions, and aqueous extracts — none of which are sterile out of the package.
- Wax and emulsifier melting. Most emulsifiers melt in the 60–70°C range. Heating both phases above the emulsifier's melt point ensures the emulsifier disperses cleanly when the phases combine.
Skip the hold and you risk a contaminated batch, a poorly formed emulsion, or both. The 20 minutes is a reasonable industry-standard practice — not a strict scientific requirement, but a margin of safety that costs you almost nothing.
Phase order
Phase order is the sequence in which water, oil, emulsifier, actives, and preservatives go into an emulsion. Get the order wrong and the emulsion fails — usually visibly, as a layer of oil separating out within hours of mixing.
The standard formulator phase order is:
- Water phase — distilled water, glycerin, hyaluronic acid, allantoin, aqueous extracts, water-soluble gums
- Oil phase — carrier oils, butters, esters, fatty alcohols, emulsifier, oil-soluble actives
- (Heat and hold both phases at 70–75°C)
- Combine — slowly add water phase to oil phase (or oil to water, depending on the emulsifier) while stick-blending
- Cool to 40°C
- Cool-down phase — preservative, fragrance, heat-sensitive actives, pH adjusters
The phase order is not arbitrary. Adding preservative during heat-and-hold can degrade it. Adding hyaluronic acid to the oil phase won't disperse it. Adding an active at the wrong pH or temperature can crash the emulsion.
When in doubt, follow the recommended phase for every ingredient.
Anhydrous
Anhydrous means "without water." An anhydrous product is one that contains no water at all — only oils, butters, waxes, and oil-soluble ingredients.
Examples: lip balms, solid perfumes, salt and sugar scrubs in pure oil, hair pomades, body butters that are technically whipped butter blends rather than emulsions.
The practical advantage of anhydrous formulating: no water means no broad-spectrum preservative is required, because the bacteria, yeasts, and moulds that spoil cosmetics need water to grow. An antioxidant like vitamin E or ROE (rosemary oleoresin) is still useful to slow oxidation of the oils, but you don't need a full preservative system.
The catch: "anhydrous" means truly anhydrous. A sugar scrub used in the shower will eventually pick up water from wet hands and the steam-filled environment. Once water is introduced — even a tiny amount — the product is no longer protected. Some formulators add a preservative to scrubs anyway, on the theory that real-world use will breach the anhydrous condition.
Discount water
Discount water (also called water discount or water reduction) means using less water in a soap recipe than the lye calculator's default. Most calculators default to water at 33–38% of the oil weight, or lye-to-water ratios around 1:2 or 1:2.4.
A discounted recipe might use water at 25–30% of oil weight, or a lye:water ratio closer to 1:1.5.
Why discount water?
- Faster unmoulding — less water to evaporate means the bar firms up faster
- Shorter cure — bars reach use-hardness in 2–3 weeks instead of 4–6
- Crisper swirls and lines — thicker initial batter holds detail better
- Less glycerin "sweating" on the bar surface in humid climates
The trade-offs:
- Faster trace and shorter working time — your acceleration risk goes up
- More aggressive lye solution — a higher lye concentration is hotter and more caustic to work with; wear your goggles
- Increased risk of cracking during gel phase as the bar contracts
A common starting discount is 33% water-as-percentage-of-oils. Going below 30% is for soapers comfortable with fast batter and ready to pour quickly.
These ten terms come up in almost every cold-process and emulsion recipe on the site. If a recipe mentions one and you want a quick refresher, this page is the reference. New definitions get added here as recipes introduce new techniques.
Related on DIY Cosmetica: