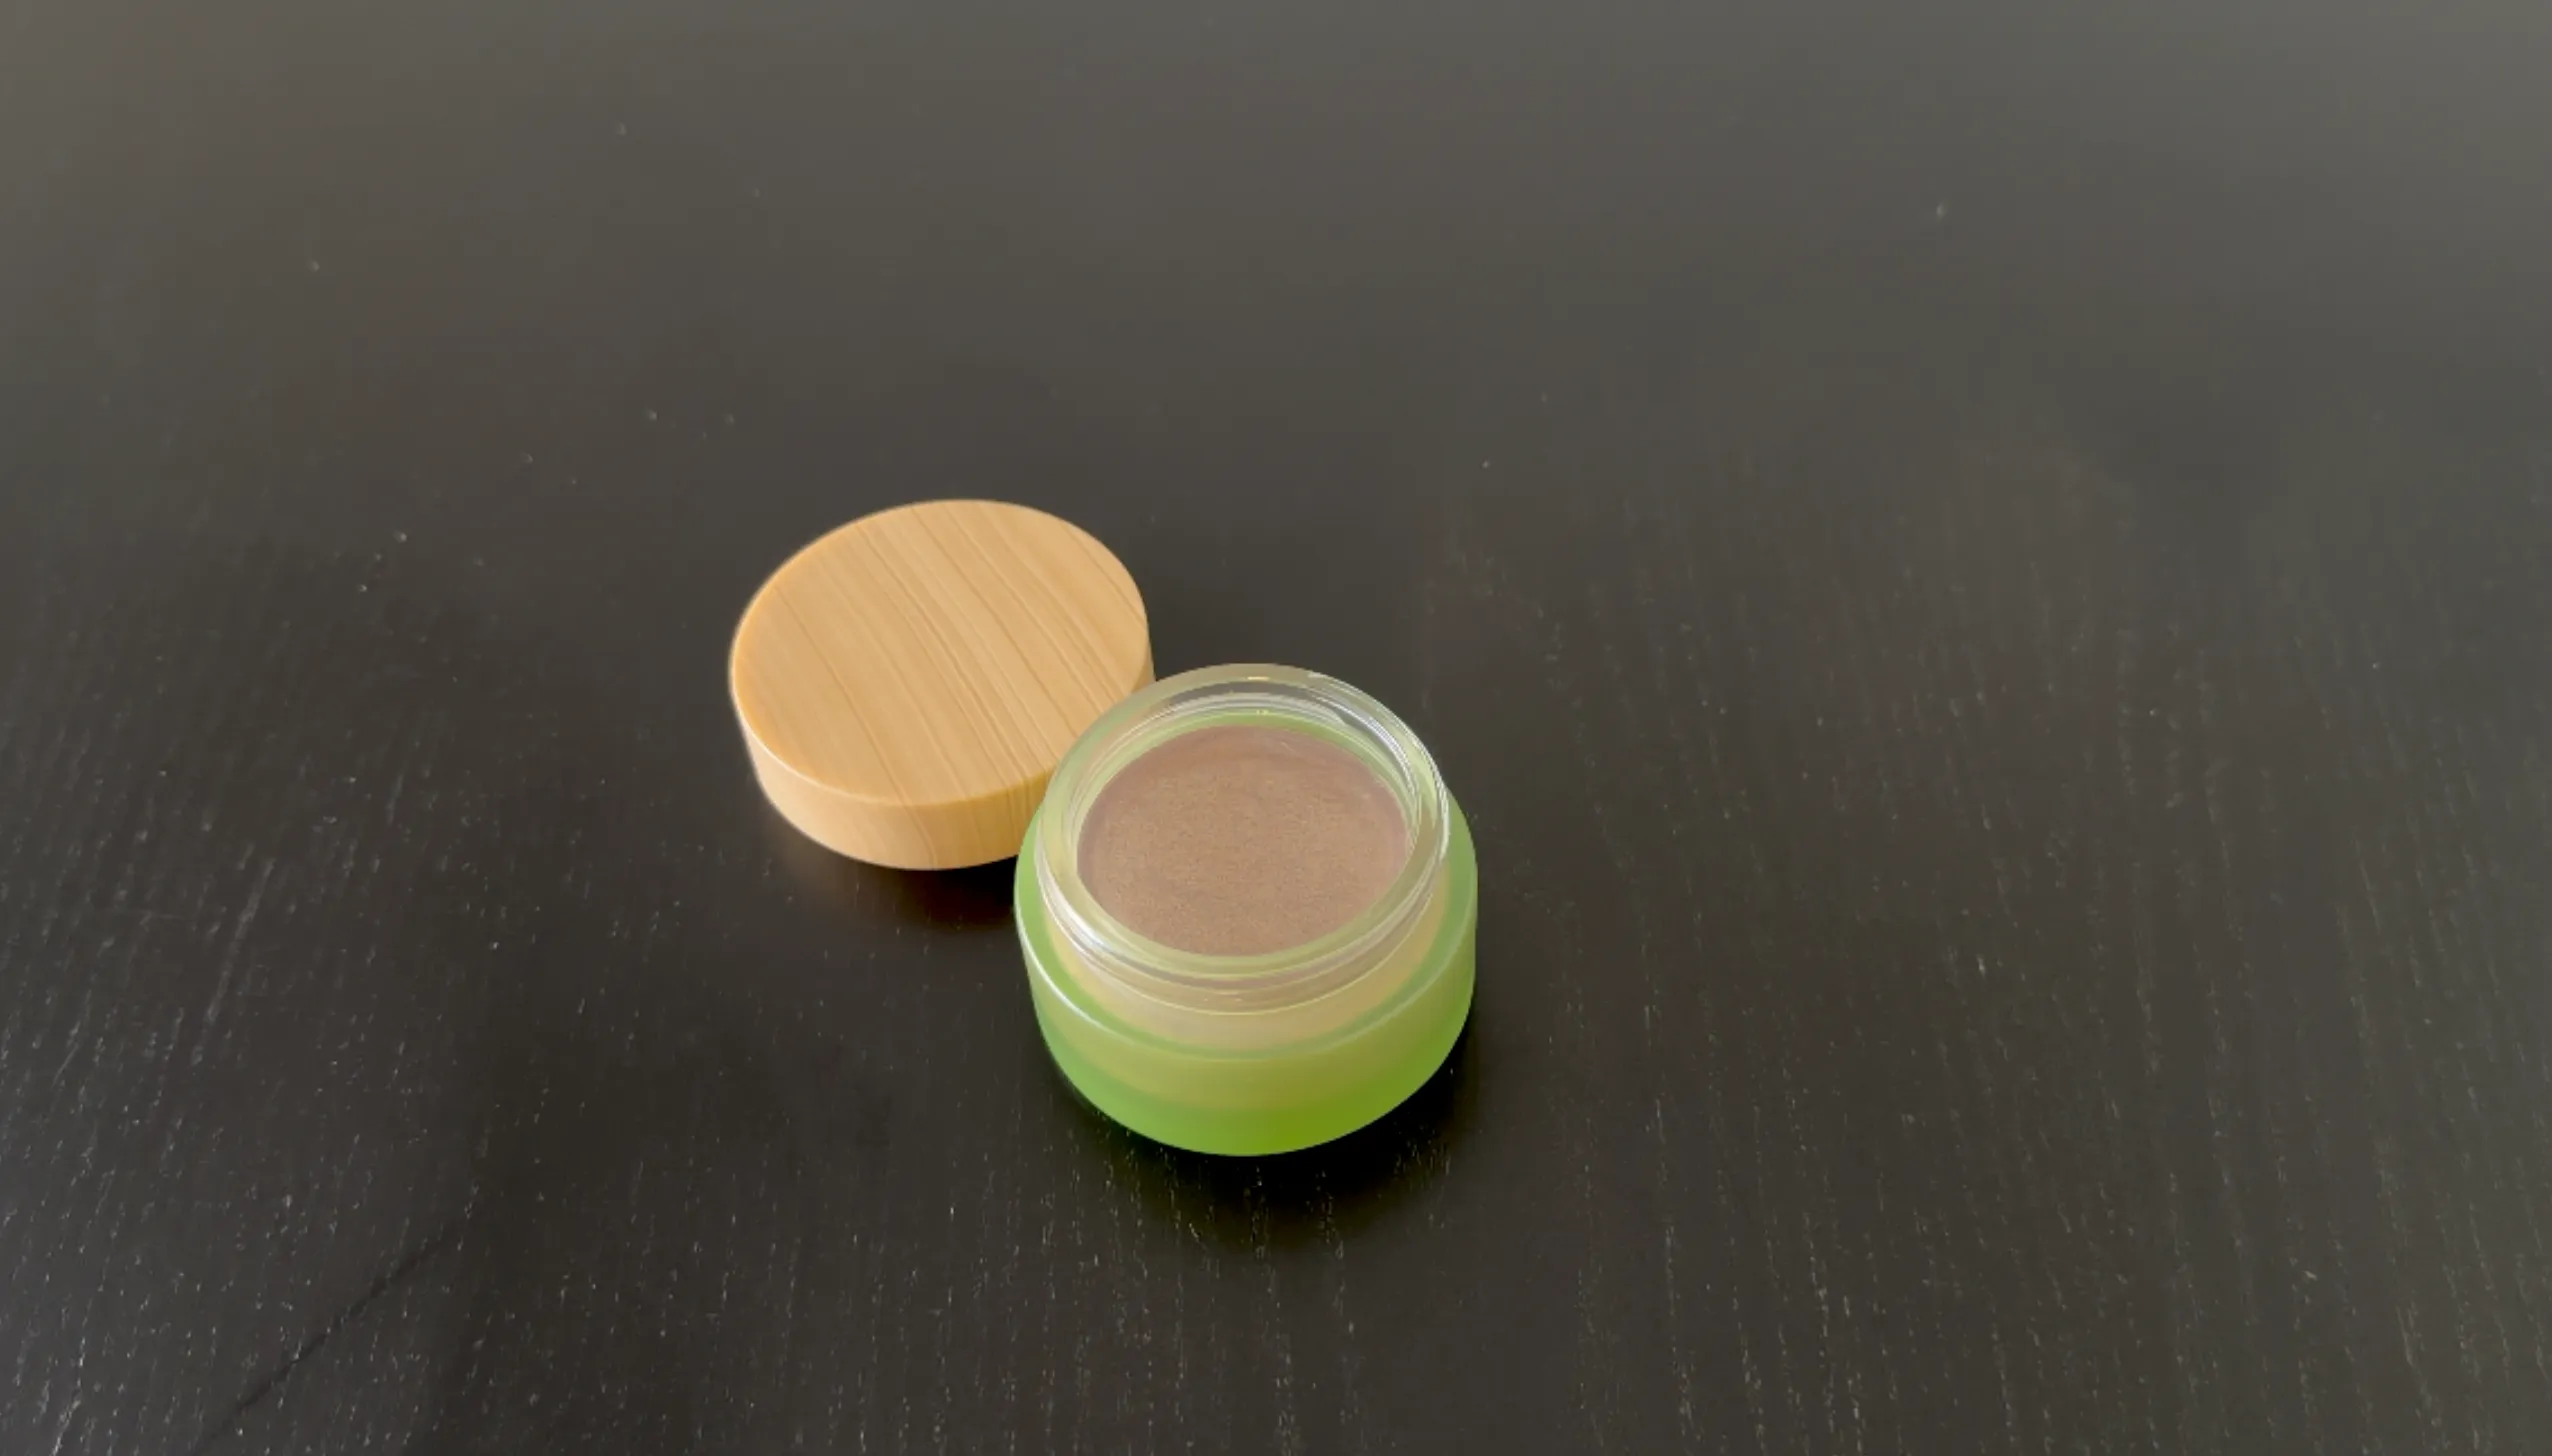
This is a creamy, long-lasting eyeshadow you can make at home — and mix in any shade you like. The texture is creamy and easy to apply, yet firm enough to stay put on the eyelid without smudging or creasing: it glides on smooth, then sets to a soft, long-wearing finish, and comes off gently with an oil-based remover. Because it is a waterless formula made from skin-loving oils, butters and waxes, it is kind to the delicate eye area and feels comfortable all day.
Below you will find the full recipe with exact percentages, a complete breakdown of what every ingredient does (and what you can swap it for), how to build your own custom shade, and the step-by-step method.
Come join the forum, ask questions, learn from others, and share your own knowledge with the community.
You can support this website through the Buy Me a Coffee platform. Your donation helps me continue creating free formulas, detailed written posts, tutorials, and educational content for anyone who wants to learn how to make their own cosmetic products.
Running the website takes time and effort, from researching ingredients and testing formulas to writing posts, filming videos, editing content, and maintaining the site. Even a small donation helps support this work and allows me to keep sharing useful content for free.
If you find the website helpful and want to support future formulas and tutorials, you can donate through Buy Me a Coffee. Your support is truly appreciated.
Why a Cream Eyeshadow?
If you have only ever used pressed powder shadows, a cream version is worth trying — especially when you make it yourself. A few reasons I love this format:
- No fallout. Powder shadows, particularly shimmery ones, tend to sprinkle down onto your cheeks as you apply them. A cream stays where you put it, so there is no mess to clean up.
- Kinder to the eye area. The oils and butters condition the thin, delicate skin around the eyes instead of sitting dry on top. A cream does not cling to dry patches or settle into fine lines the way powder can, which makes it especially flattering on mature or dry skin.
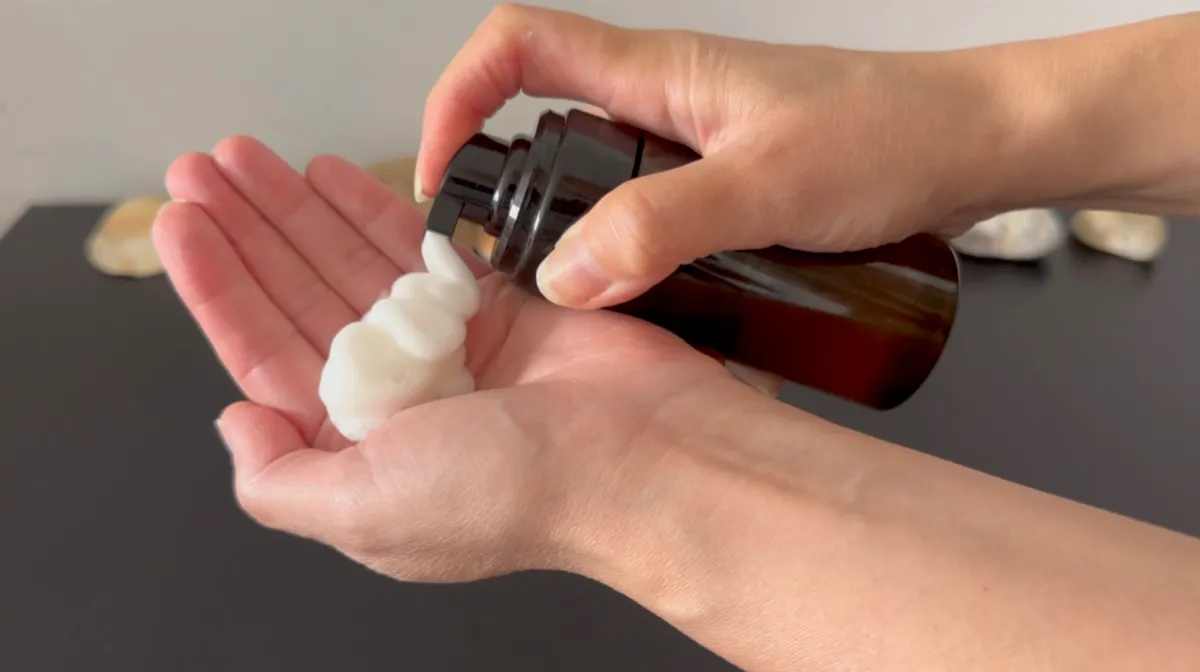
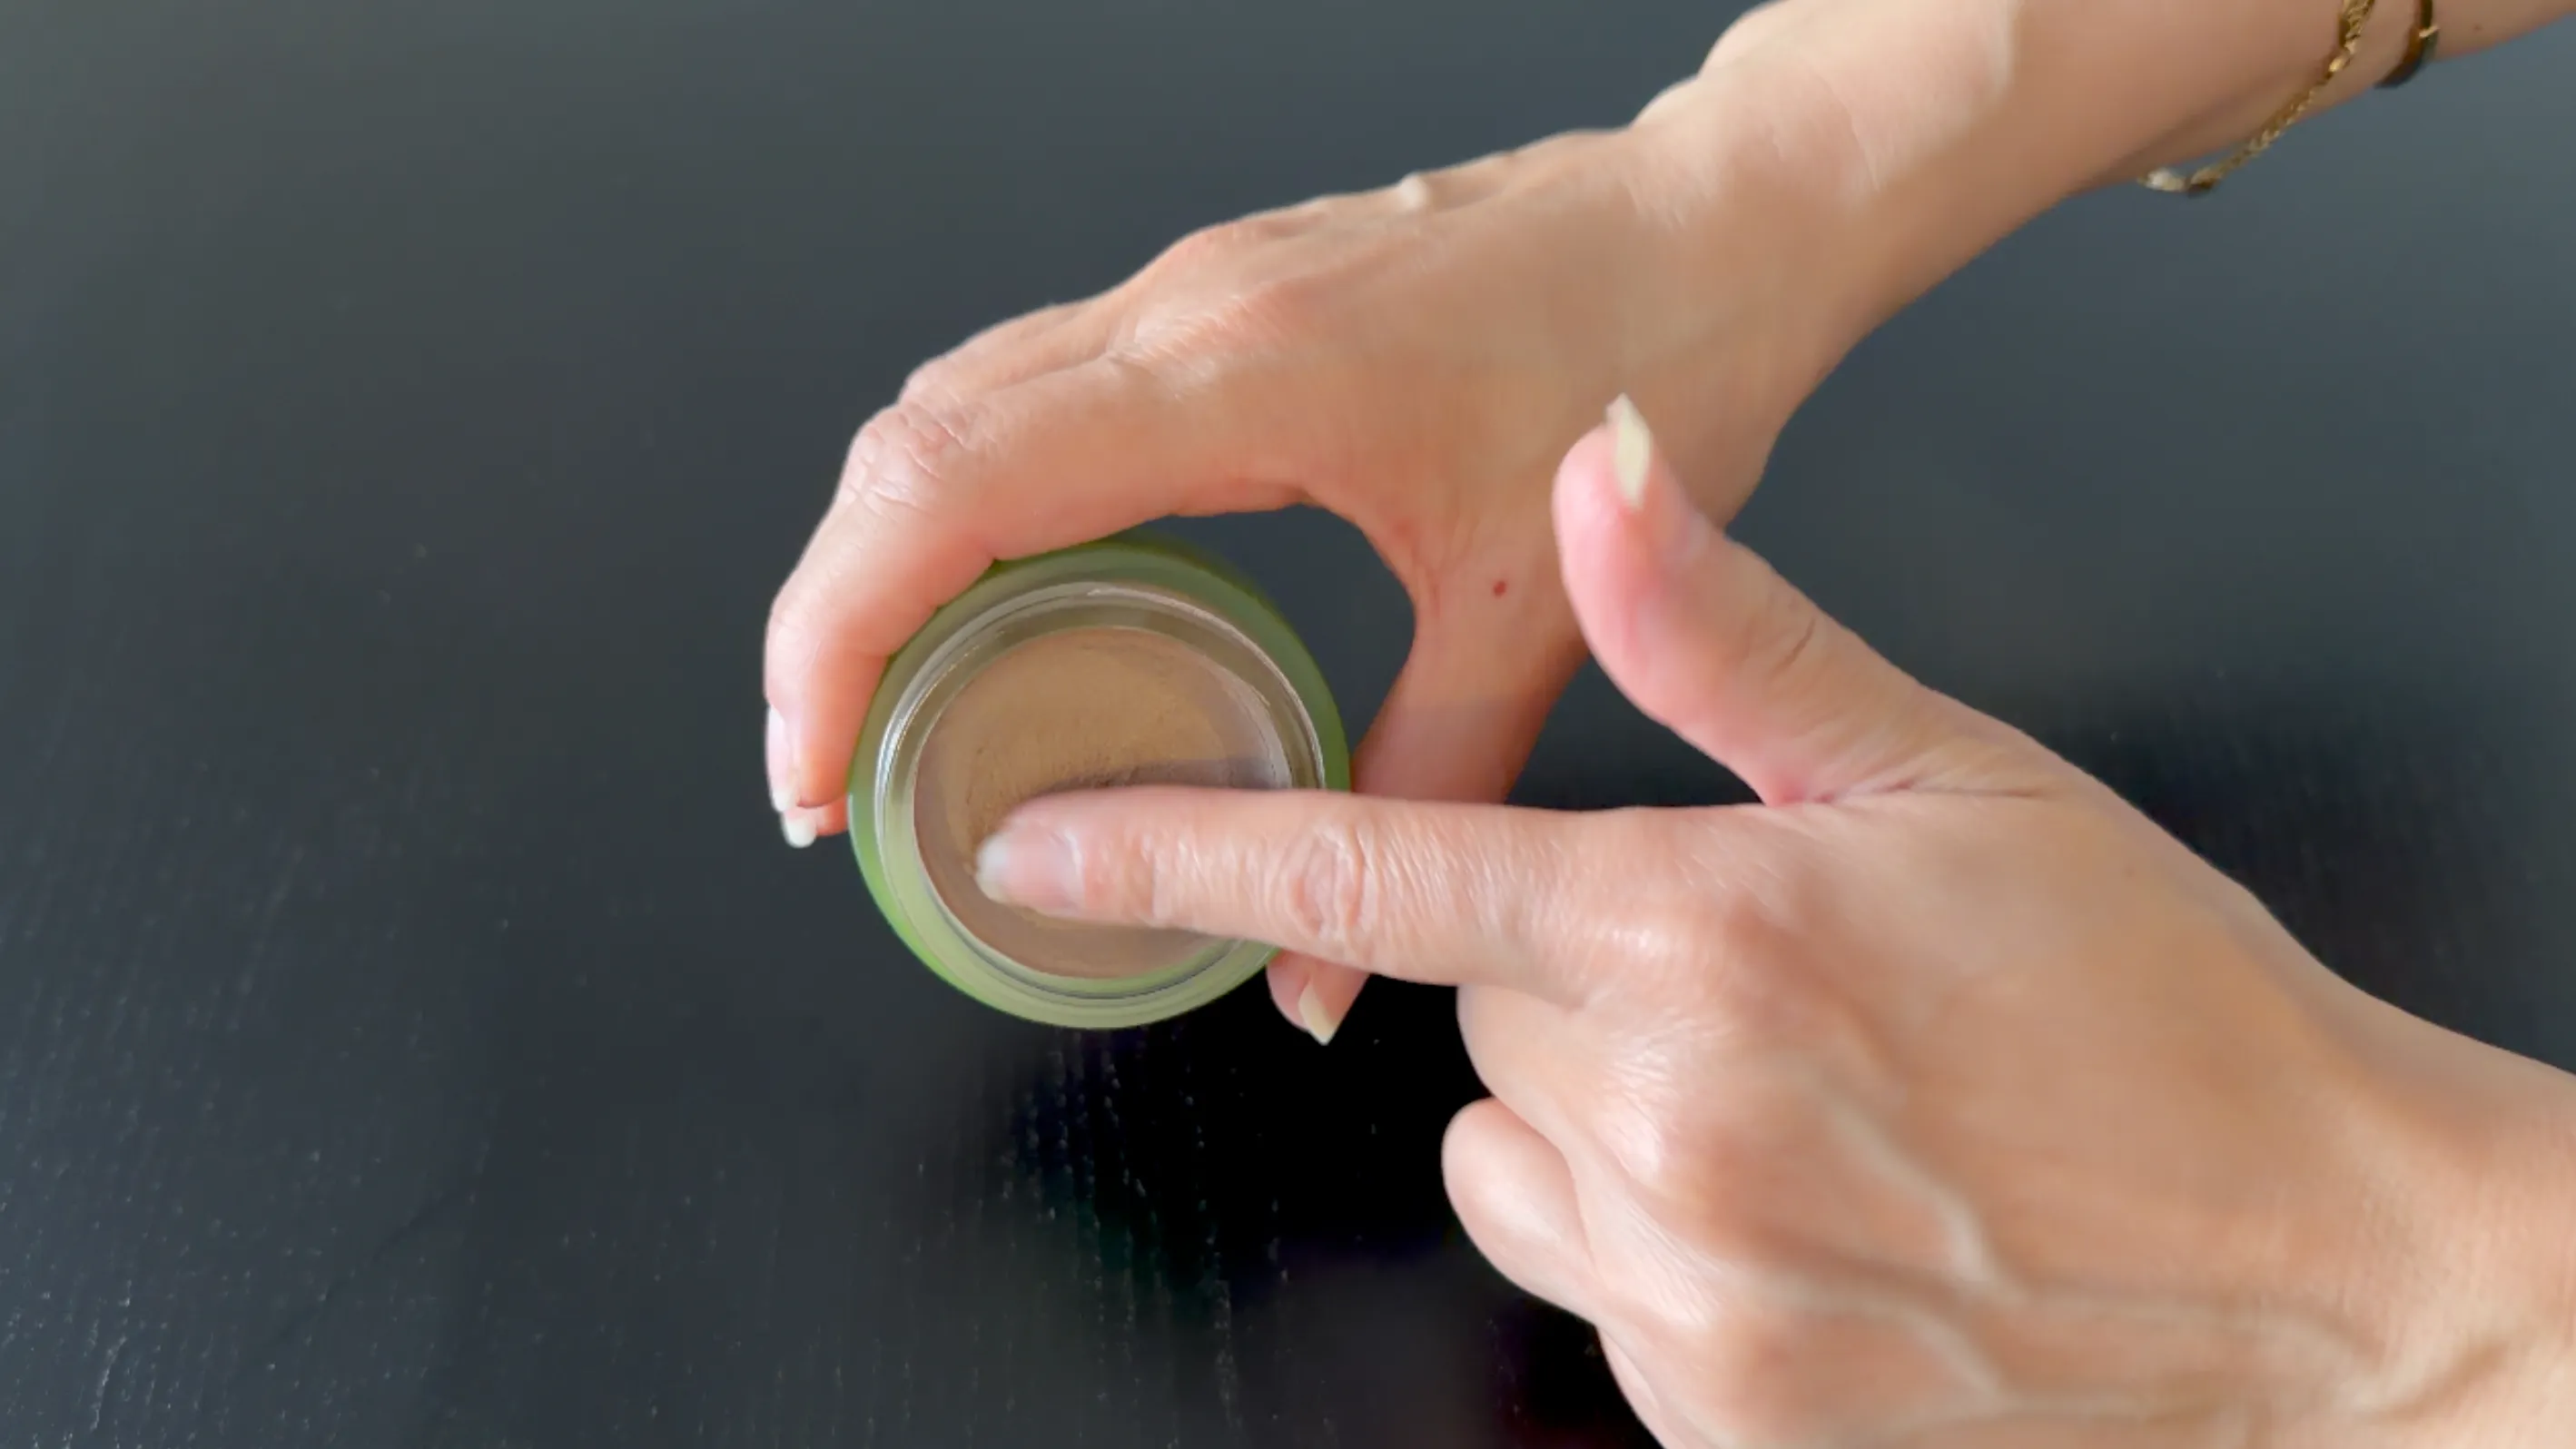
- Easy to apply. You can tap it on with a fingertip — no brushes required — and it melts smoothly into the lid.
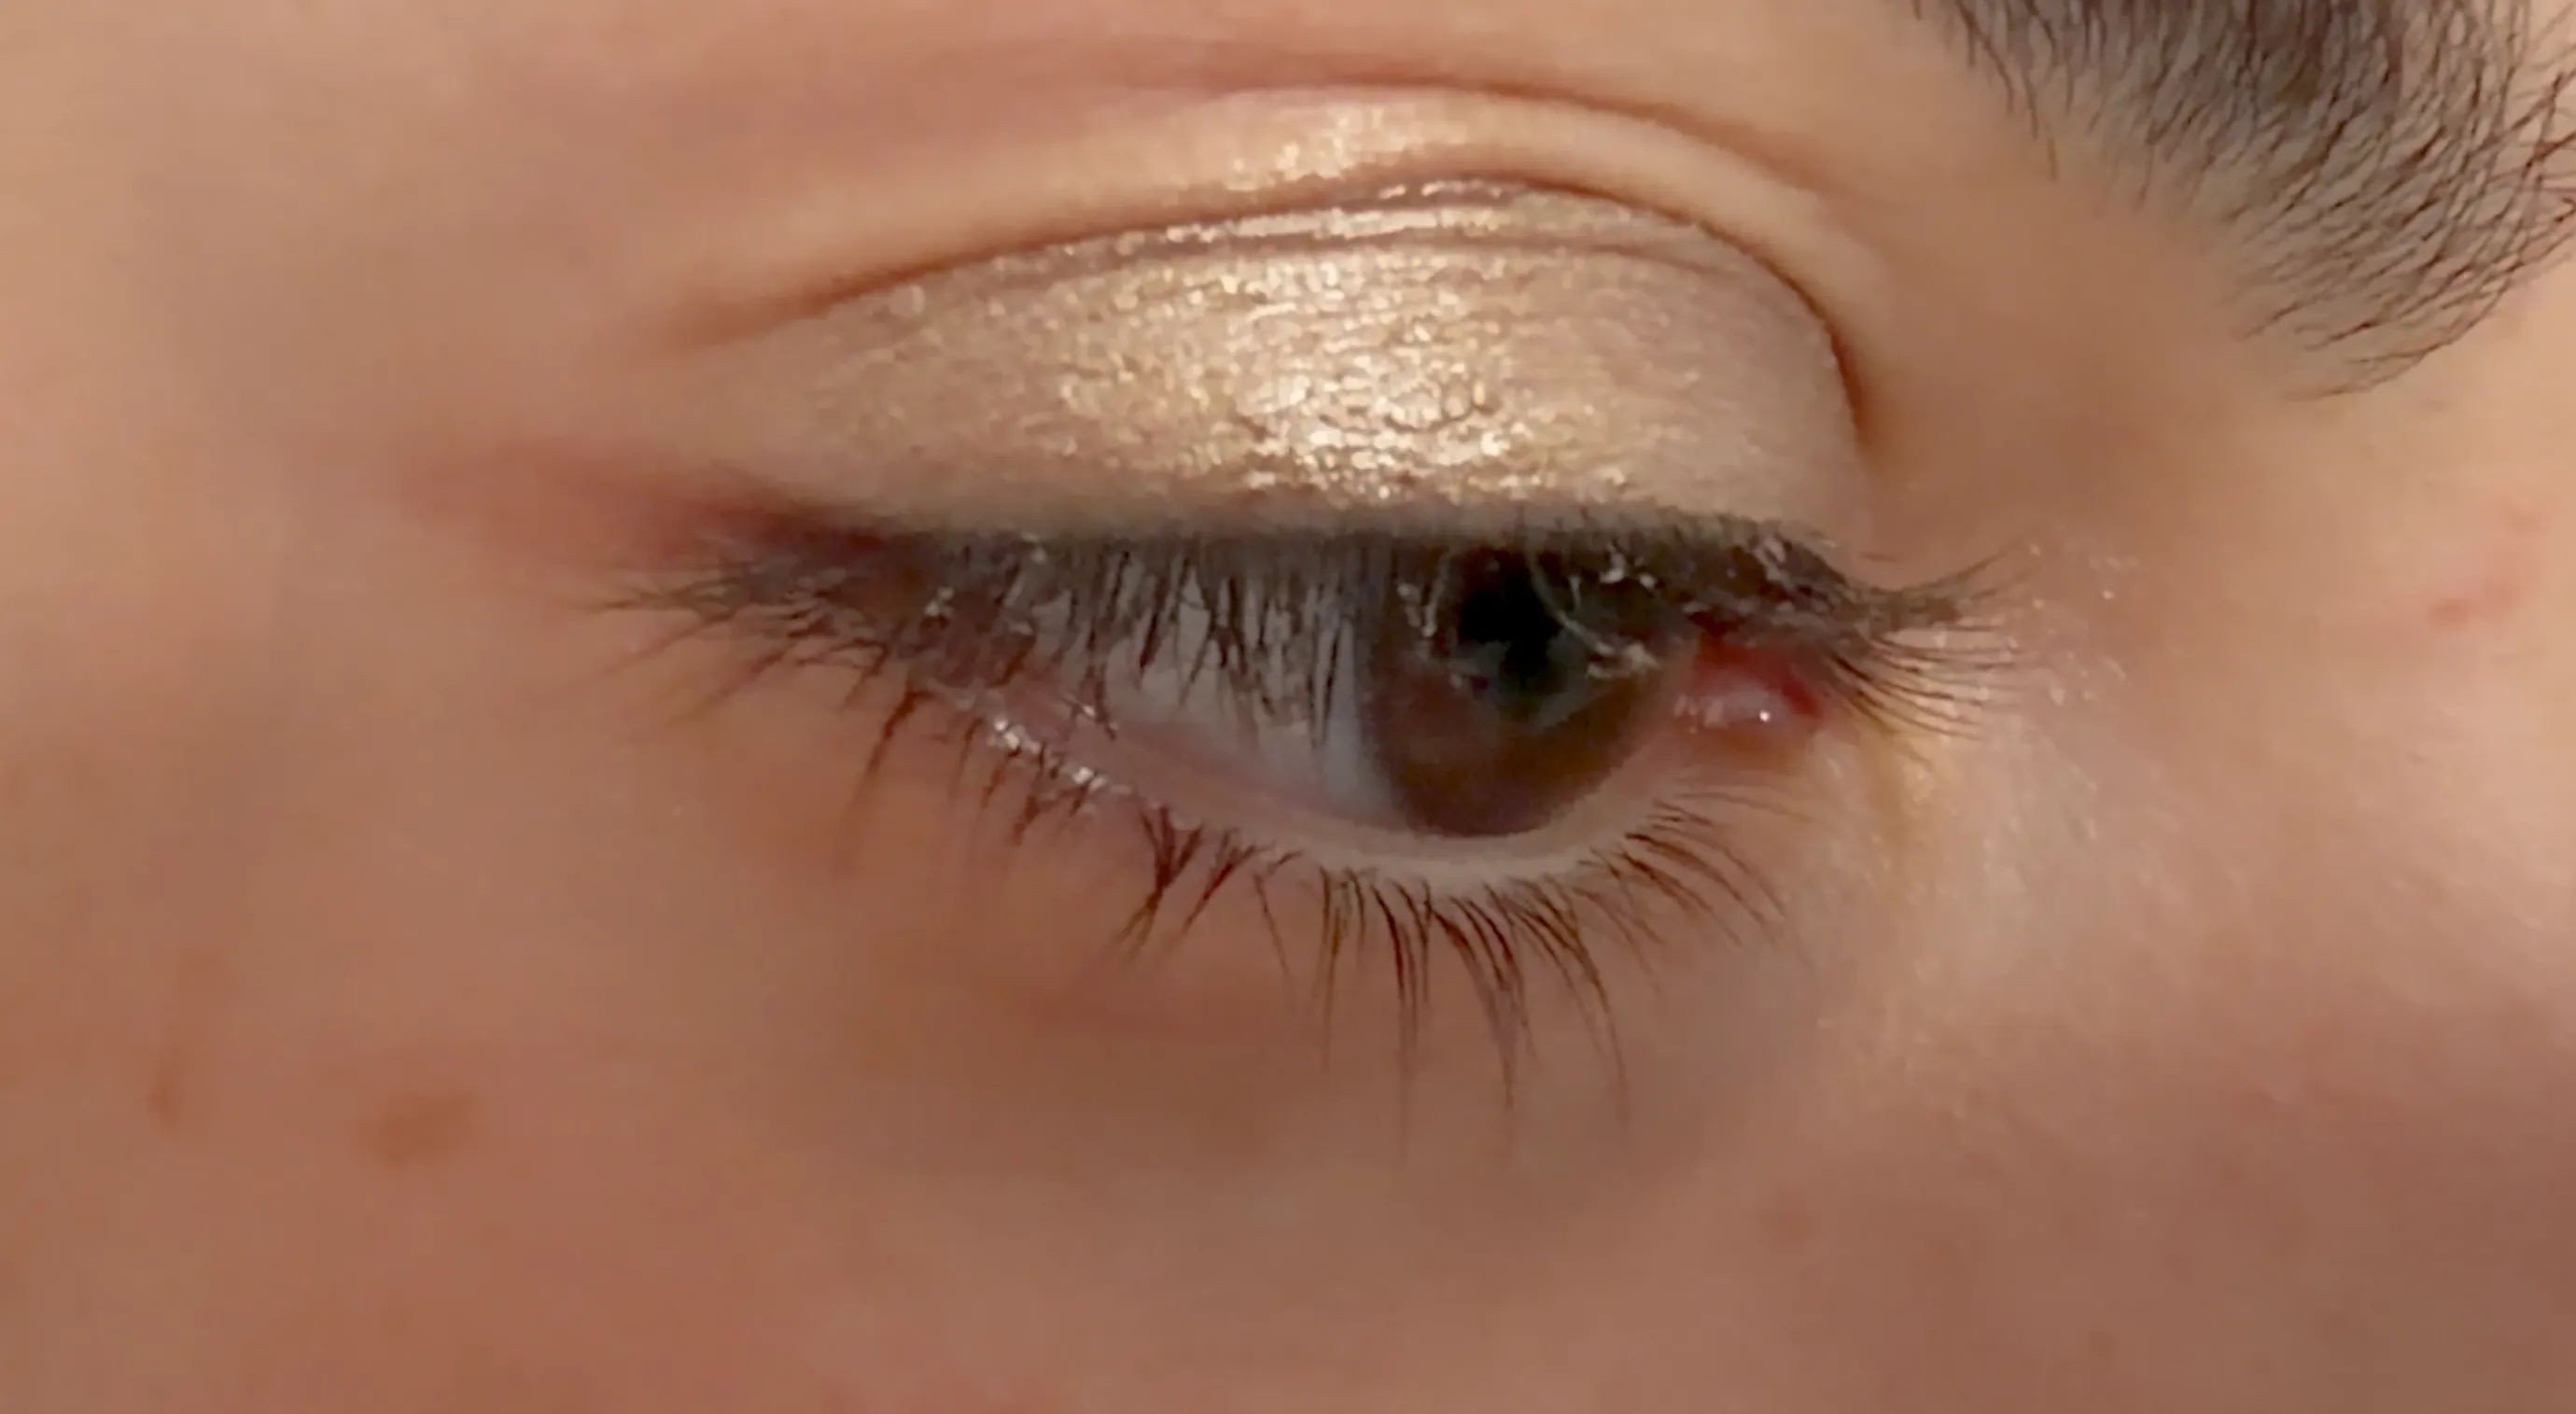
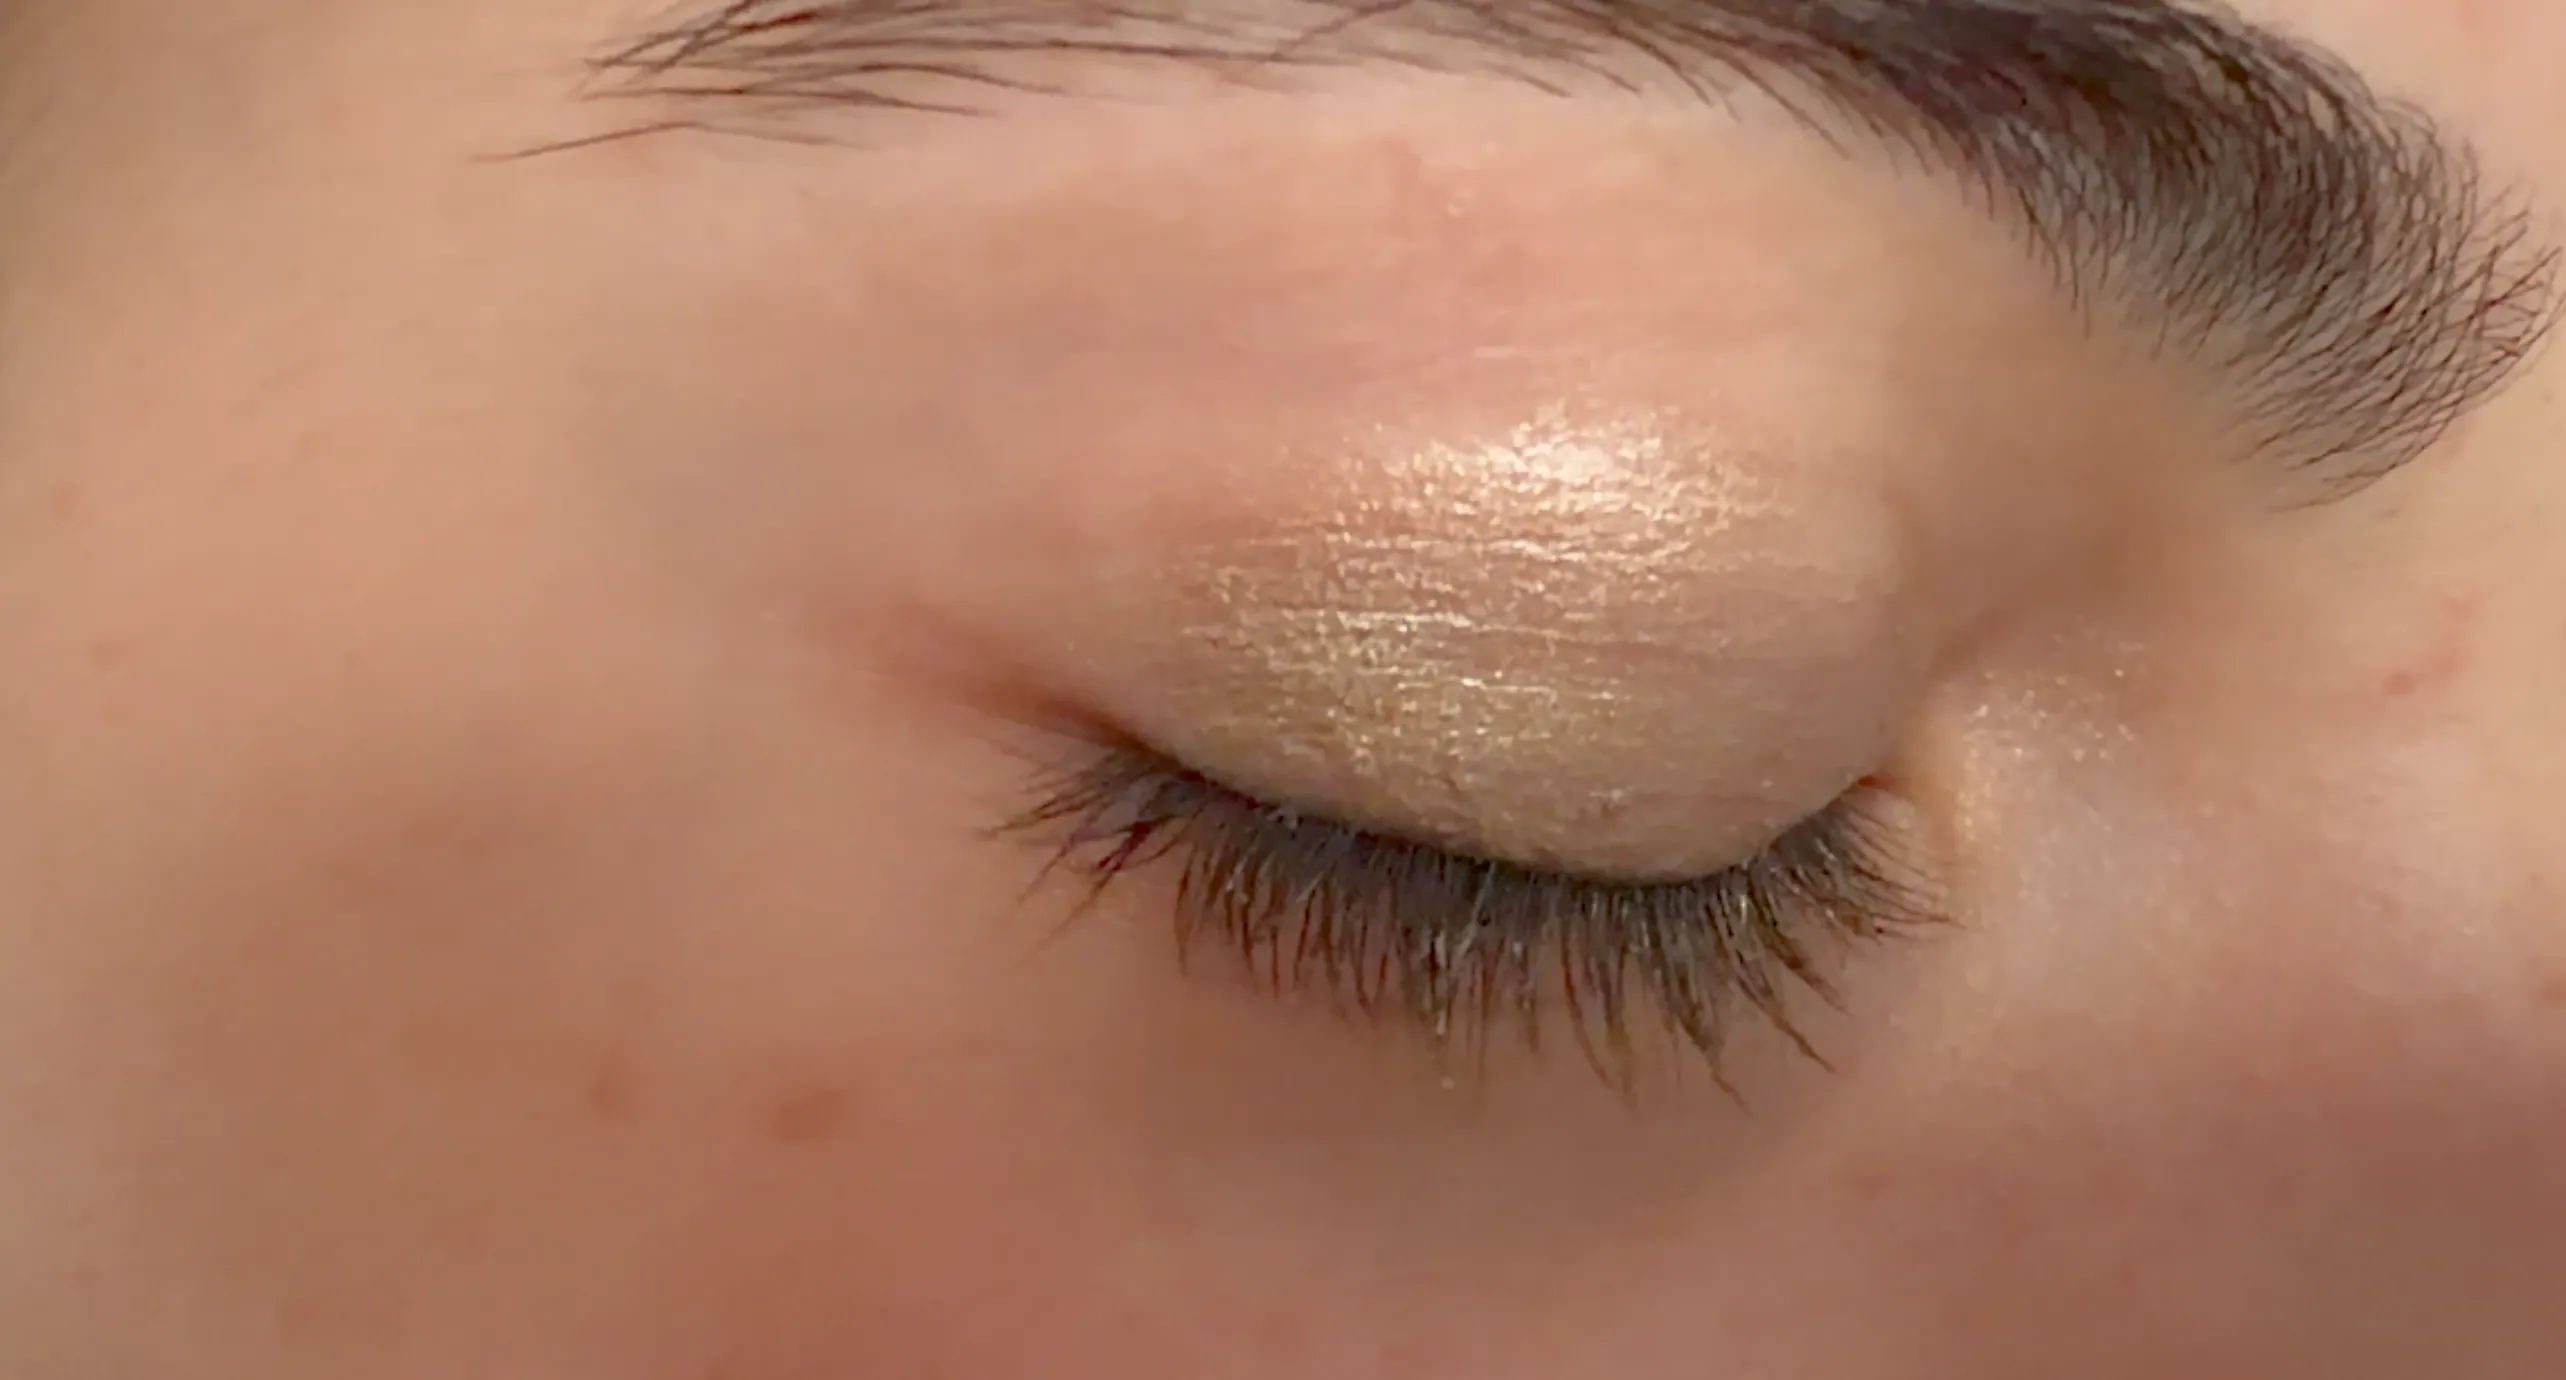
- A luminous, skin-like glow. Cream shadows give that lit-from-within, dewy finish that looks like glowing skin rather than a flat layer of powder.
- Long wearing. Once it sets, the wax-and-oil base grips the lid and resists creasing, so it lasts through the day.
- You control what is in it. No talc, no fillers, no fragrance — just skin-loving ingredients you have chosen, which is ideal for sensitive eyes.
It is also a multi-tasker: the same cream works beautifully dabbed on the cheekbones or brow bone as a soft highlighter.
A Creamy, Waterless Base
This eyeshadow is built on an anhydrous — meaning waterless — base. There is no water in it at all; it is made entirely from oils, butters and waxes. That matters for a few reasons. Without water, there is nothing for bacteria to grow in, so the formula does not need a preservative and keeps for a long time. It also melts smoothly into the skin, grips color beautifully, and sets to a soft, flexible film that wears for hours.
It is the same silky base I use in our Creamy Highlighter Bronzer, tuned here for the eyes. Two changes worth knowing: I use white (refined) beeswax so the wax stays colorless and your shade reads true, and I leave fragrance out entirely, since this sits so close to the eyes. Everything else is chosen to keep the texture creamy, the color even, and the wear long — and I explain each ingredient in full below.
Building the Shade
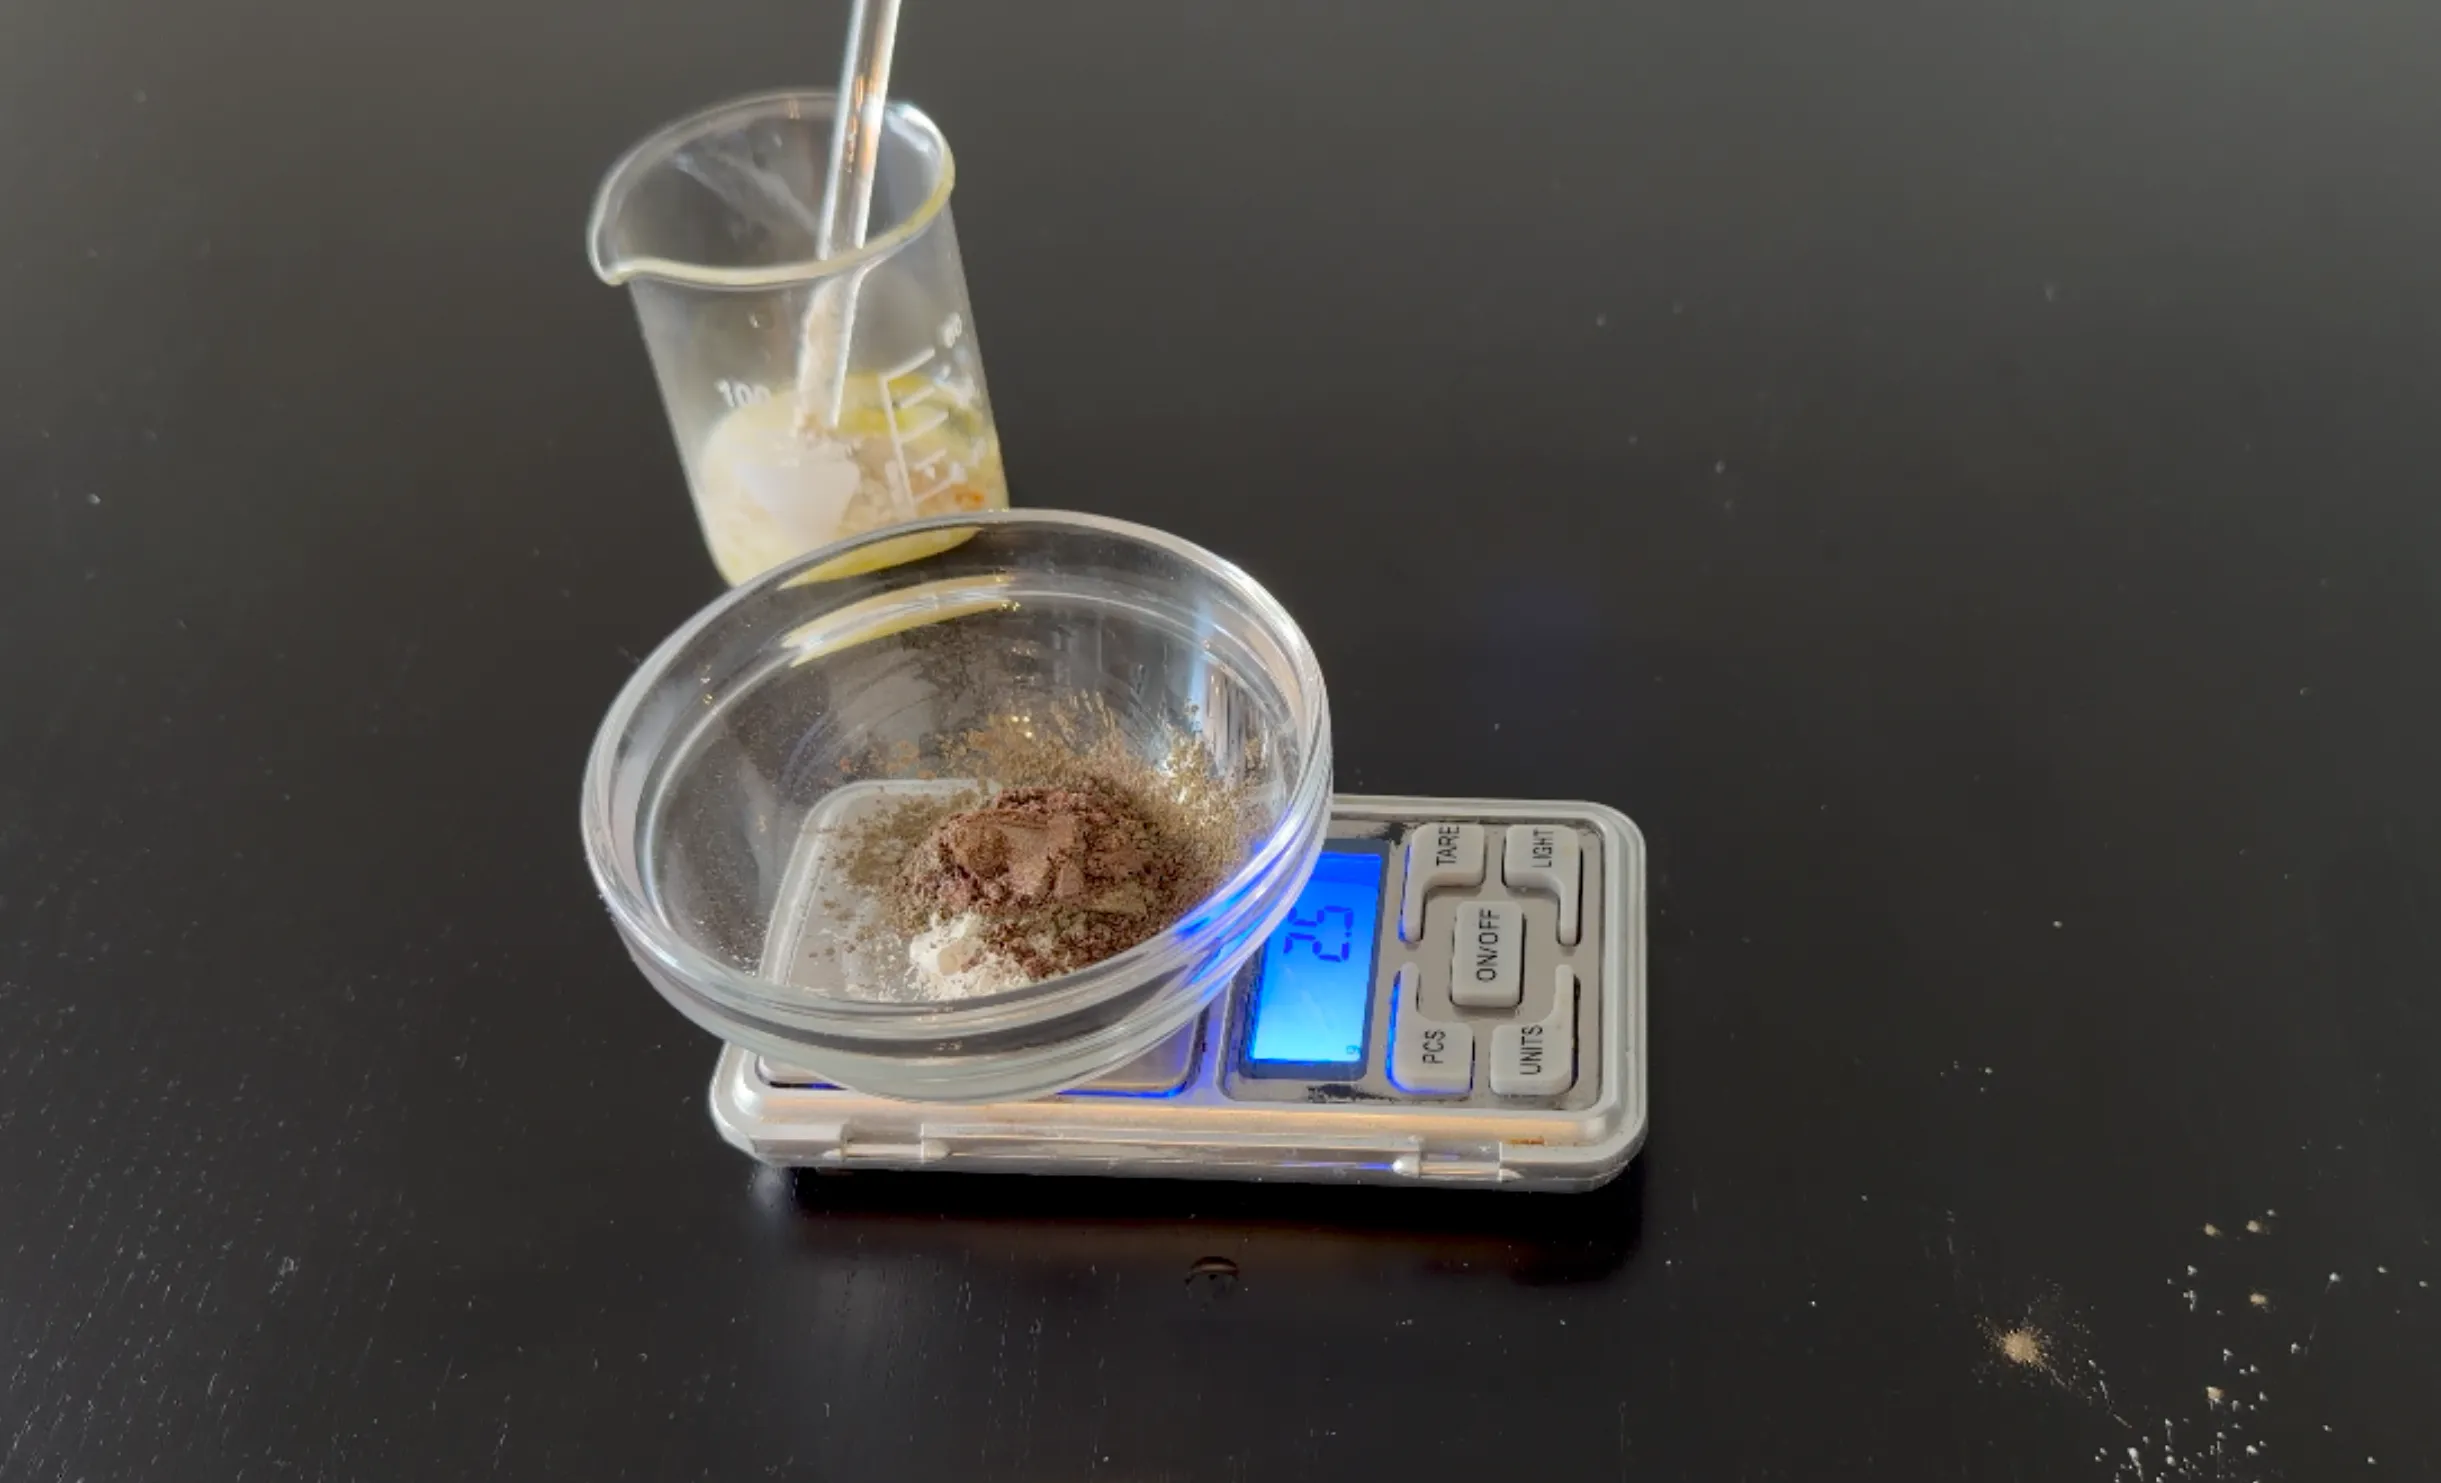
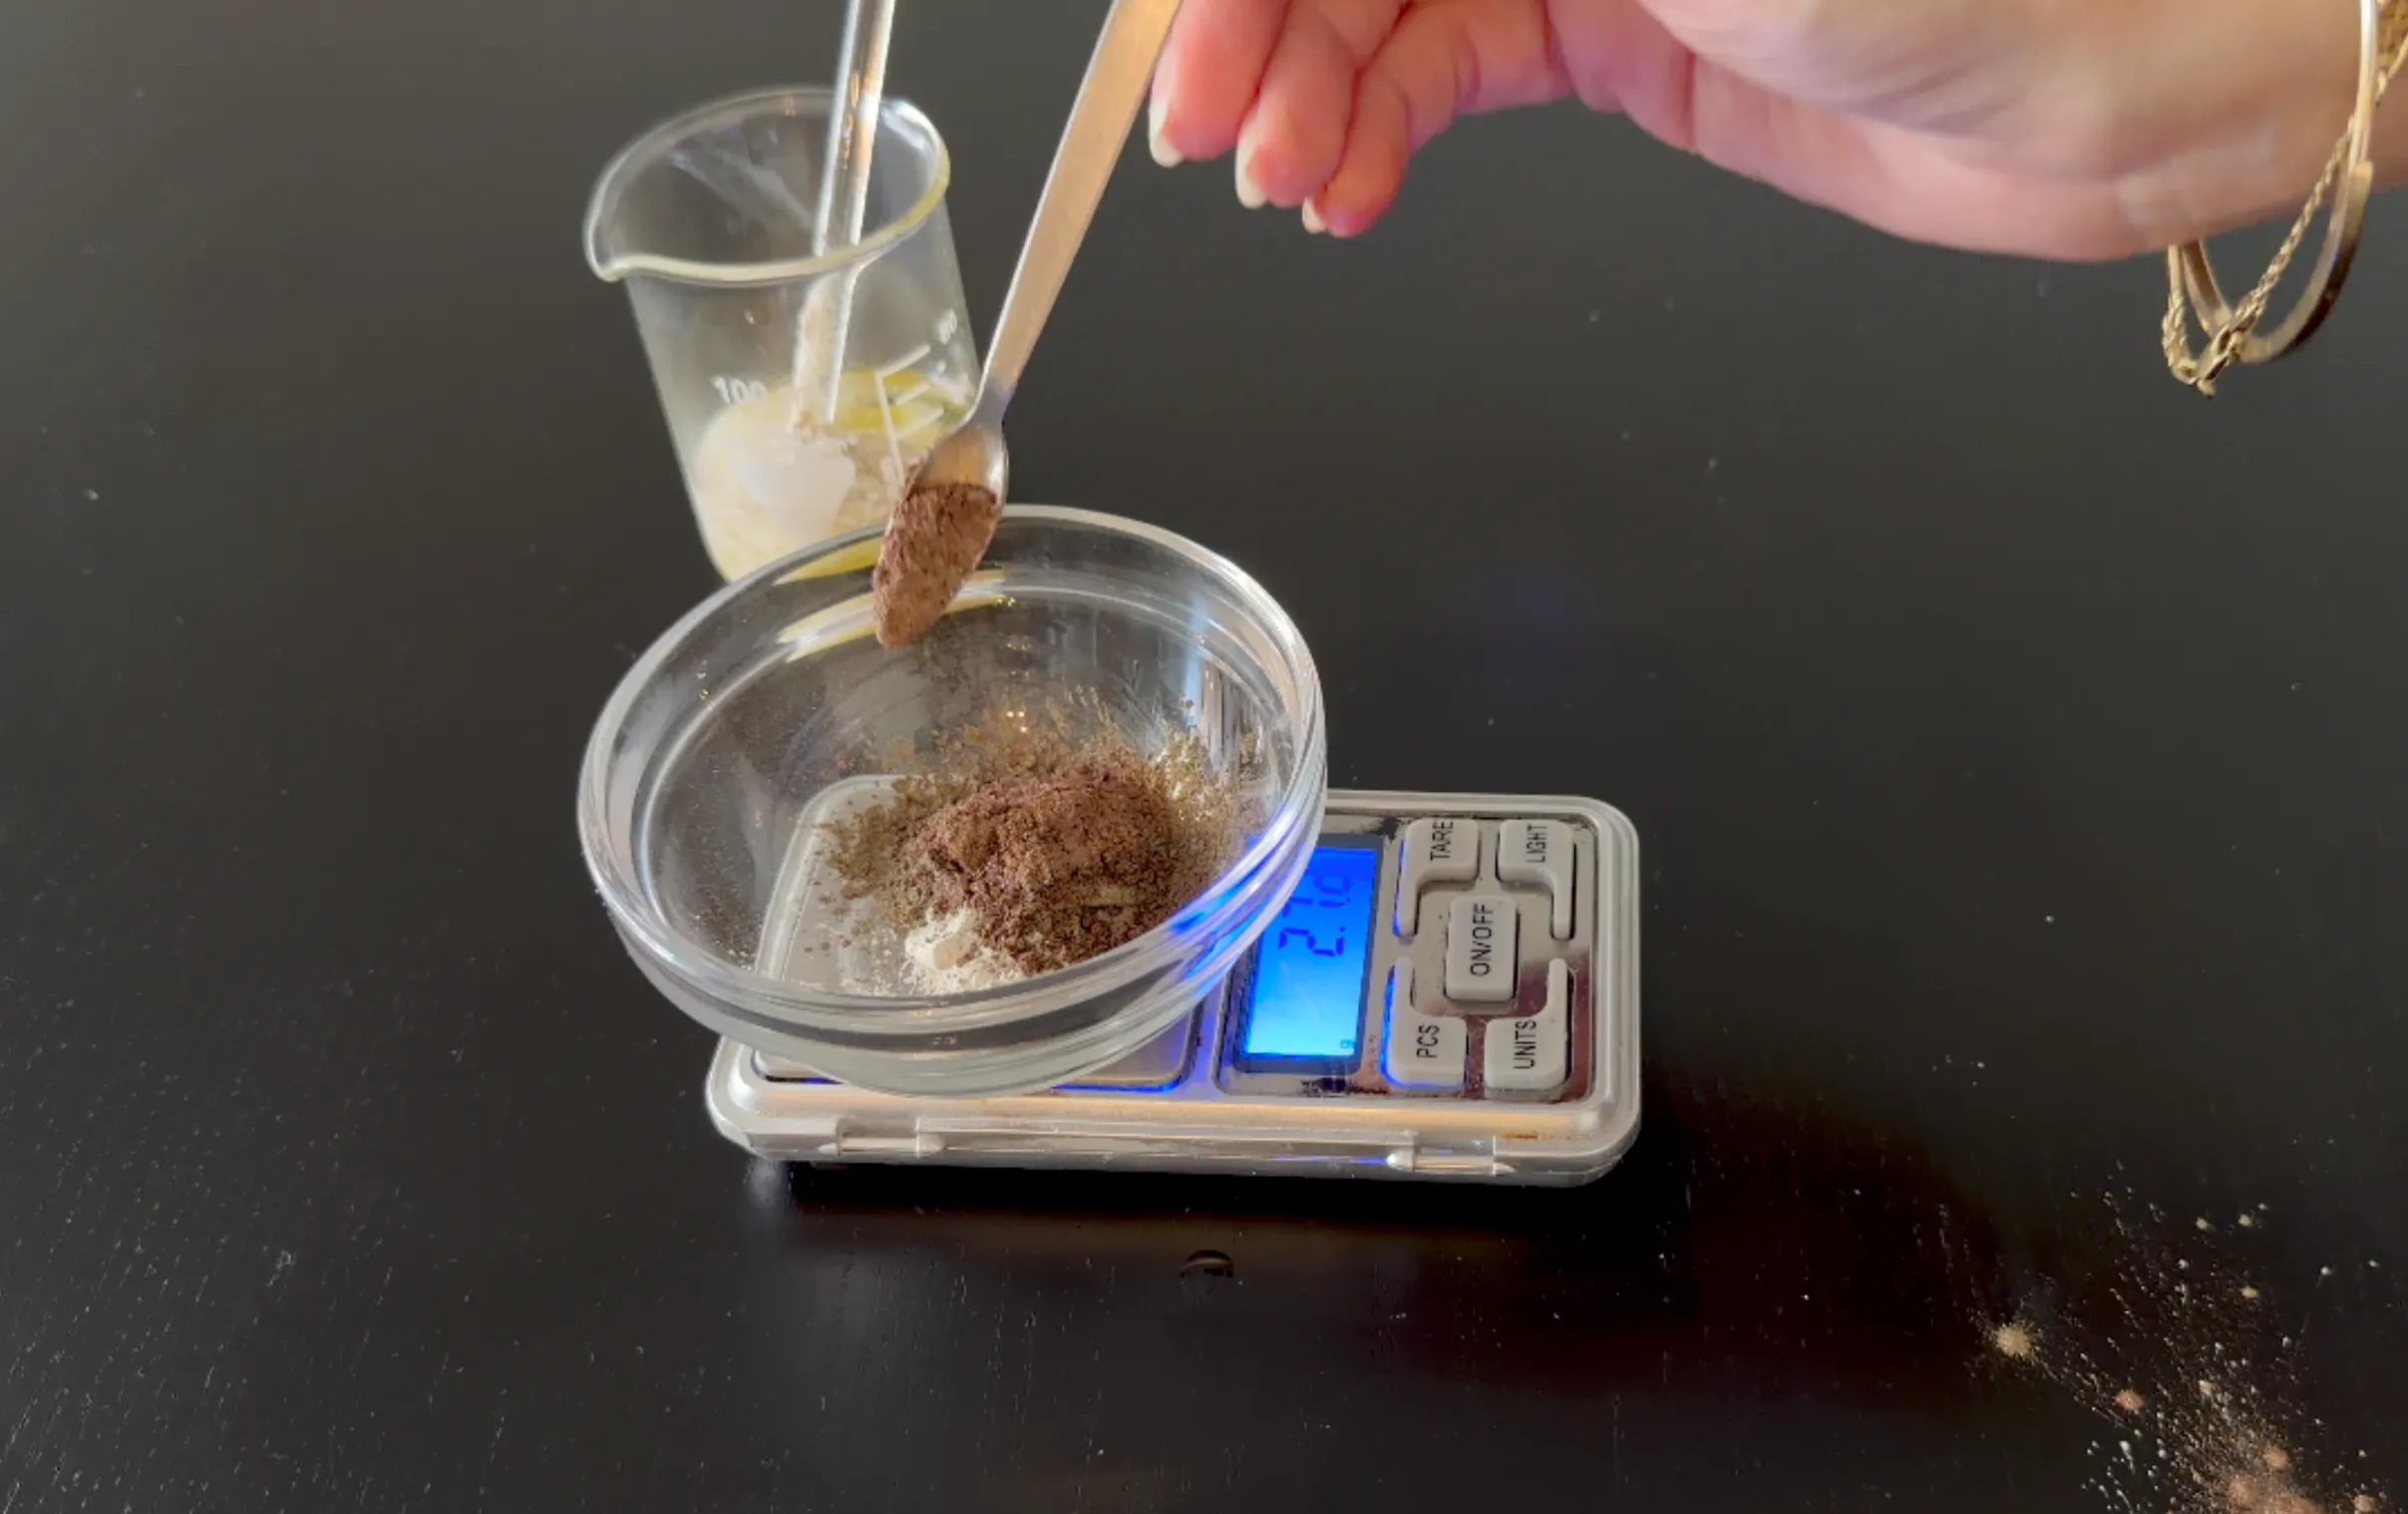
The color is the fun part, and it all comes from the powders. For this soft golden-bronze, I blended four cosmetic micas:
- A golden pearl mica — the warm gold base of the shade, with a pearly shimmer.
- A white pearl mica — this lifts and brightens the blend, adding a luminous, reflective sheen without really changing the color.
- A warm brown-gold mica — a second, richer gold for extra depth and sparkle.
- A bronze / coffee-brown mica — just a little. This is what turns a yellow-gold into a true bronze, adding the warm, deeper tone.
There is no single “correct” amount to each powder — I built it by eye. More gold and white pearl make it brighter and lighter; a little more of the bronze/coffee brown makes it deeper and warmer. Use any cosmetic-grade micas you have, in the colors you like, and keep the total of the color powders roughly the same (the mica colors make up 16% of the formula) so the texture stays consistent.
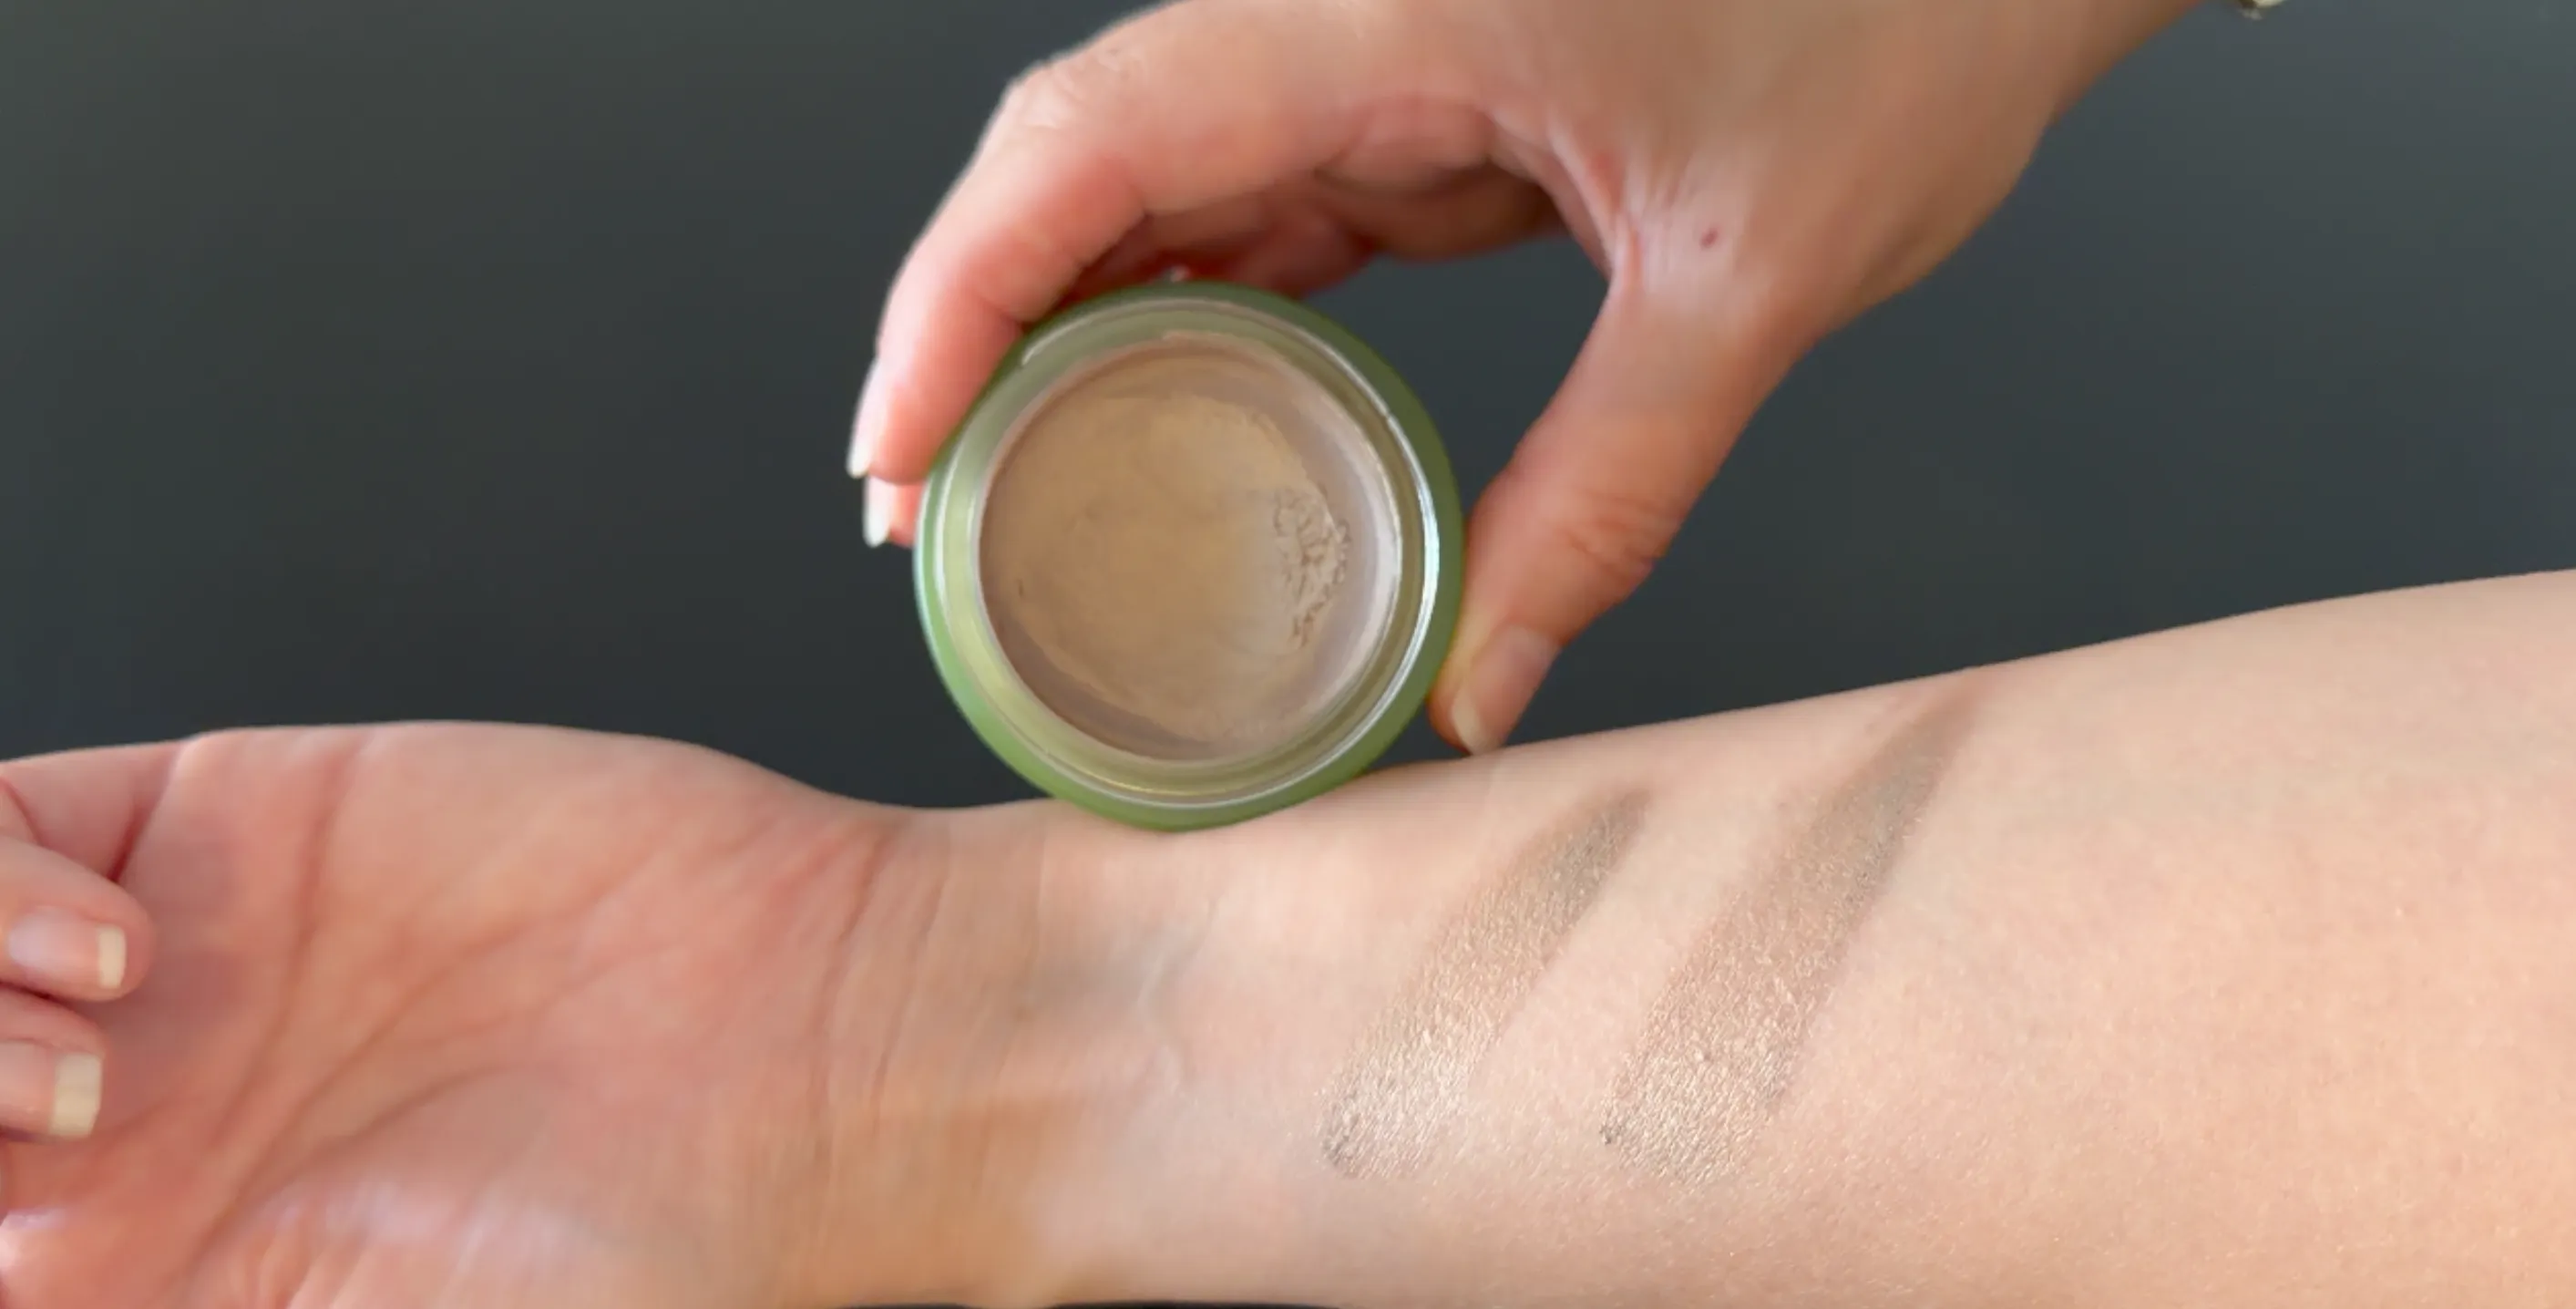
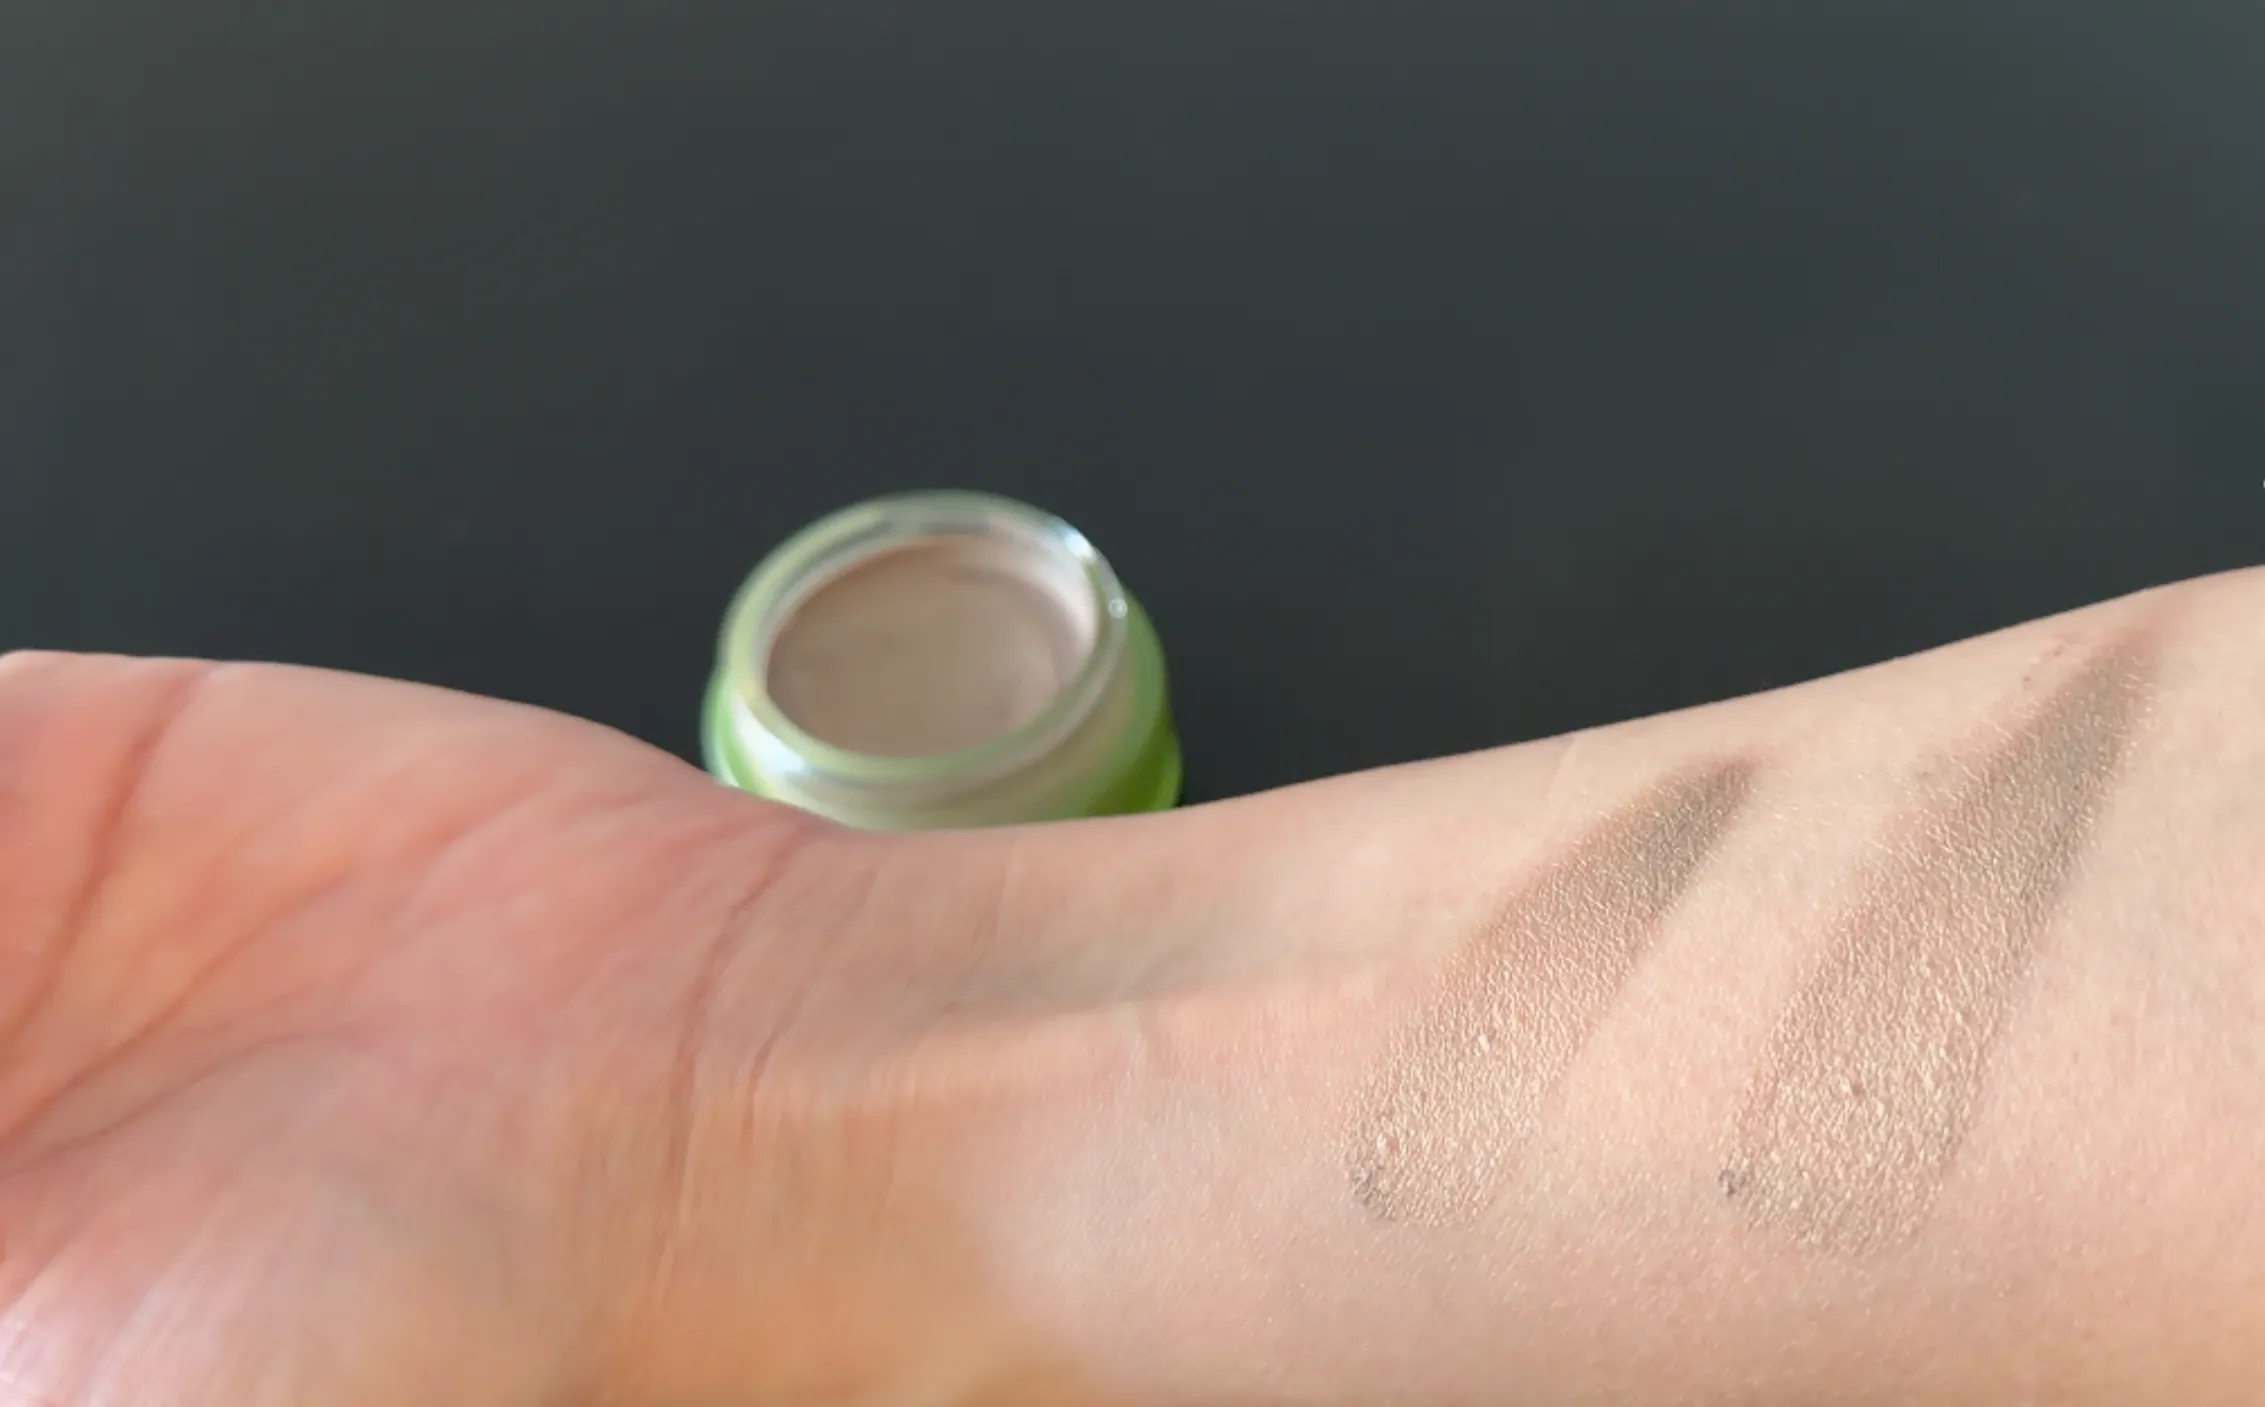
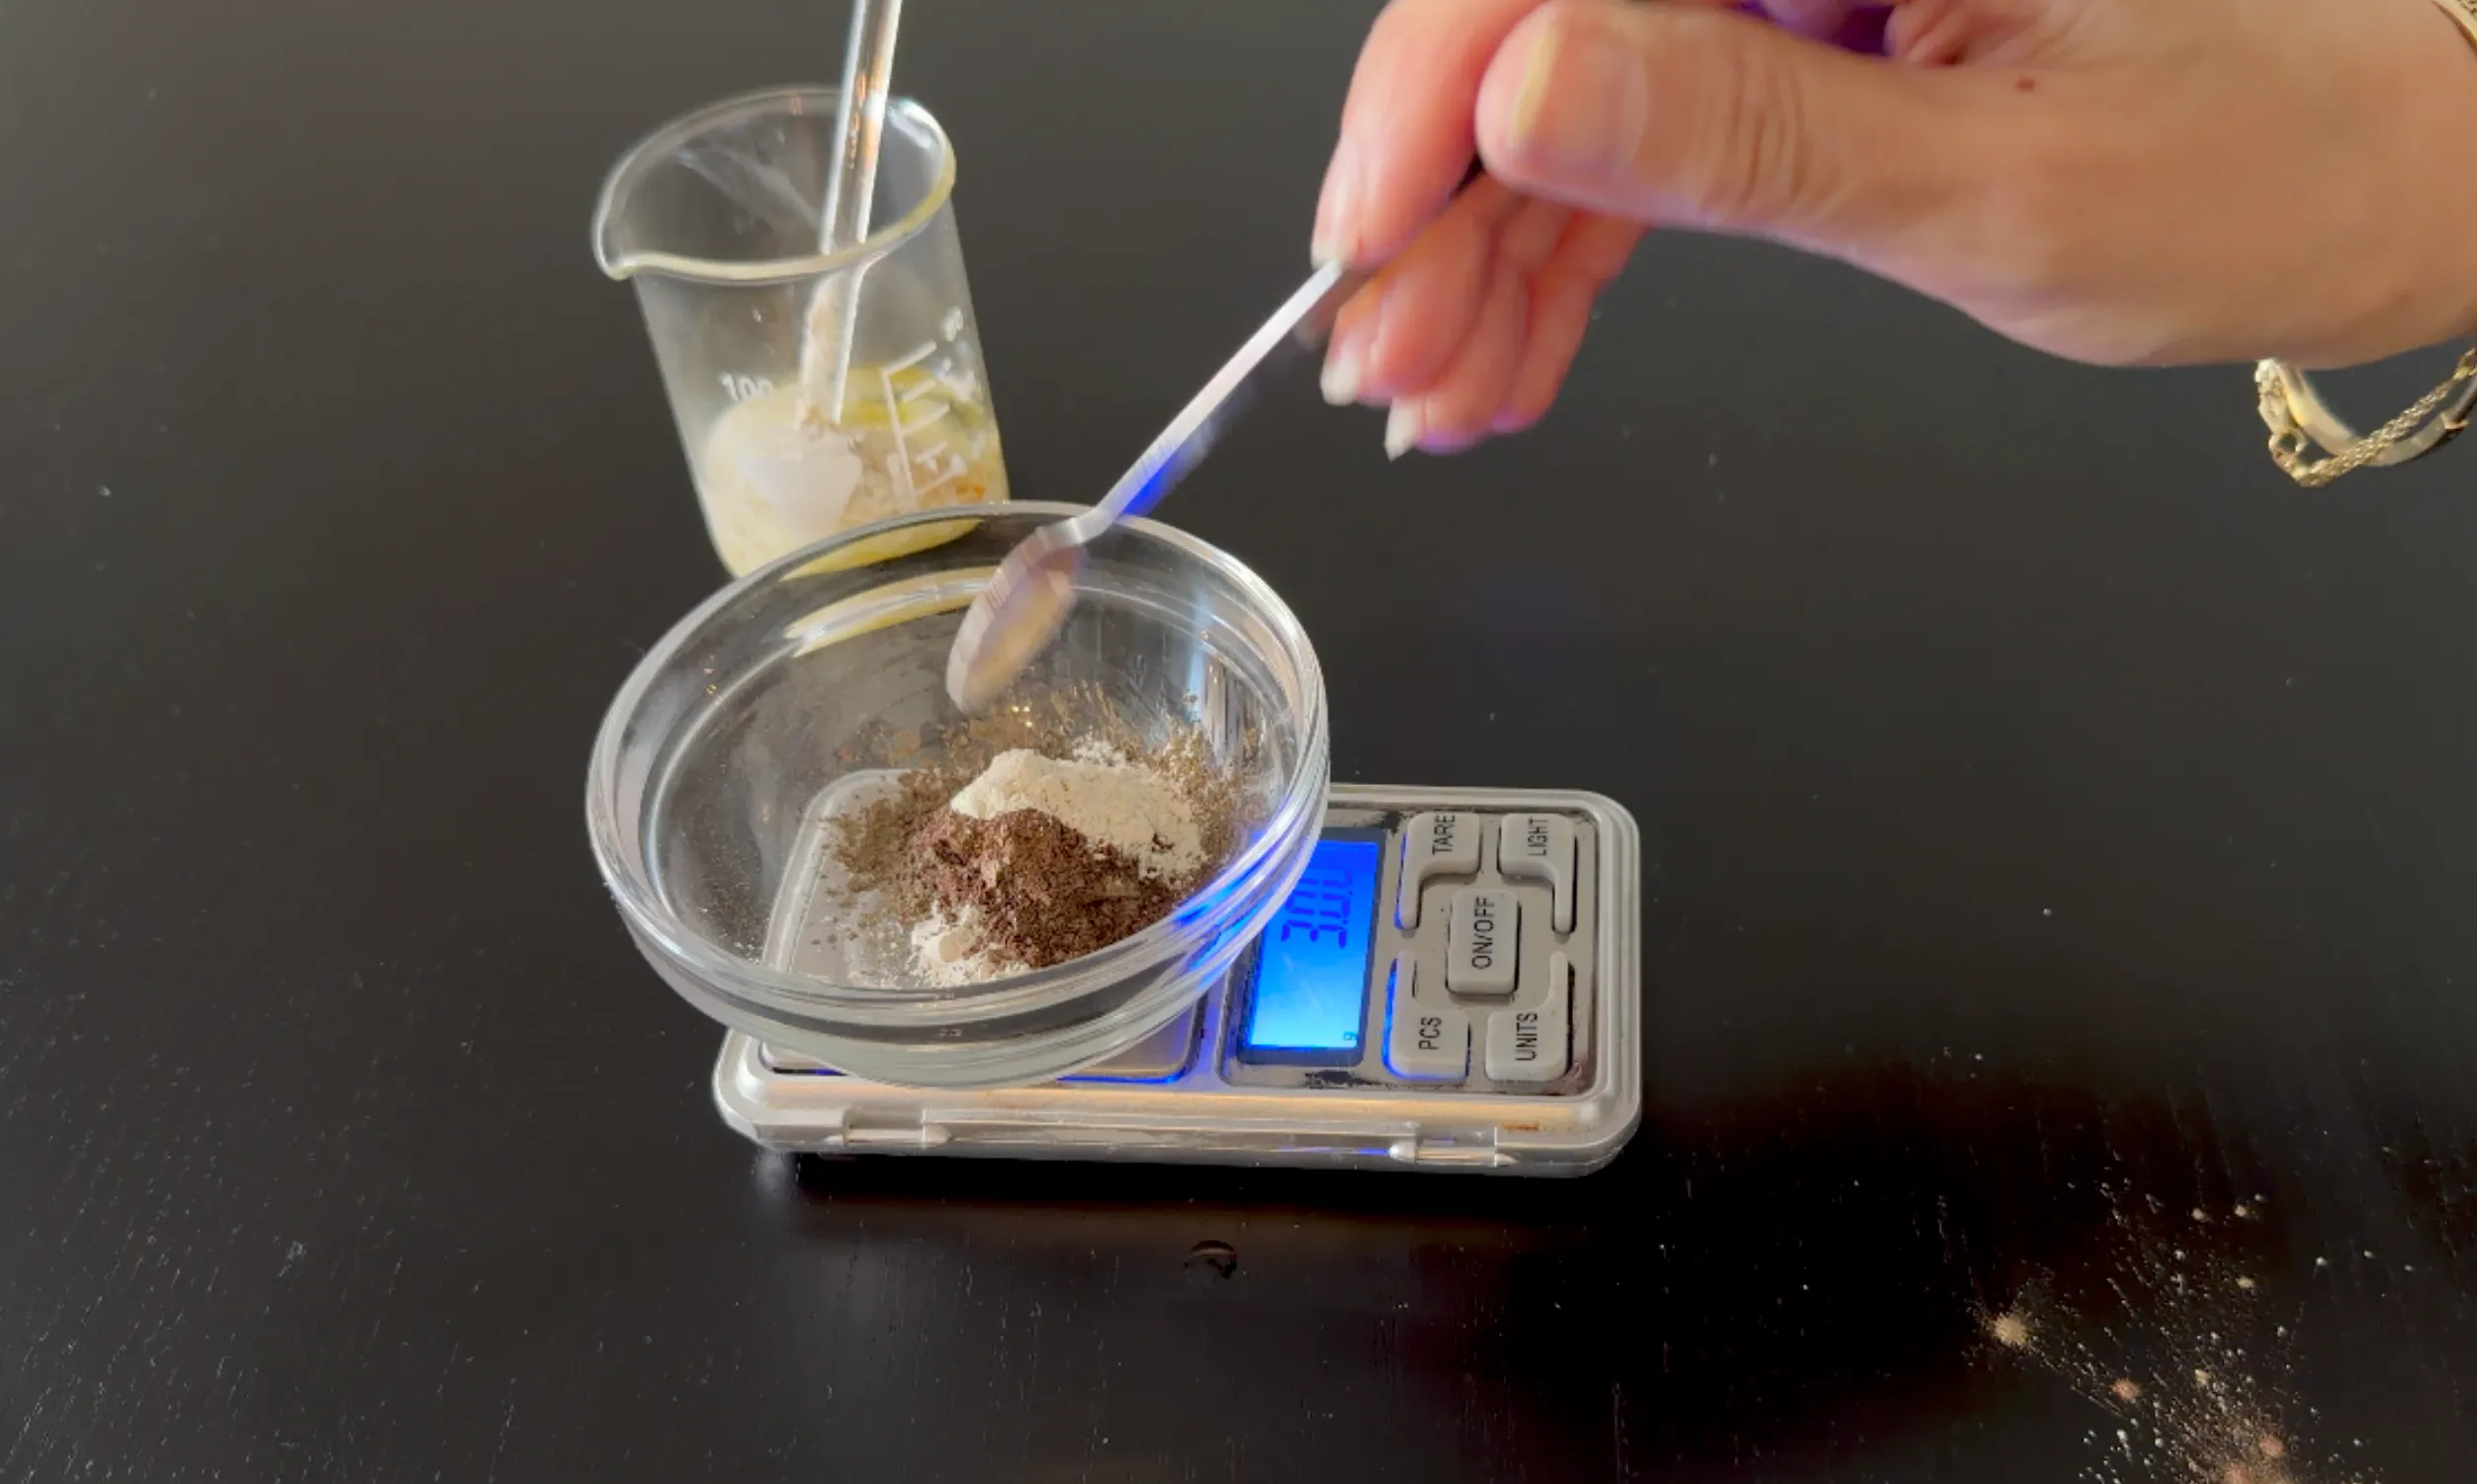
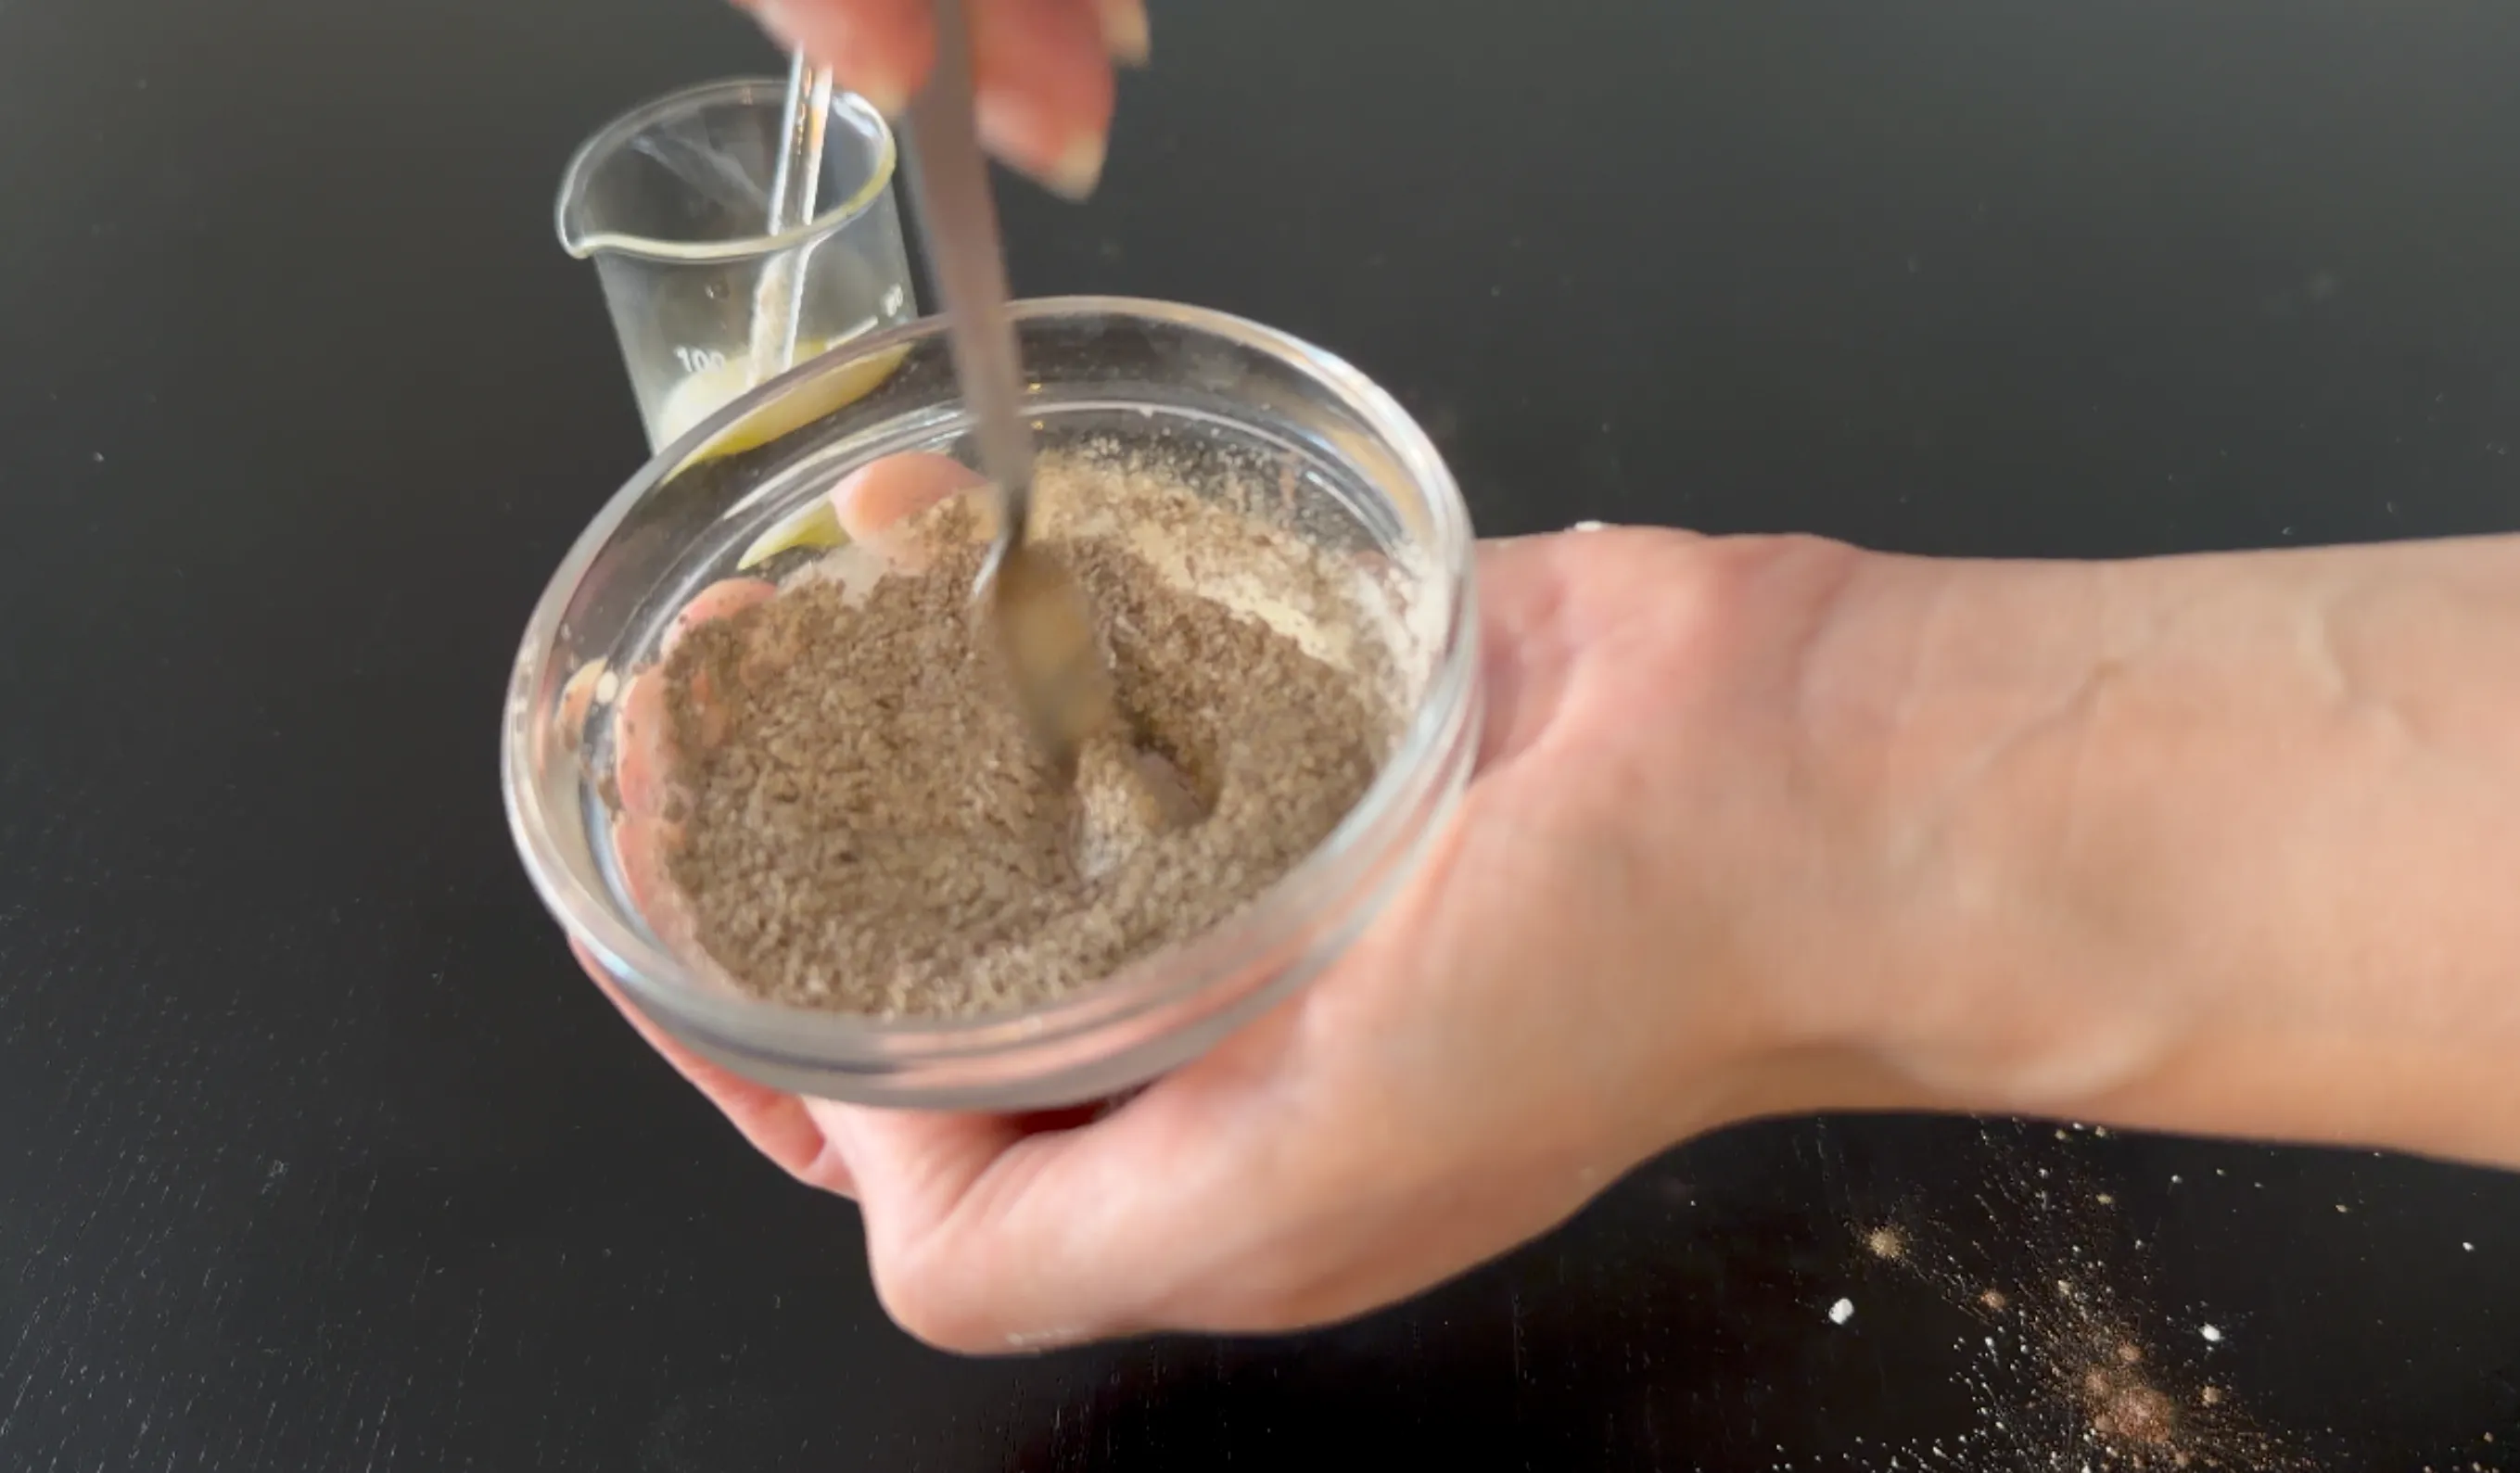
Test the color on your skin before it goes anywhere near the base. I mix the dry powders together in a small dish, then swatch the blend on the back of my hand to see the real shade. This is the moment to adjust: if it is too light, add a touch more of the deeper bronze; if it is too dark or too warm, add more gold or white pearl to lift it. You can keep tweaking the dry mix — adding a little or taking some out — until the swatch is exactly what you want. Only once you are happy does it get stirred into the base.
Two things to keep in mind: the shade deepens slightly once it is mixed into the oils, so aim for a hair lighter in the dry swatch than your final color. And because this base uses white beeswax rather than a yellow wax, the colors come through true — what you swatch is close to what you get on the eye.
The Ingredients, One by One
Here is what every ingredient does, why it is in the formula, and what you can use instead if you cannot get it.
Squalane
Squalane is a lightweight, plant-derived oil that mirrors squalene, one of the oils your skin makes naturally. It hydrates deeply, absorbs quickly, and never feels greasy, which makes it an ideal base for something you wear on the delicate eye area.
It is also extremely stable and slow to oxidize, so it helps give the whole formula a long shelf life, and it has antioxidant properties that are gentle and skin-friendly.
In this eyeshadow, squalane is the largest single ingredient — it is the liquid heart of the base. It carries the pigments, lets the cream glide on and blend without dragging the skin, and keeps everything feeling light rather than heavy. You can replace it with caprylic/capric triglyceride, another light, silky emollient, or with fractionated coconut oil.
Coco caprylate
Coco caprylate is a coconut-derived emollient with a beautifully silky, dry-touch finish. It spreads easily and leaves no oily residue, which is exactly what you want in a cream you tap onto your lids.
It improves softness and slip while keeping the texture light, so a formula rich in butters and waxes never turns heavy or sticky.
Here it works hand in hand with the squalane to give the shadow that effortless, melt-into-the-skin application and smooth blendability. You can replace it with isopropyl myristate or with fractionated coconut oil.
If you would rather not buy three different oils, you can simplify: use a single light liquid emollient — coco caprylate on its own works beautifully — in place of the squalane, coco caprylate and jojoba oil together. Just keep the total the same, as those three add up to 53% of the formula.
Jojoba oil
Jojoba oil is technically a liquid wax, and its structure is remarkably close to the skin’s own sebum. That makes it conditioning and balancing, and gentle enough for the eye area, without clogging pores.
It is naturally rich in vitamin E and very stable, so alongside its skin-care benefits it also helps the formula resist going rancid.
In this recipe jojoba softens and conditions while adding to the creamy glide, rounding out the base so it feels nourishing rather than dry. You can use argan oil in its place.
White beeswax
White beeswax is simply beeswax that has been refined until it is close to colorless. It is a natural structuring wax that firms the cream without making it hard, and it is emollient and lightly protective on the skin.
This wax is the backbone of the long wear: it gives the shadow enough body to hold its shape in the jar while staying soft and blendable, and once on the lid it sets to a flexible film that grips the pigment and resists creasing.
I chose the white (refined) form on purpose. A regular yellow wax has a pale-gold tint that can subtly warp light or cool shades, so the white form keeps your colors true. For a vegan version, use candelilla wax — it is harder, so start with a little less. You can also use carnauba wax for a firmer set, keeping in mind it may slightly warm the shade.
Glyceryl stearate
Glyceryl stearate is a gentle, plant-derived emulsifier and texture softener. Its job is to bring oils, waxes and powders together into one smooth, even, stable cream.
It keeps the formula from separating and stops the pigments from going gritty, while adding a soft, conditioning feel of its own.
In this eyeshadow it is the quiet workhorse that keeps the color evenly dispersed and the texture silky rather than waxy or grainy. You can use polyglyceryl-3 stearate as a plant-based alternative.
Shea butter
Shea butter is a rich, nourishing butter pressed from the shea nut. It is deeply emollient and soothing, and it brings a lovely creaminess to anything you add it to.
It helps skin feel soft and comfortable and adds a cushioning glide, which is especially welcome on the thin skin around the eyes.
Here, shea keeps the shadow creamy and comfortable both as you apply it and as you wear it, so the color sits smoothly instead of looking dry or settling into fine lines. You can use mango butter instead.
Jojoba wax
Jojoba wax is a soft vegetable wax (jojoba oil in a solid bead or flake form). It adds light structure and a smooth, conditioning film without any heaviness.
Working alongside the beeswax, it helps the shadow set to a long-wearing finish, and together with the emulsifier below it helps wet and carry the pigment evenly. This pairing is what lets the formula stay lecithin-free while still dispersing the color smoothly.
You can increase the beeswax very slightly in its place, or use another soft vegetable wax.
Glyceryl stearate citrate
Glyceryl stearate citrate is a mild, plant-derived, palm-free emulsifier. In a typical cream its job is to bind water and oil together, but this formula has no water — so here it plays a different, equally useful role.
It is an excellent pigment-wetting agent: it coats and disperses the micas so they blend in evenly without clumping or streaking, and it keeps the finished cream smooth and consistent.
Together with the jojoba wax, it takes over the job that lecithin does in some formulas, which is how this version stays lecithin-free. You can use a little more glyceryl stearate in its place, or another mild emulsifier you like.
If you would rather keep things simple, you can use a single emulsifier in place of both this and the glyceryl stearate — polyglyceryl-3 stearate works well for the pair — using the two amounts combined, about 5%.
Silk powder
Silk powder is a very fine, soft powder that brings a velvety, soft-focus quality to makeup. It has a beautiful slip and helps gently manage shine.
On the skin it gives a smooth, blurred finish and stops a cream formula from looking too greasy or wet.
In this eyeshadow it refines the texture, adding that silky, professional feel and a soft-focus finish to the color. If you cannot get silk powder, use arrowroot powder.
Mica colors
Mica colors are mineral-based shimmer pigments — fine mineral platelets coated with cosmetic oxides — and they are what give the shadow its actual color and sparkle. They reflect light for a luminous finish and are gentle on the skin.
This is the creative heart of the recipe: the exact blend is up to you, and you will find the four micas I used, and how to mix and test them, in the Building the Shade section above.
Combine any cosmetic-grade micas in the colors you like. For a more matte effect, you can replace some of the shimmer micas with matte mineral pigments.
Pearl powder
Pearl powder is a pearlescent white mineral powder that adds a soft, luminous, lit-from-within sheen and a smooth, refined slip.
It gives the shadow its glow and helps brighten and lift the whole shade, while making the cream feel even silkier on the lid.
This is the ingredient that makes an eyeshadow feel like an eyeshadow rather than a matte powder — it is there for glow, not coverage. If you prefer a more matte finish you can swap it for silica, or use sericite mica for a softer, satin look.
Nano zinc oxide
Nano zinc oxide is a gentle mineral that is soothing and mildly protective, and it adds a touch of opacity.
That small amount of opacity helps the color read true and even on the lid, while the mineral itself is calming — a nice quality so close to the eyes.
I keep it low on purpose, because too much would lighten and mute the shade. You can use titanium dioxide for more opacity, but it lightens the color more, so use it sparingly.
Vitamin E
Vitamin E is a powerful antioxidant. Its main job here is to protect all those lovely oils from oxidation, which keeps the formula fresh and extends its shelf life.
It also conditions the skin and adds a little extra care to a product you wear all day.
You can use rosehip oil for similar antioxidant benefits, keeping in mind it carries a faint color and scent of its own.
A note on fragrance
I left fragrance out on purpose and kept it completely fragrance-free, because this sits so close to the eyes. For the eye area, fragrance-free is the safer, kinder choice.
A note on swapping ingredients
All the alternatives above will work, but every oil, butter and wax behaves a little differently — so any swap can change the final texture, firmness or finish. If you make changes, mix a small test batch first and check how it sets and applies before committing to a full one. It is far easier to tweak a little tester than to rescue a whole pan.
Method
-
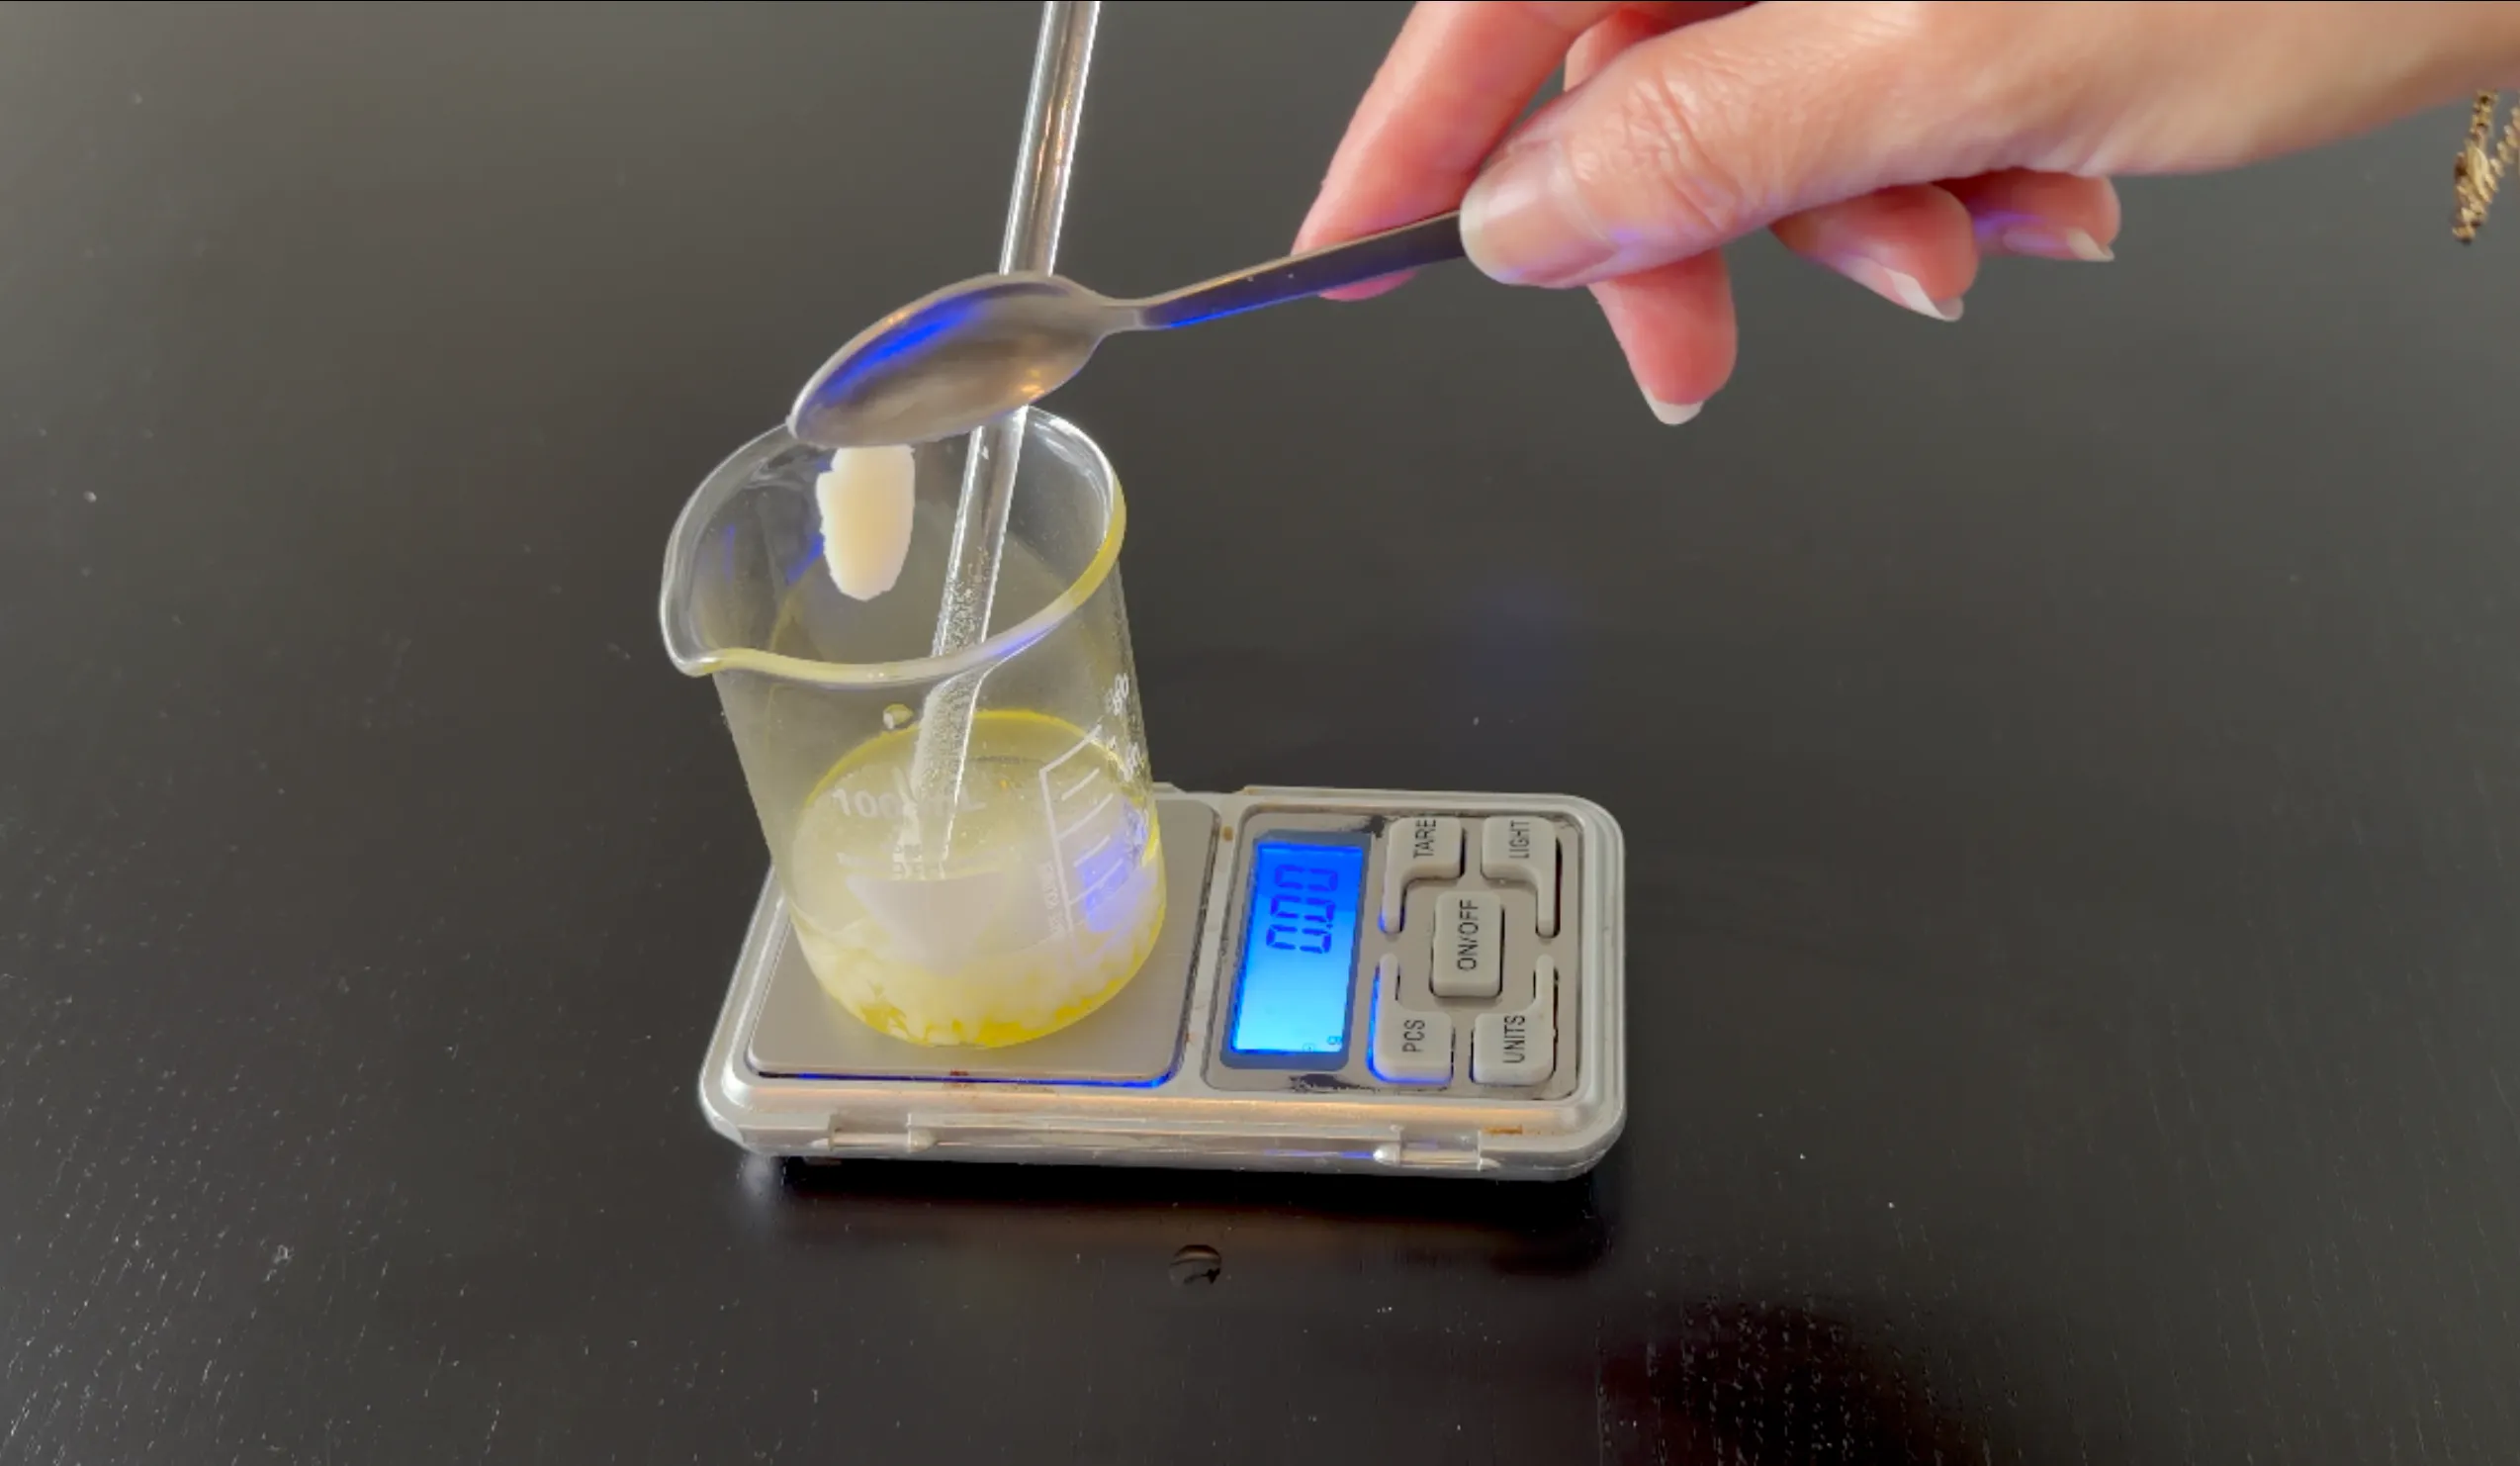
In a heat-resistant beaker, add the squalane and coco caprylate, then the rest of the Phase A ingredients (jojoba oil, white beeswax, glyceryl stearate, shea butter, jojoba wax, glyceryl stearate citrate and vitamin E).
-
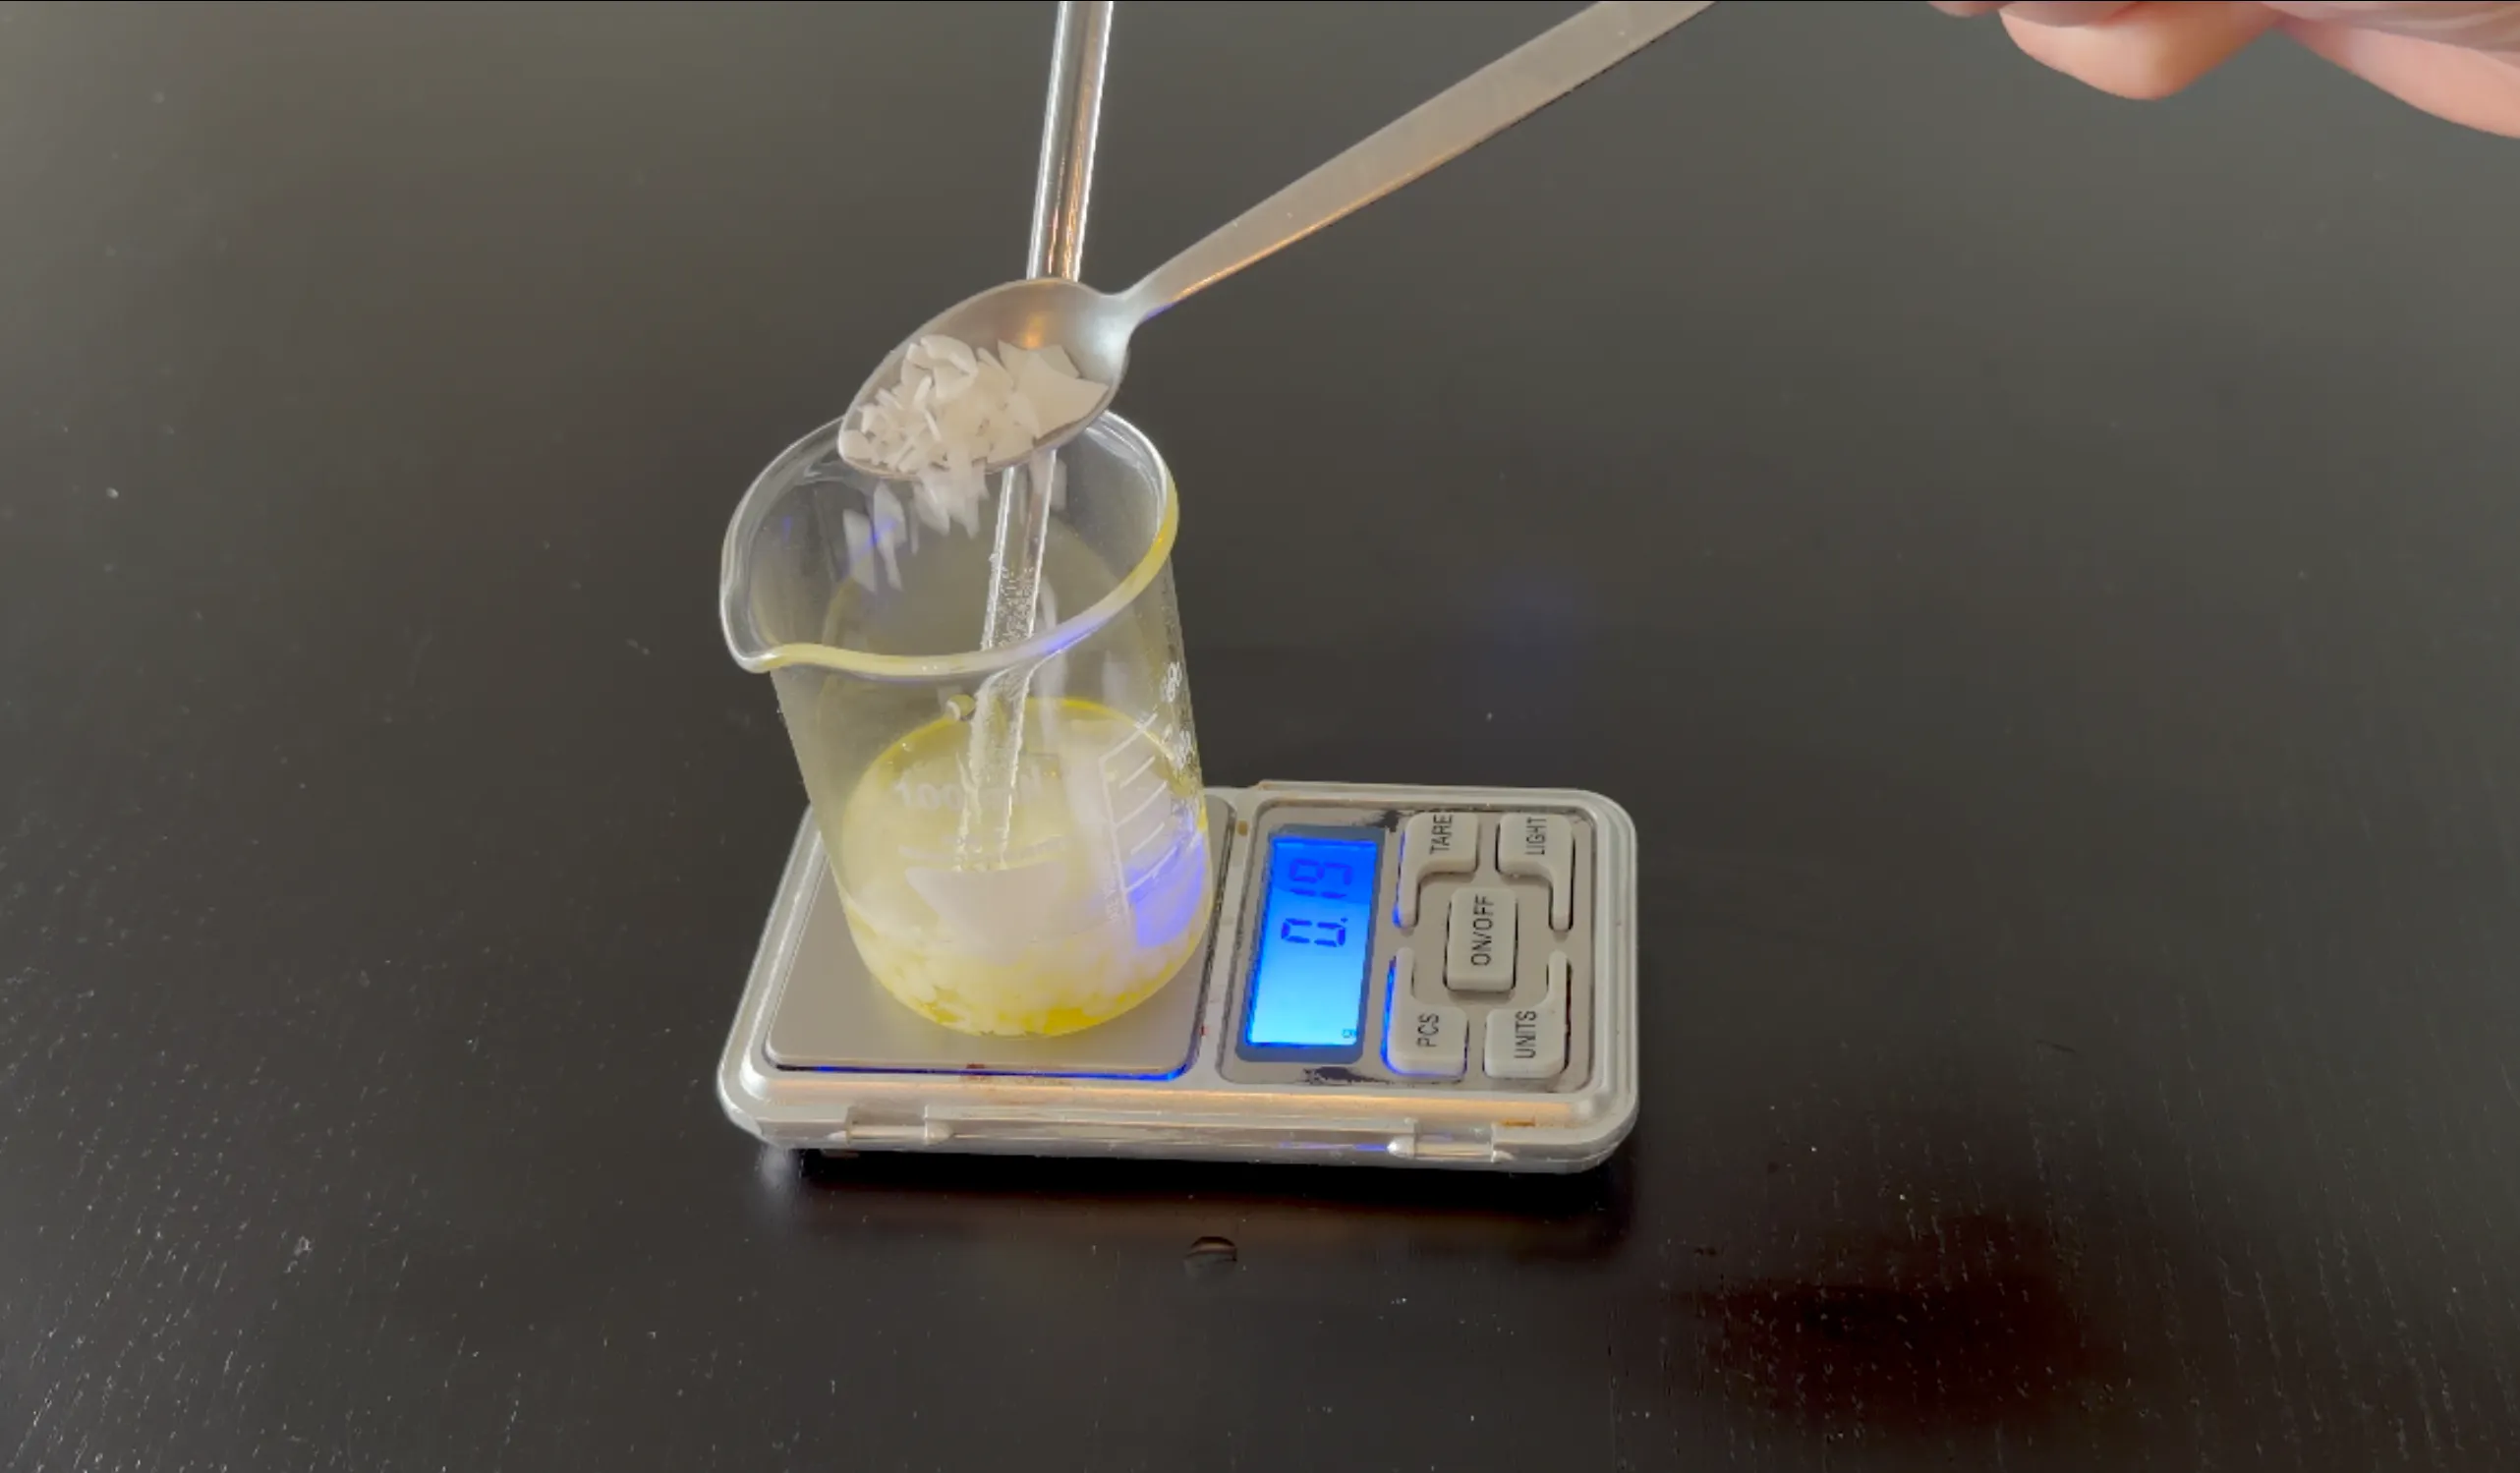
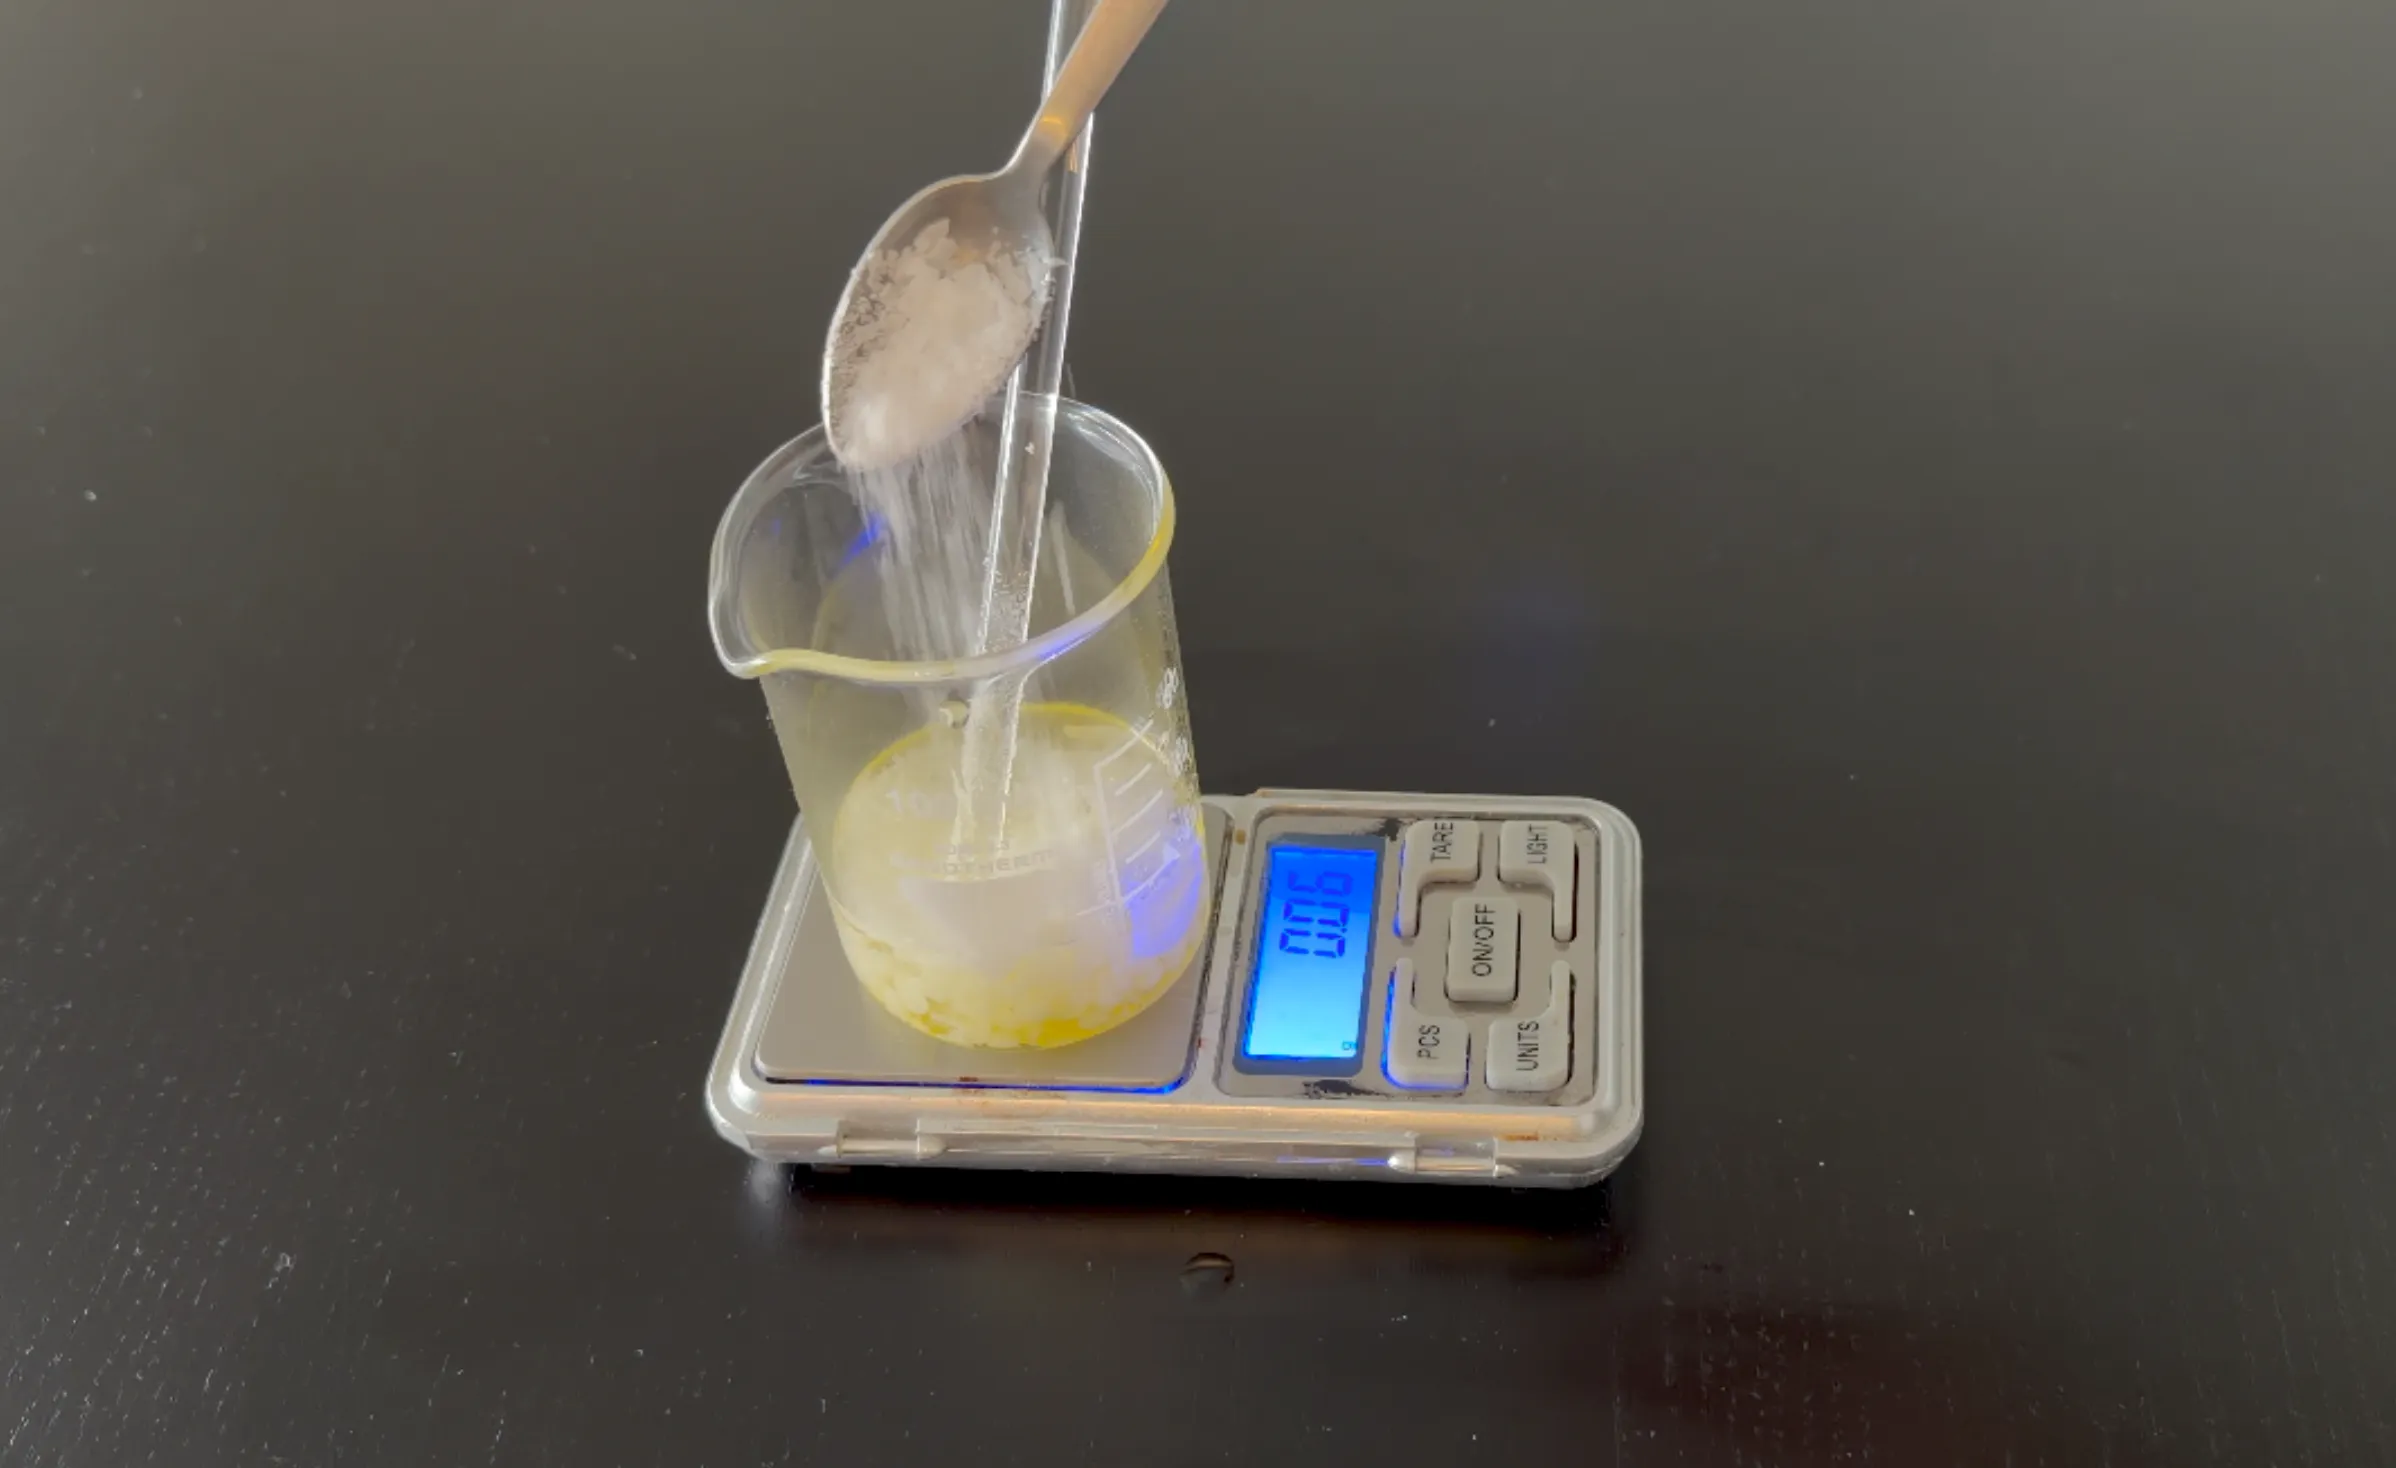
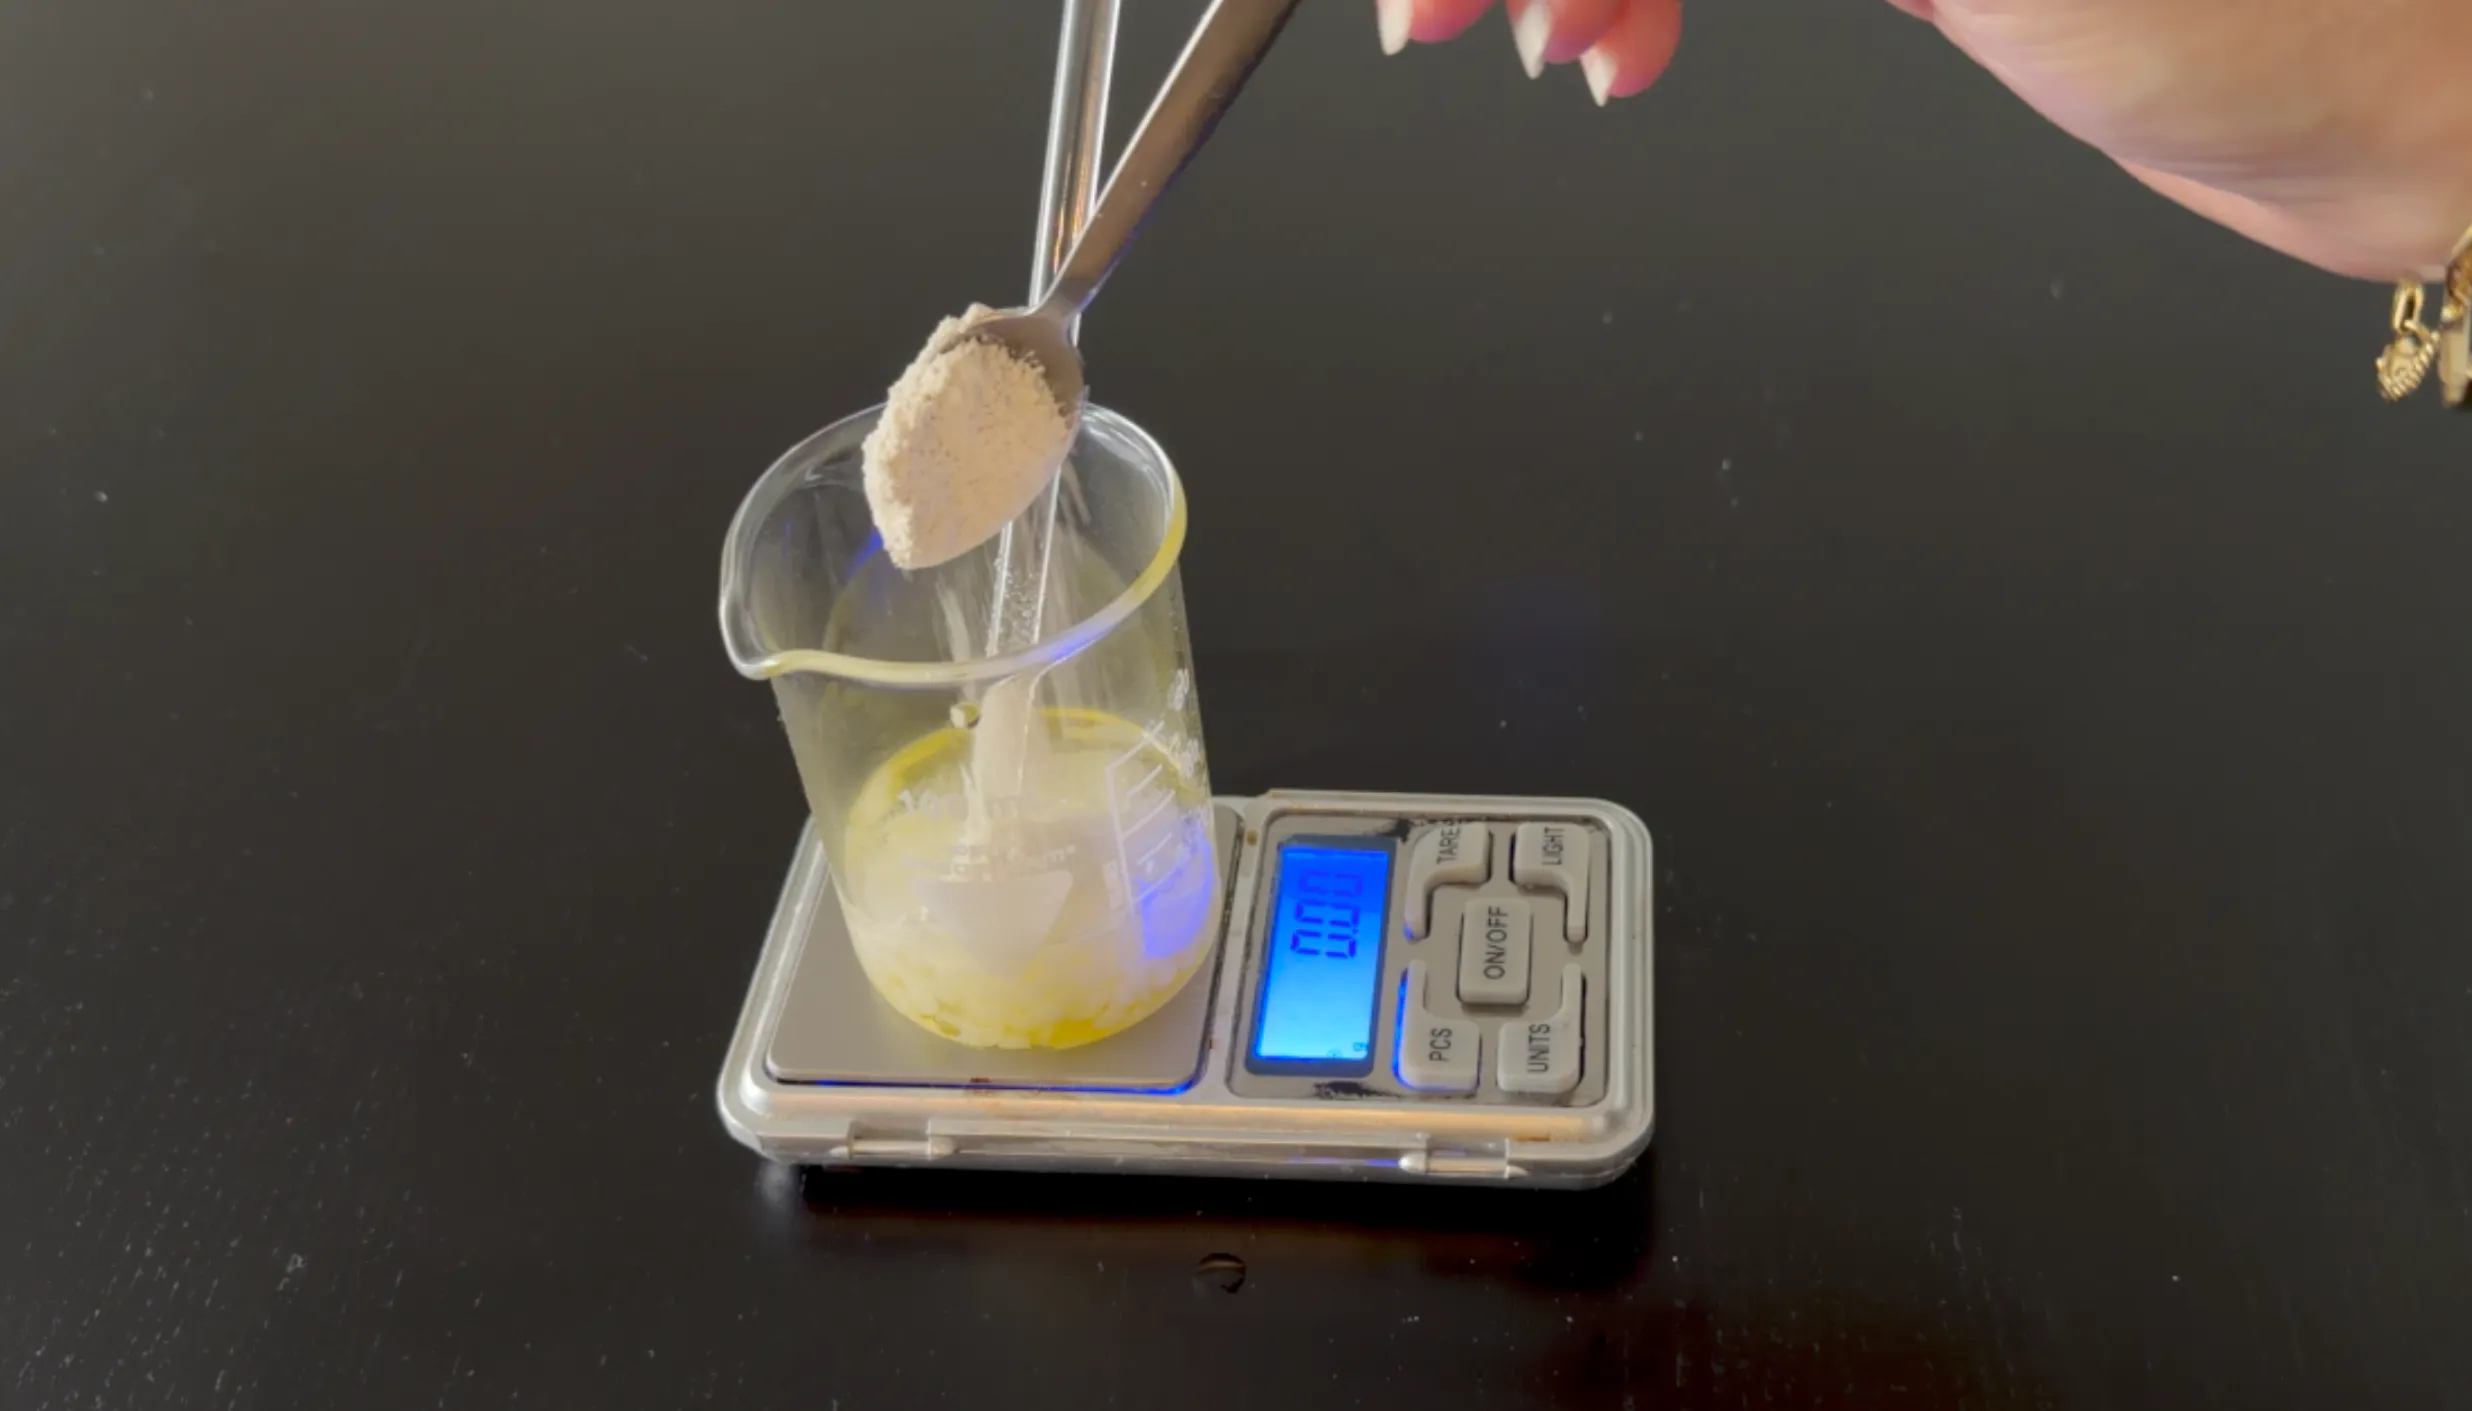
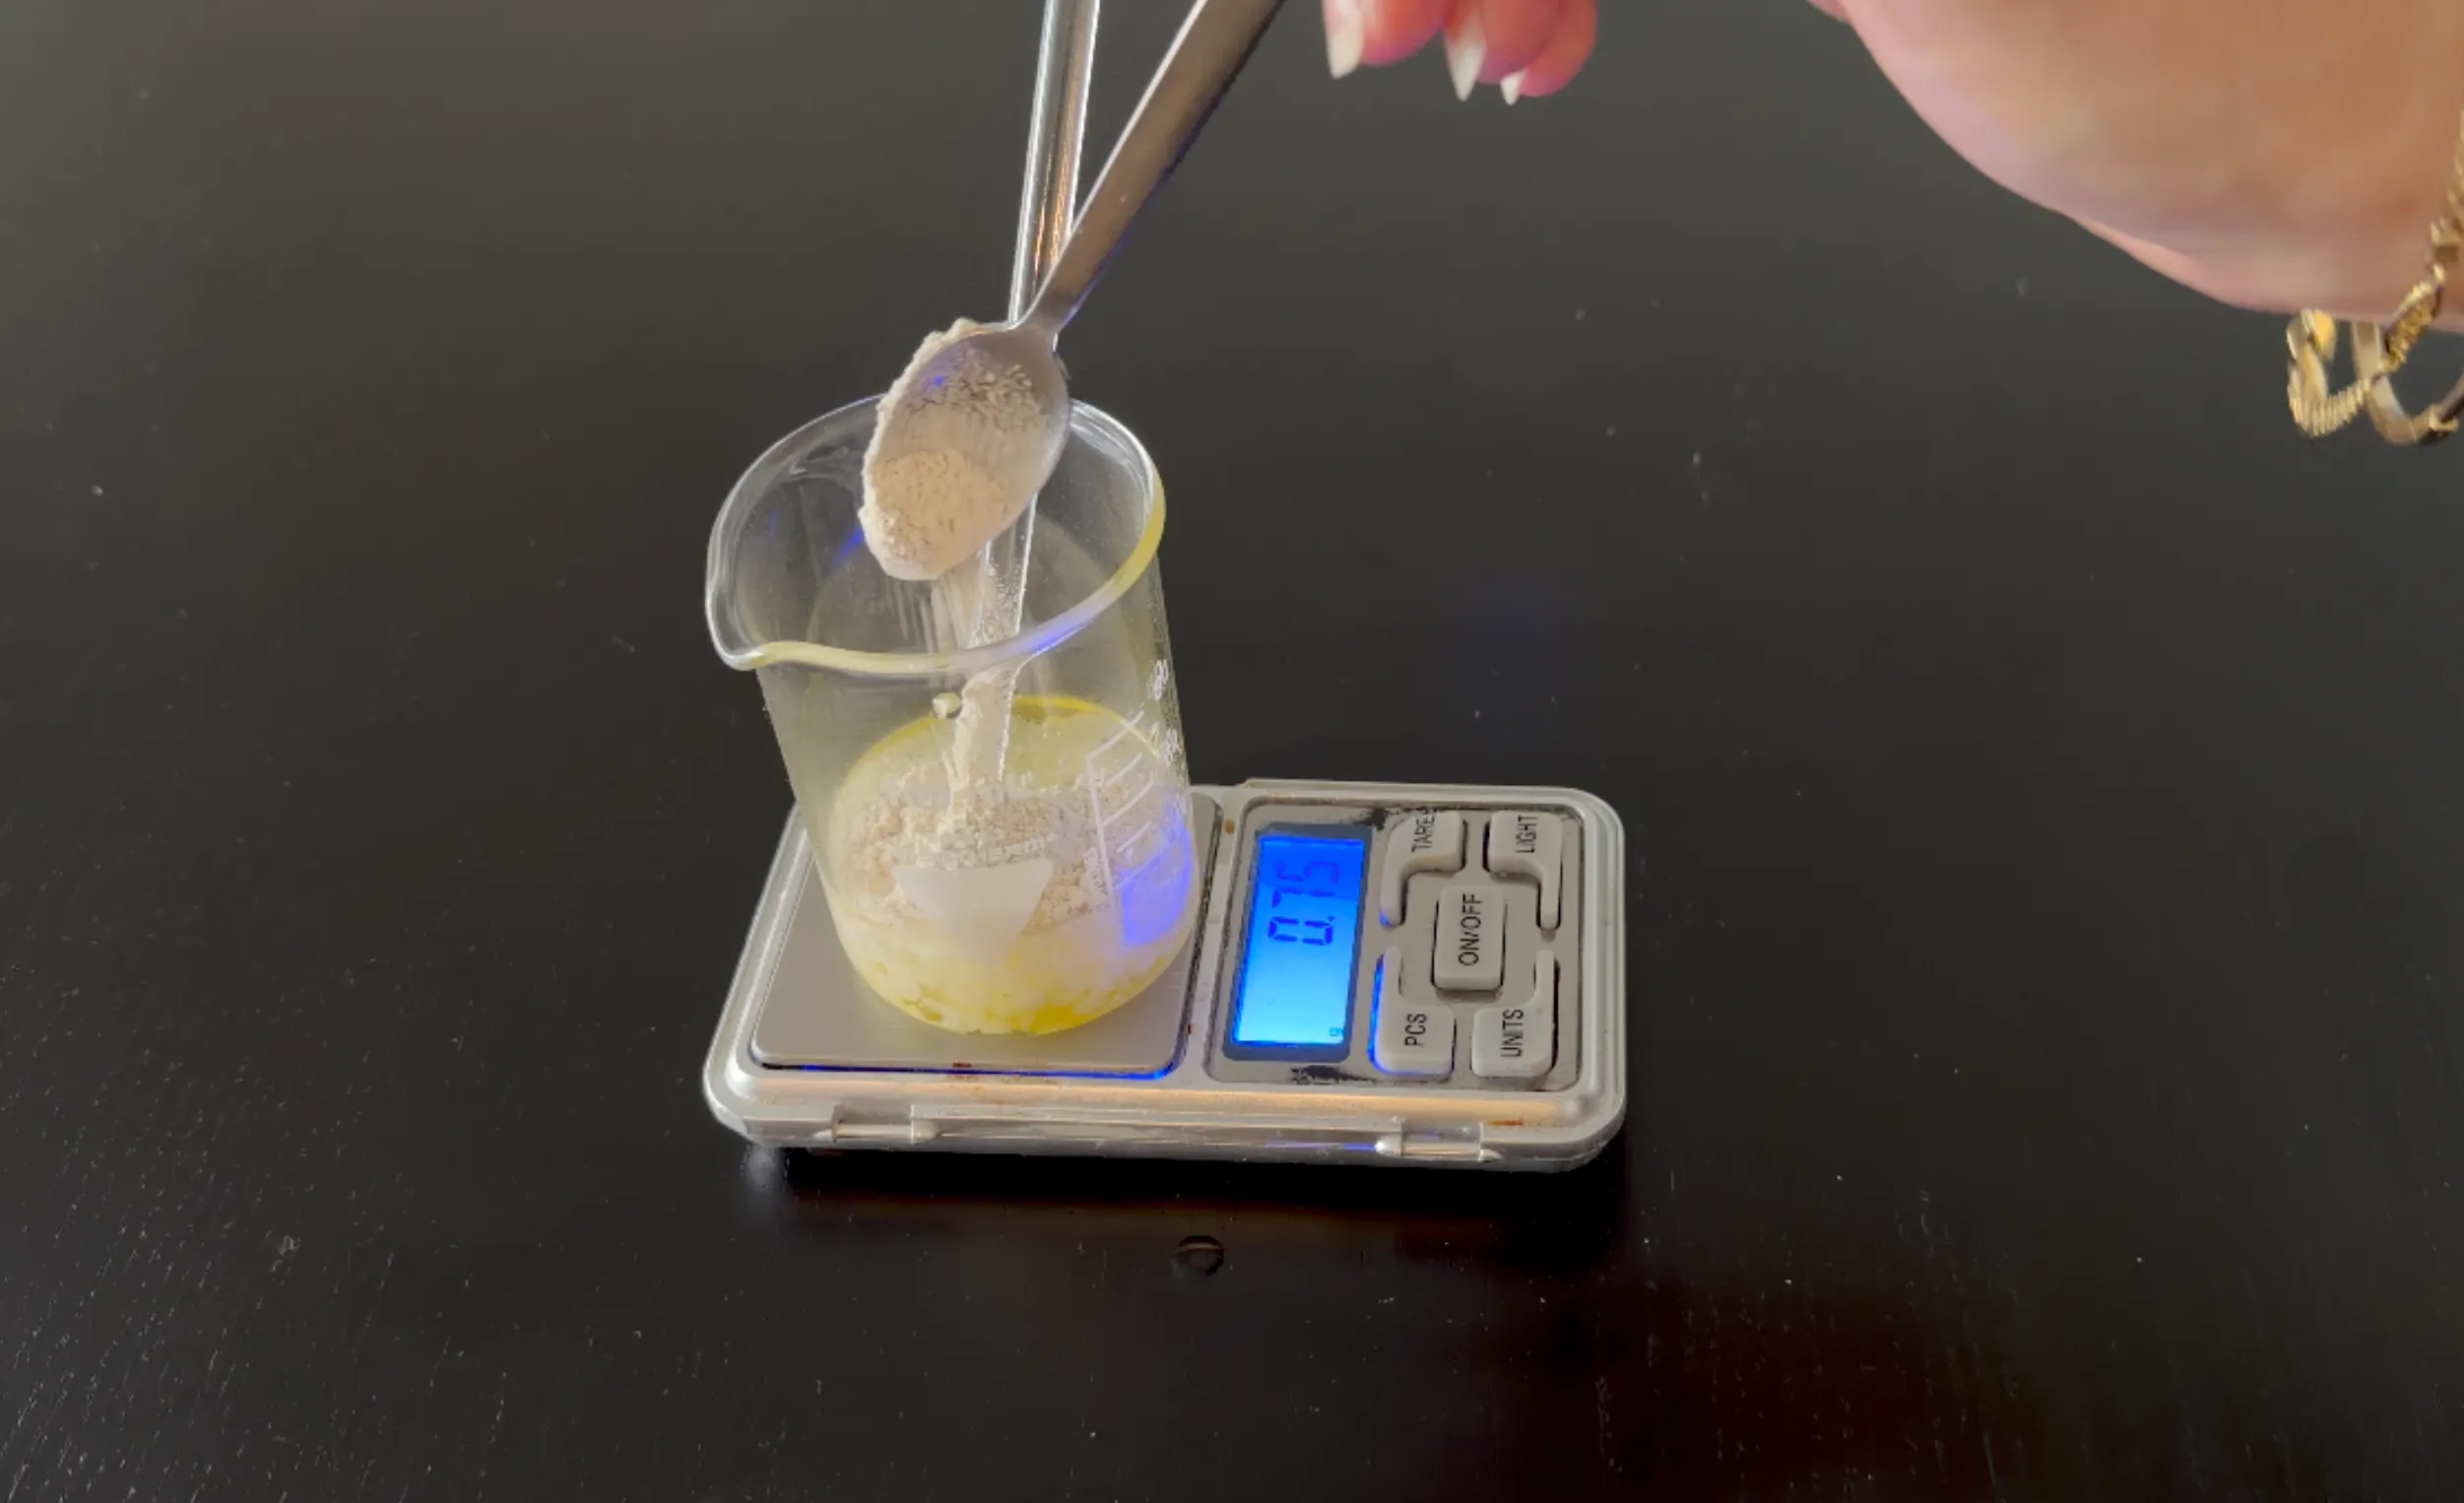
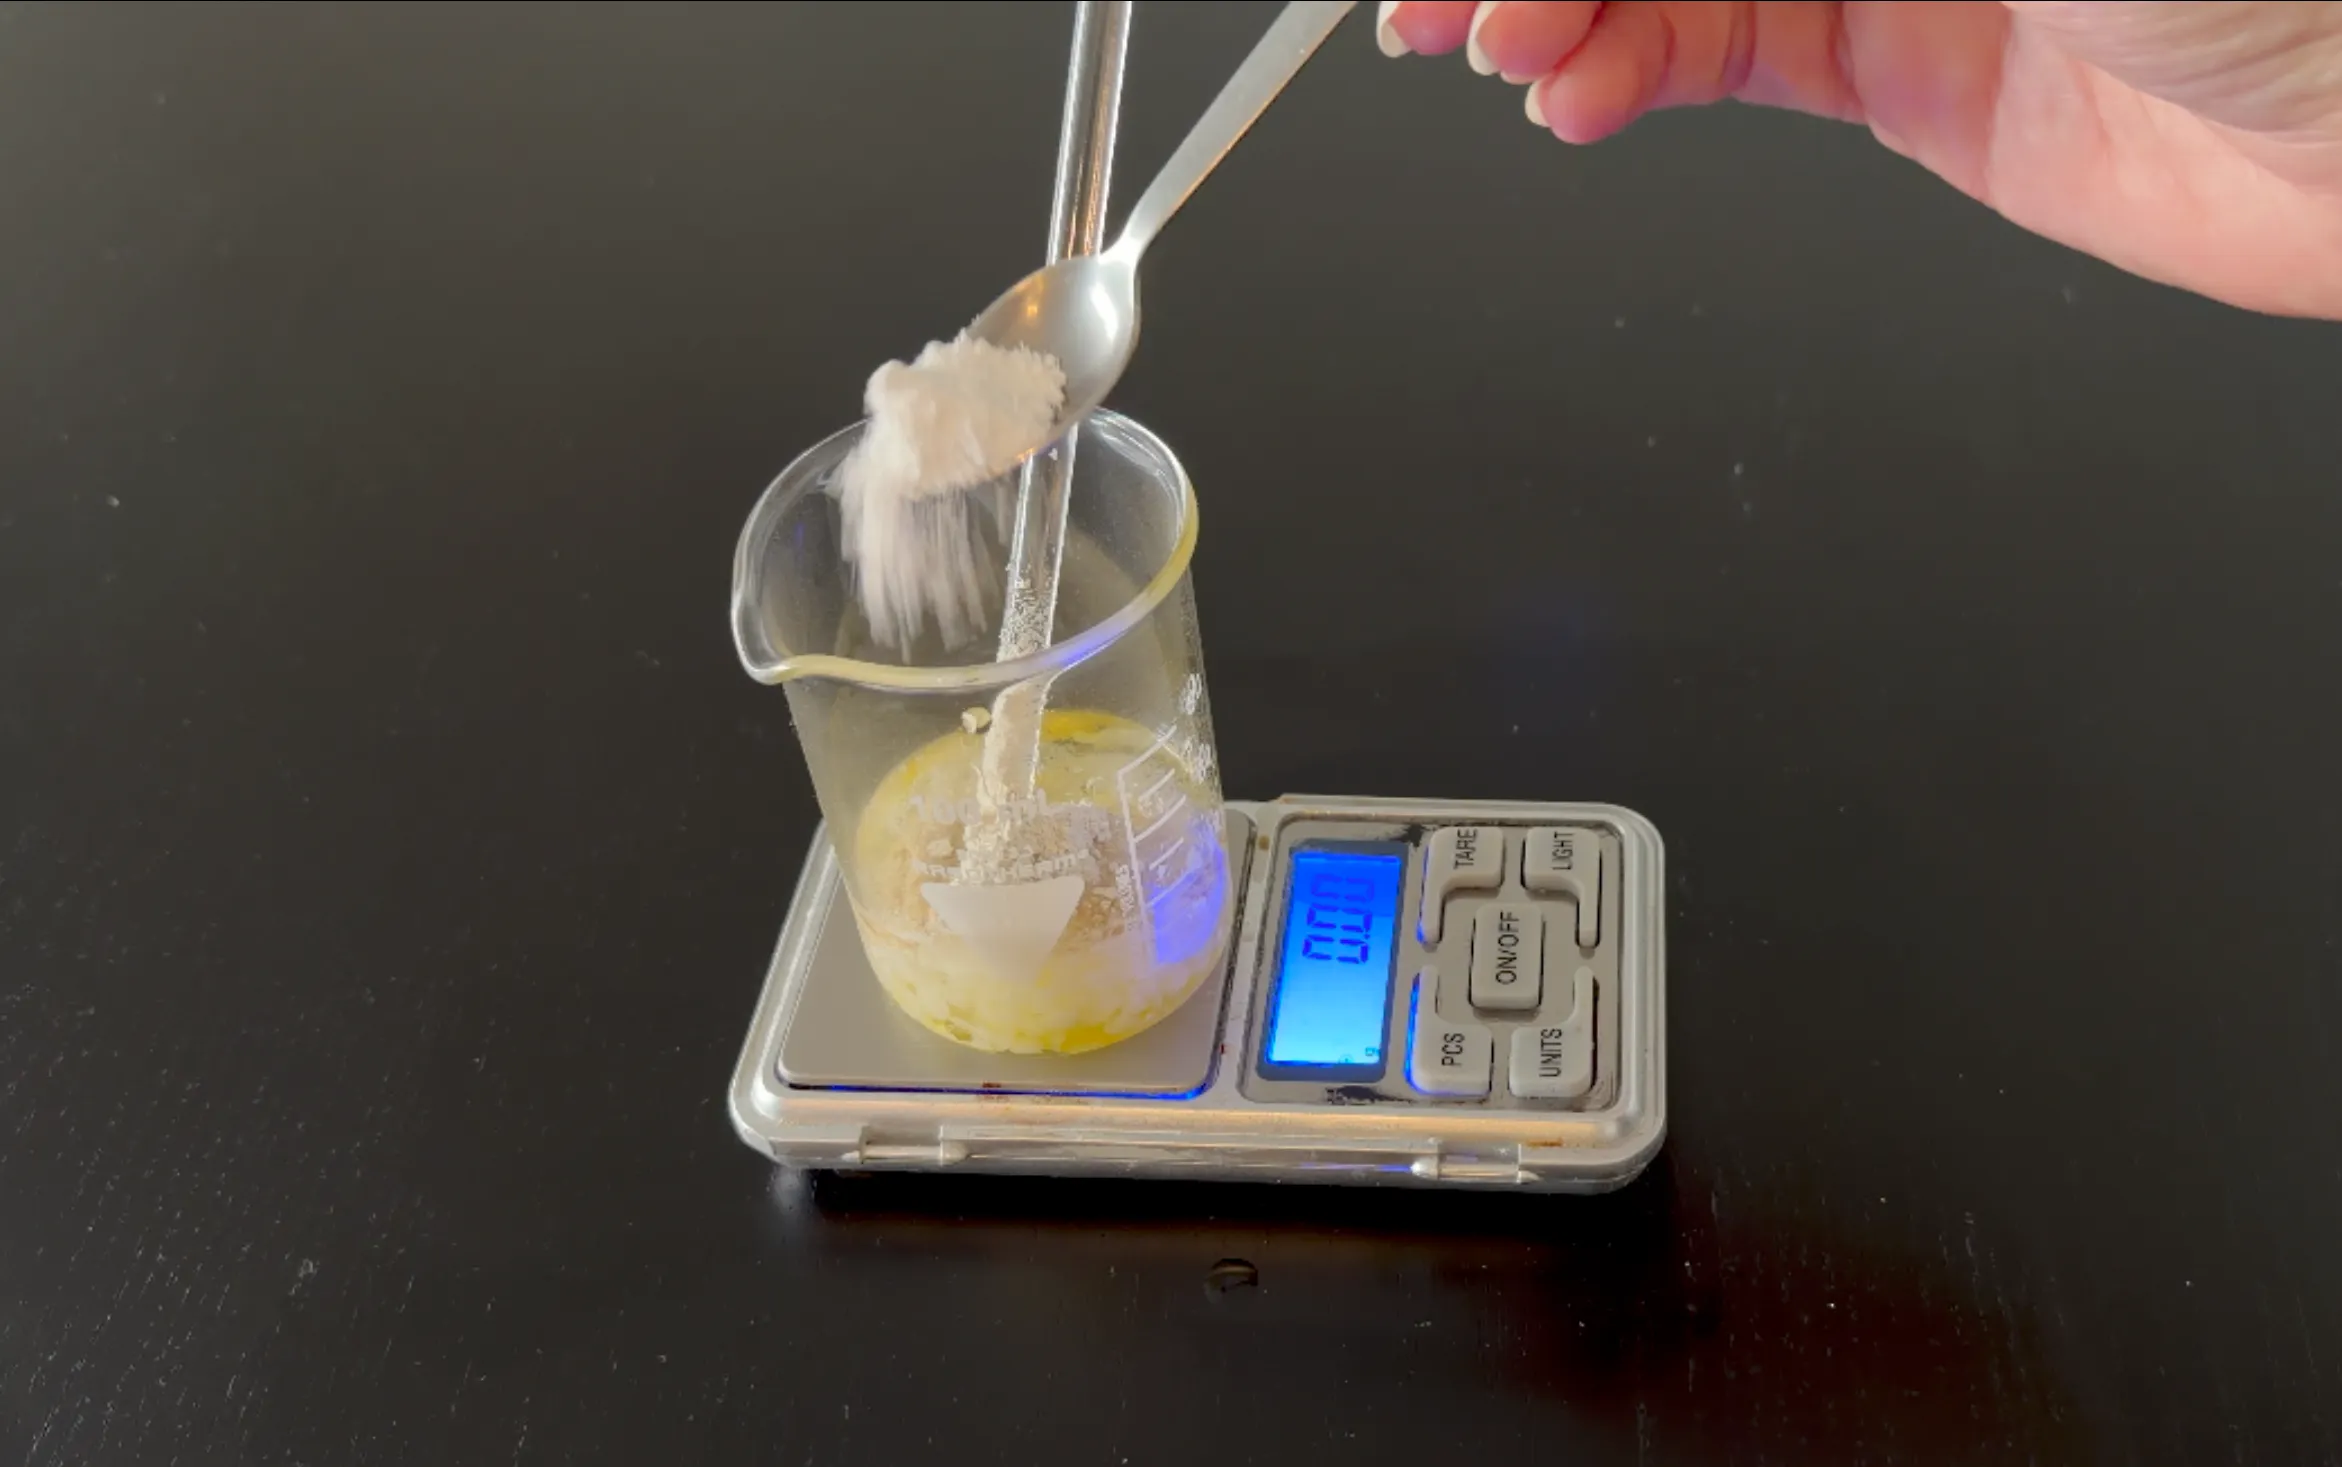
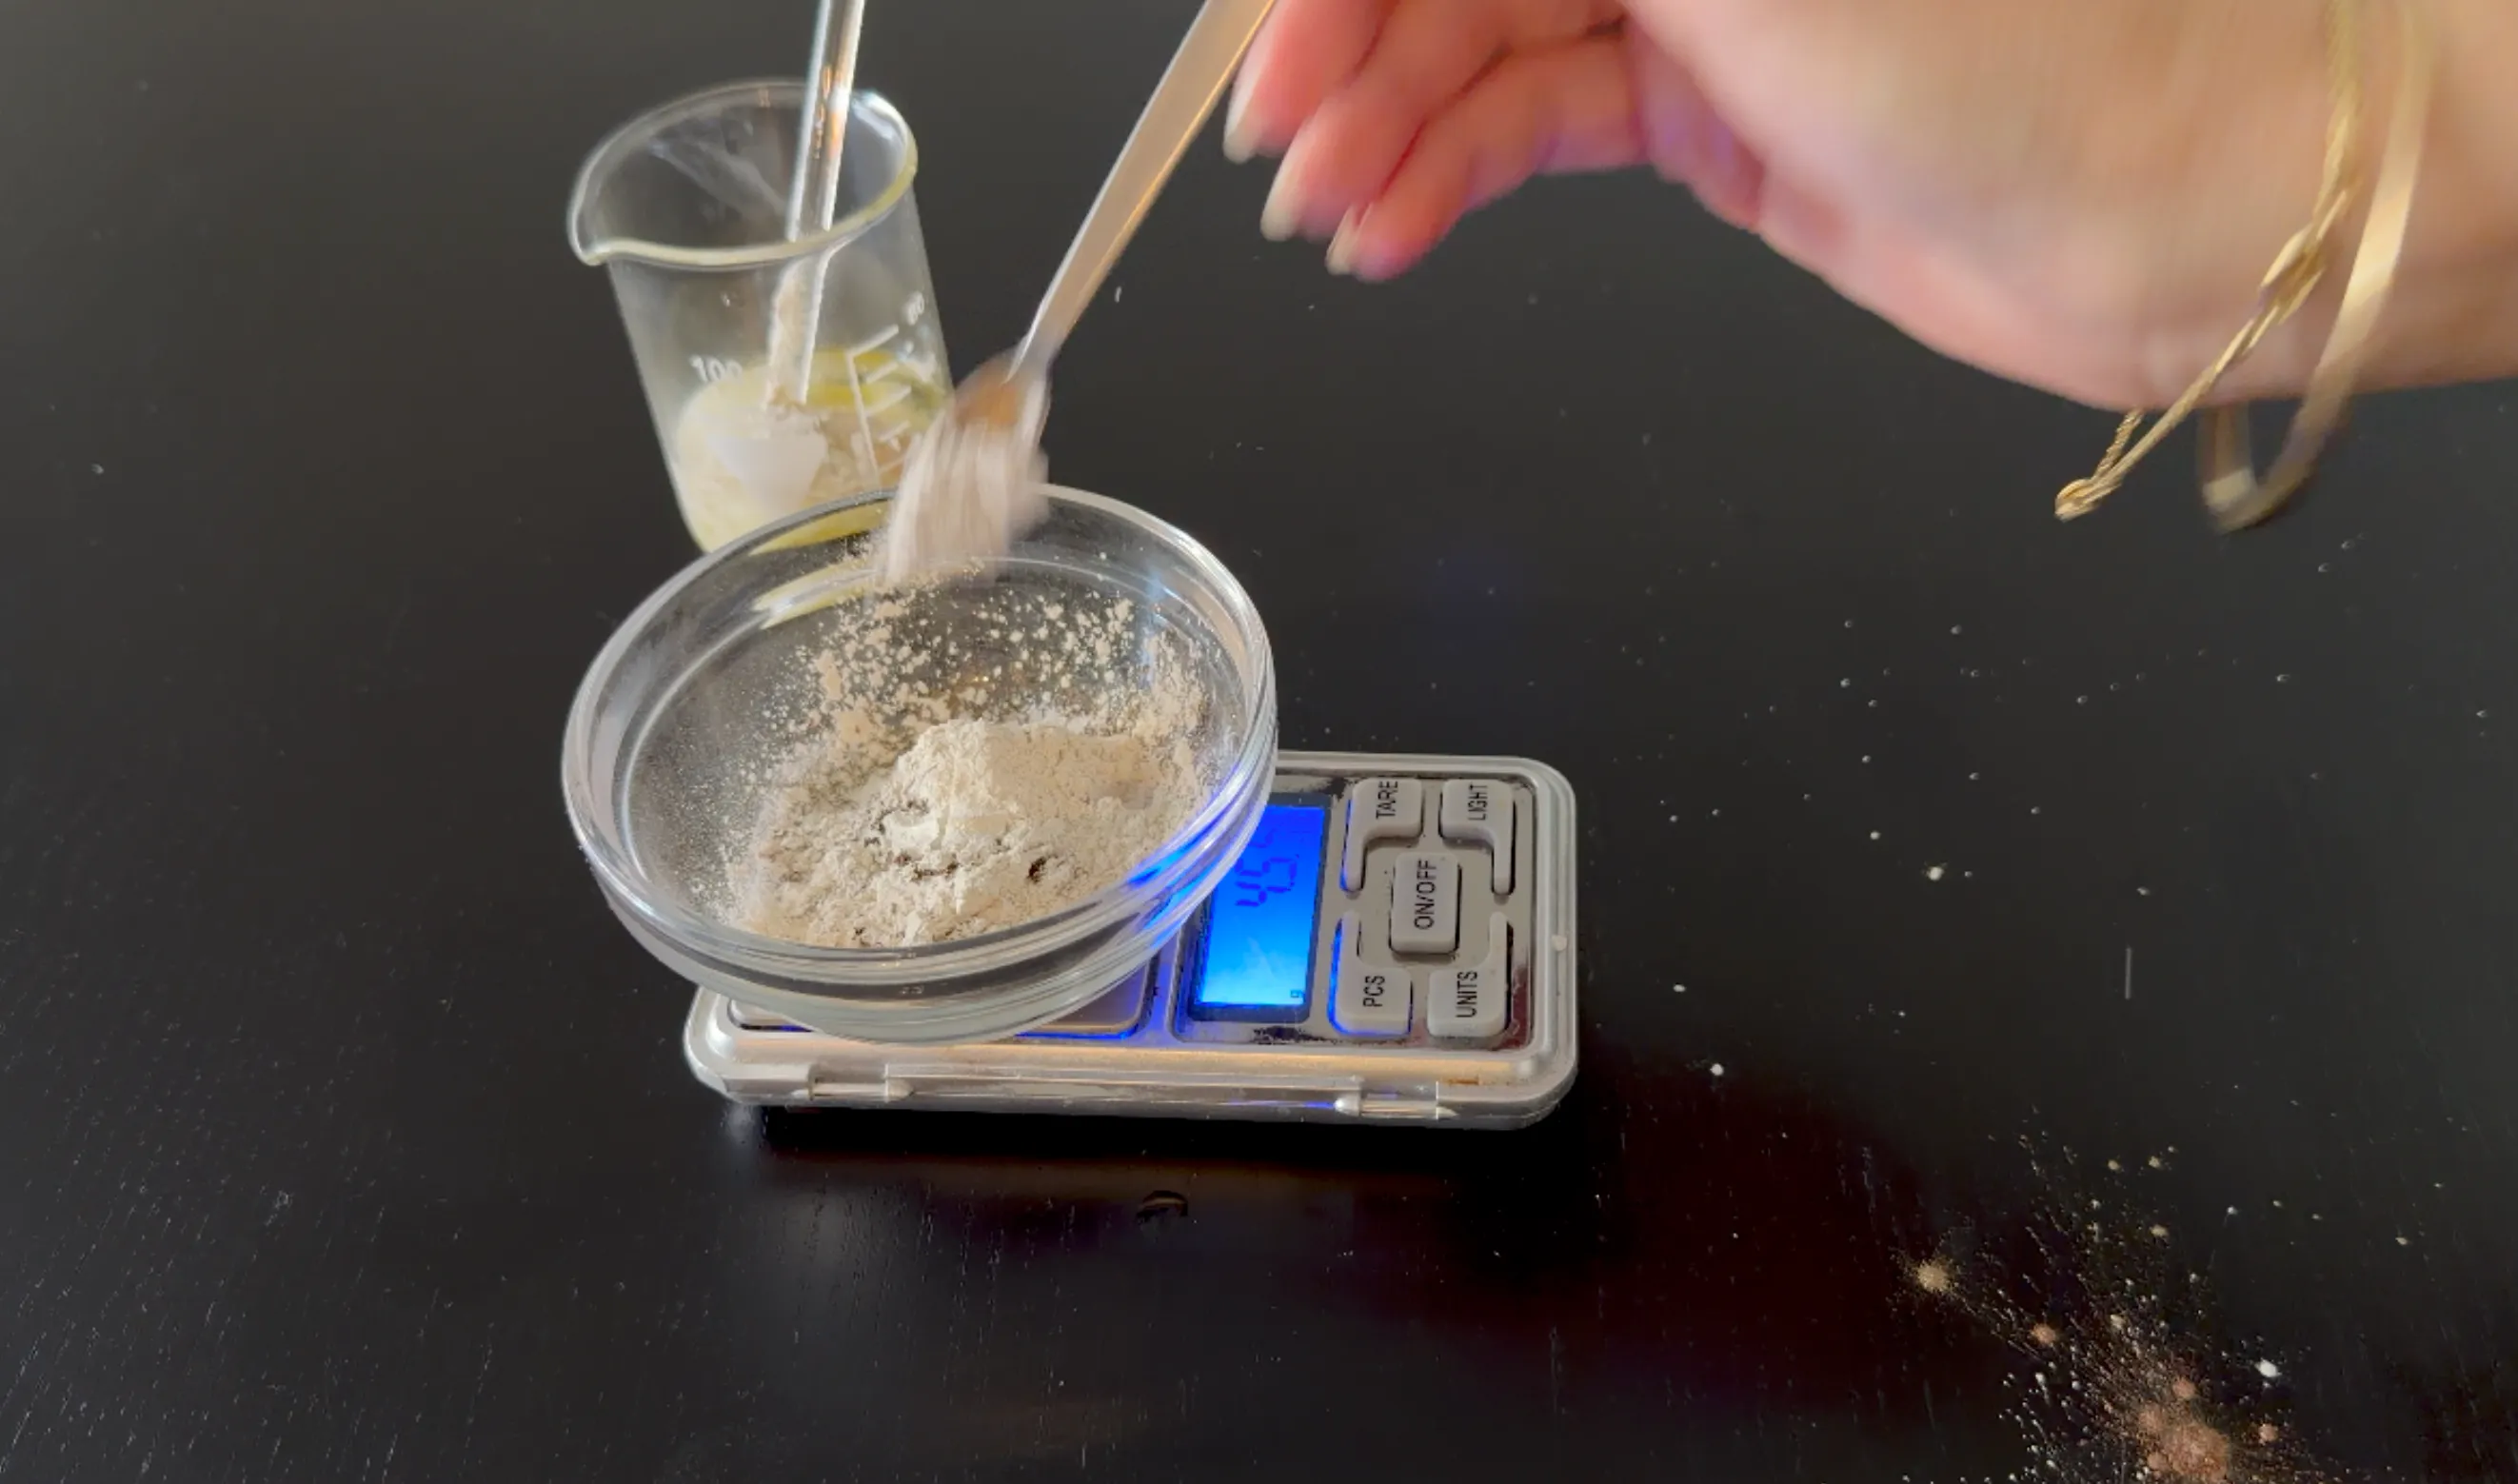
Prepare the Phase B powders (silk powder, mica colors, pearl powder and nano zinc oxide) and mix them together. This is where you build and check your shade — swatch the dry blend on the back of your hand and adjust it (add a little more, or take some out) until the color is exactly right. Then add the powders into the beaker with Phase A.

-
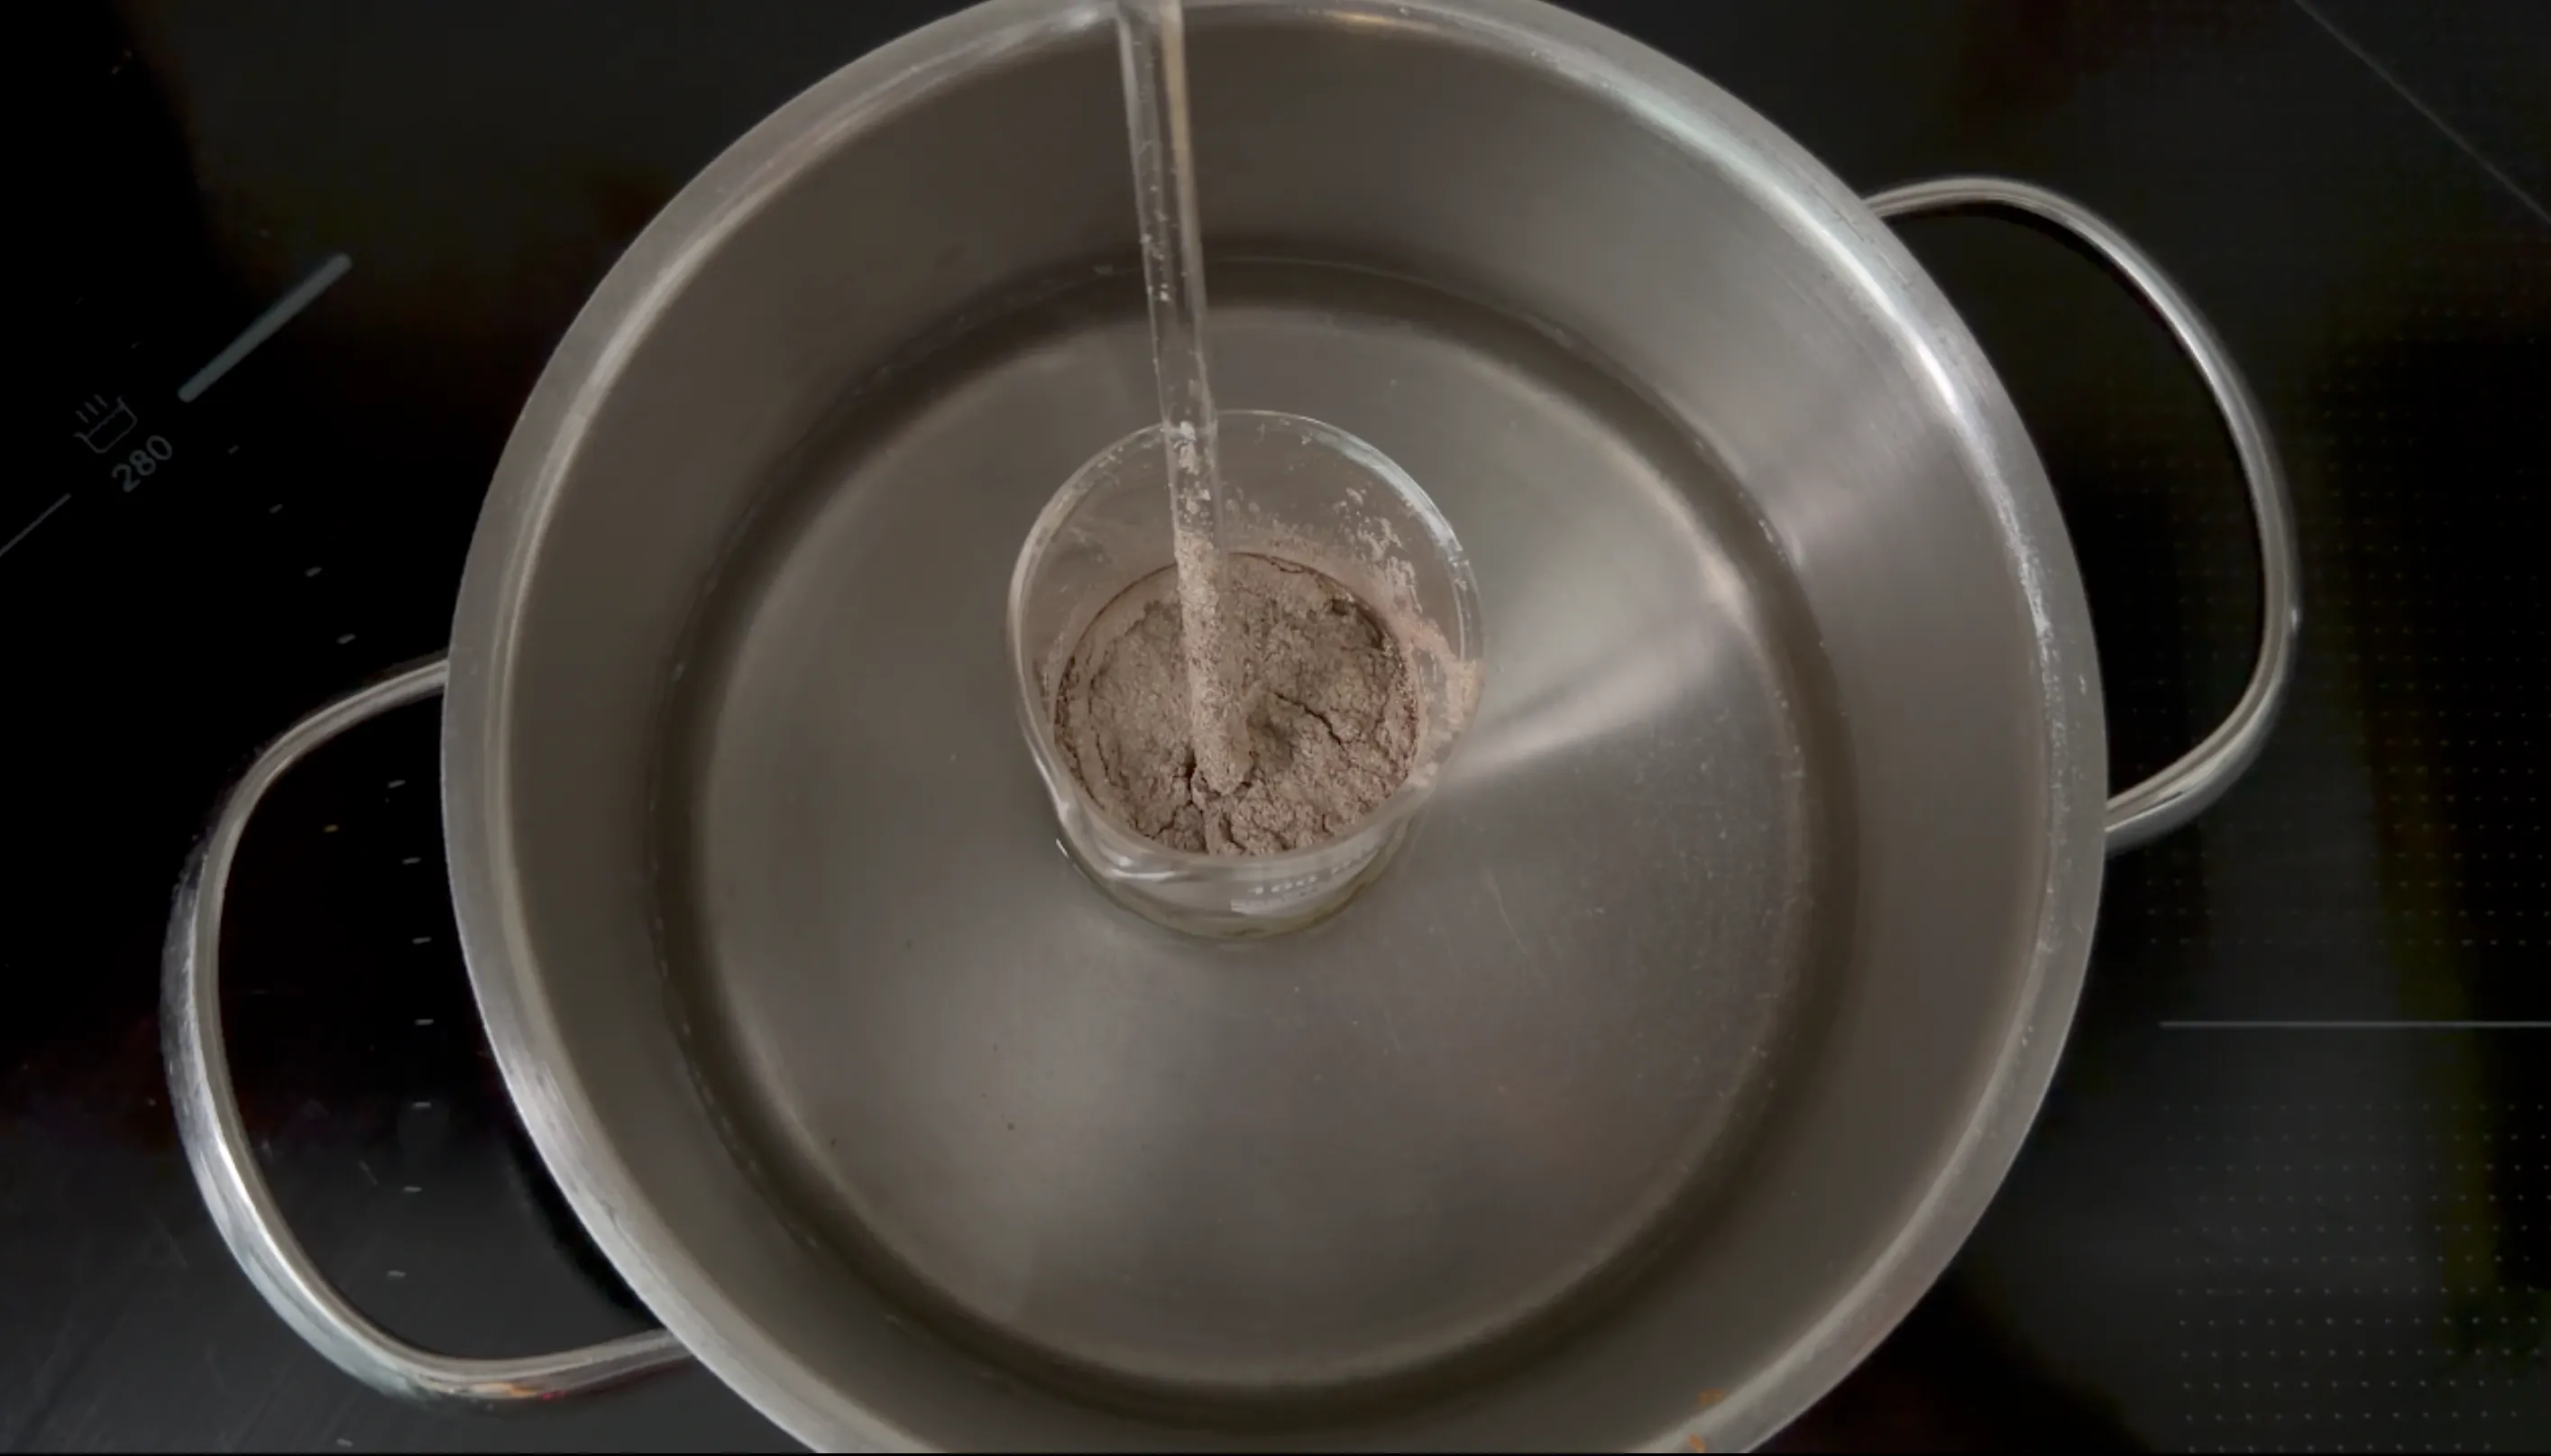
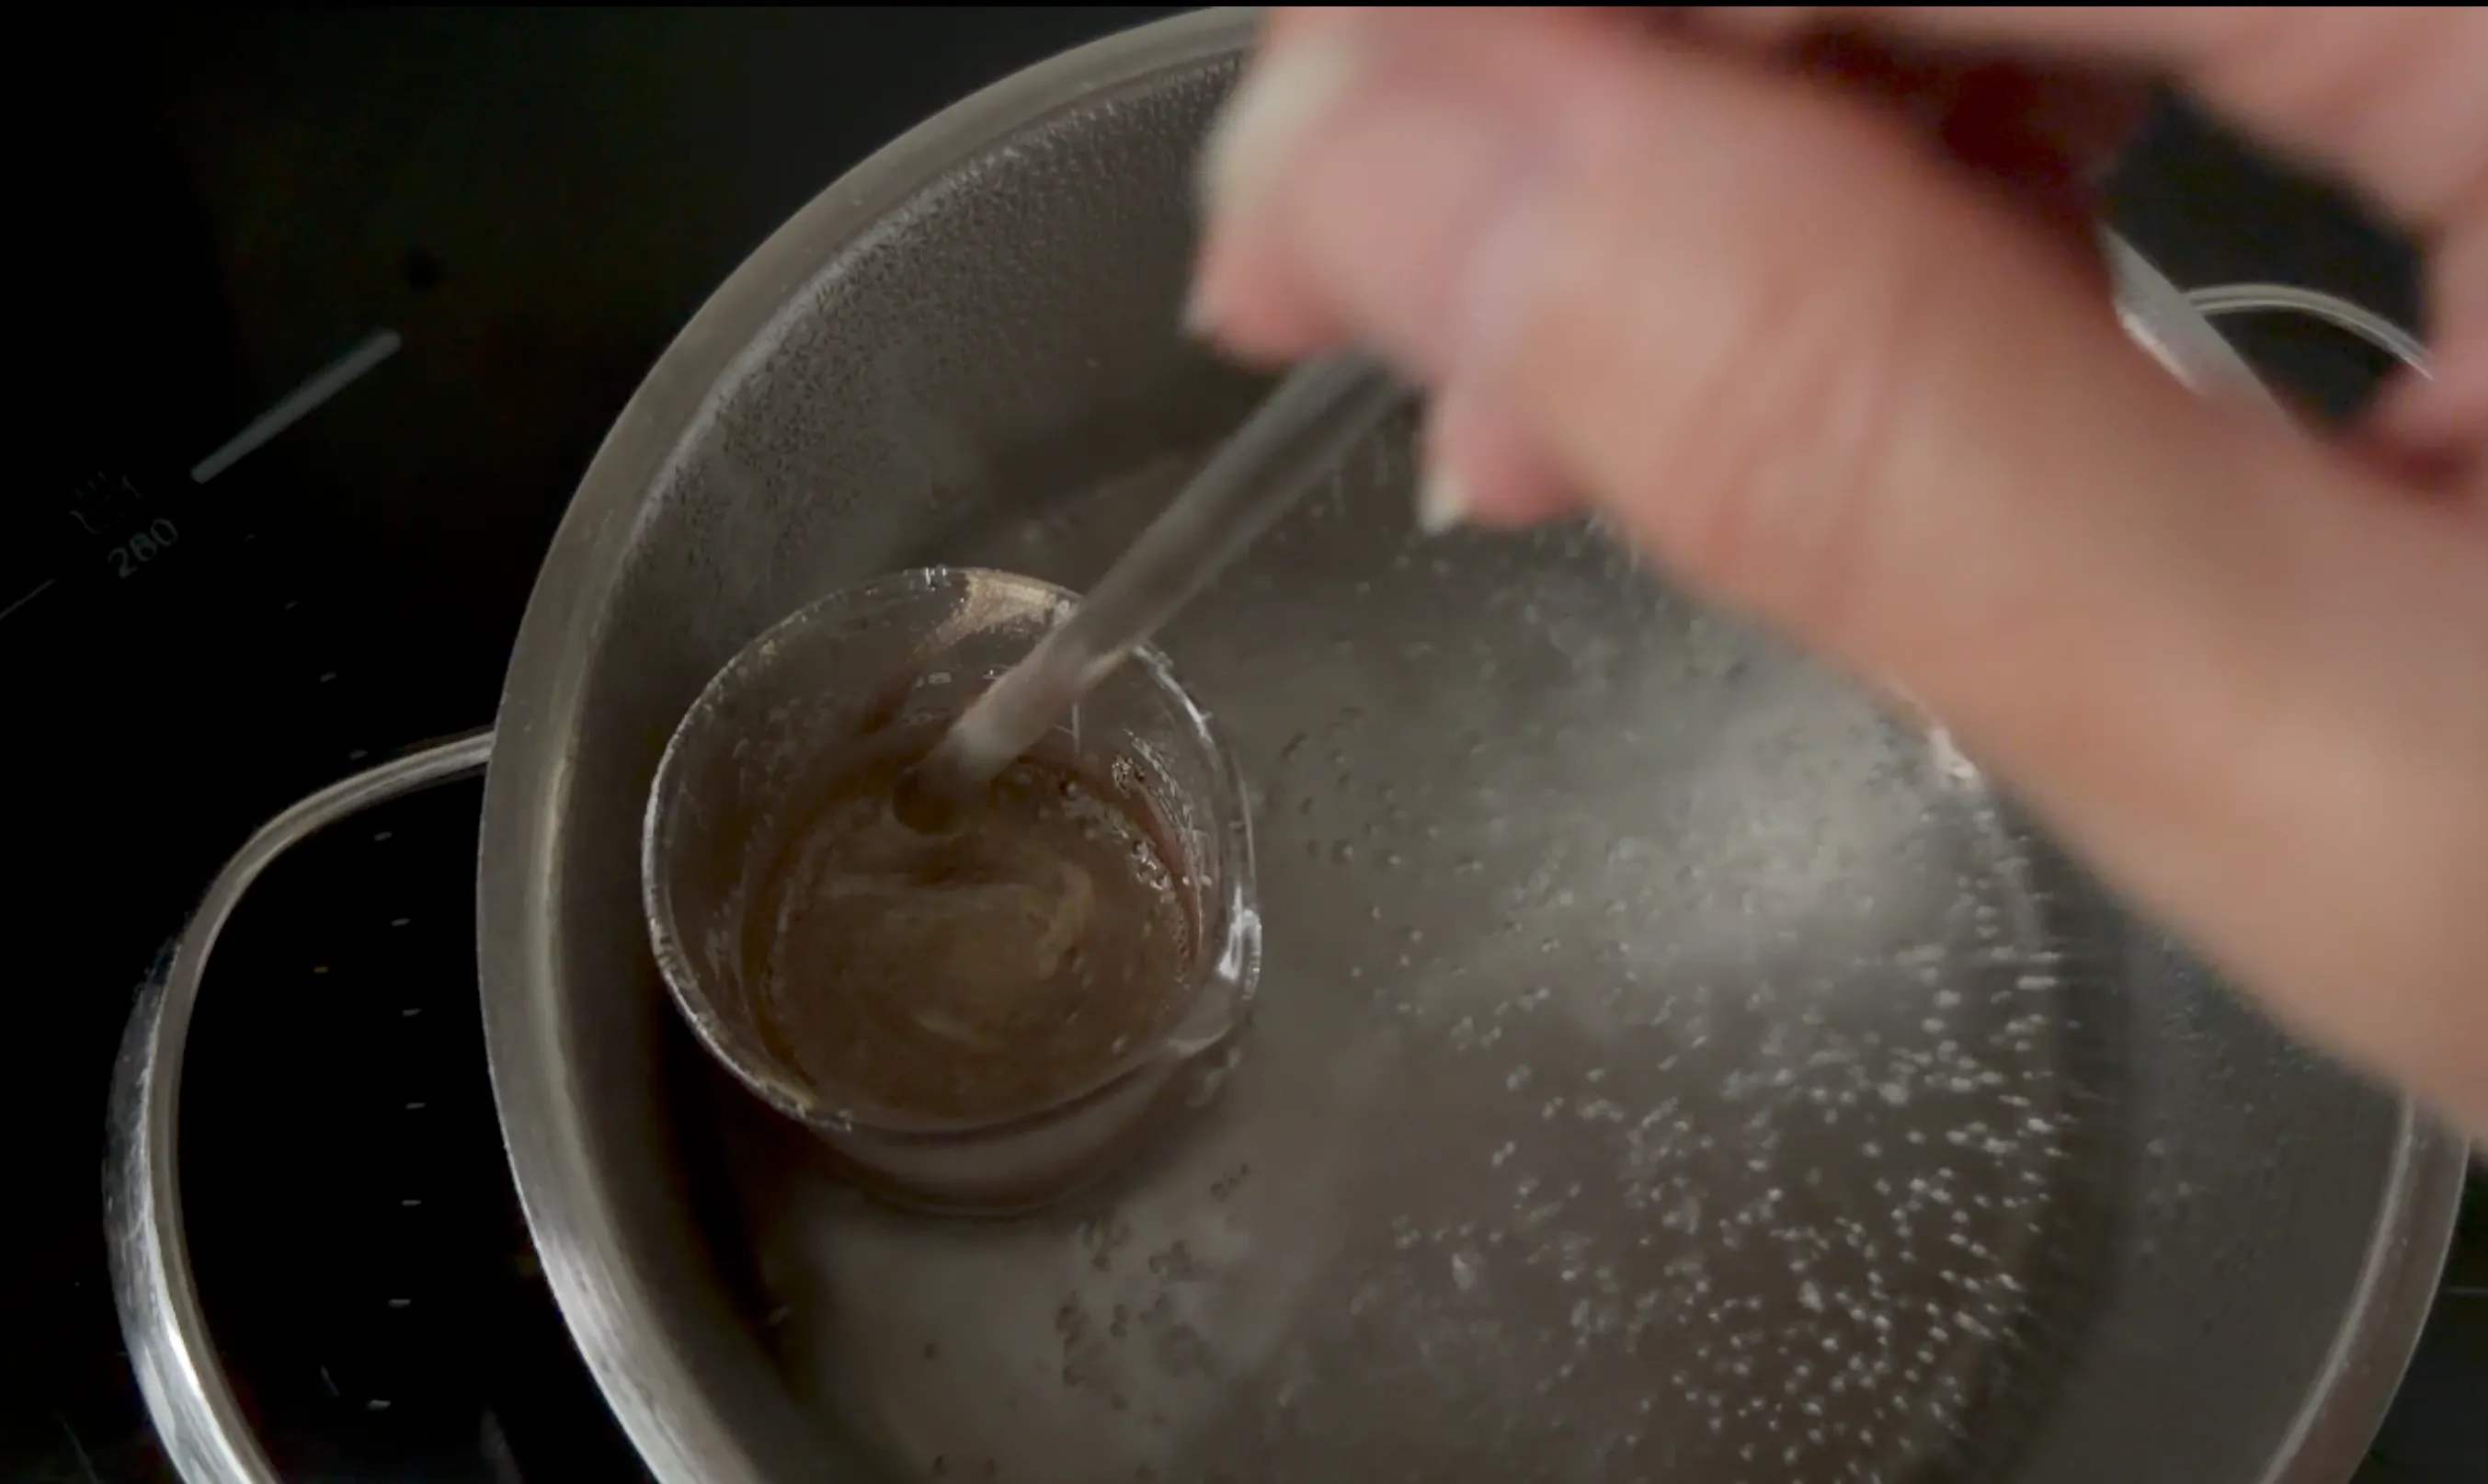
Place the beaker in a double boiler (water bath) for about 20 minutes on medium heat until everything is melted and clear, stirring so the powders disperse evenly into the base.
-
Remove the beaker from the heat.
-
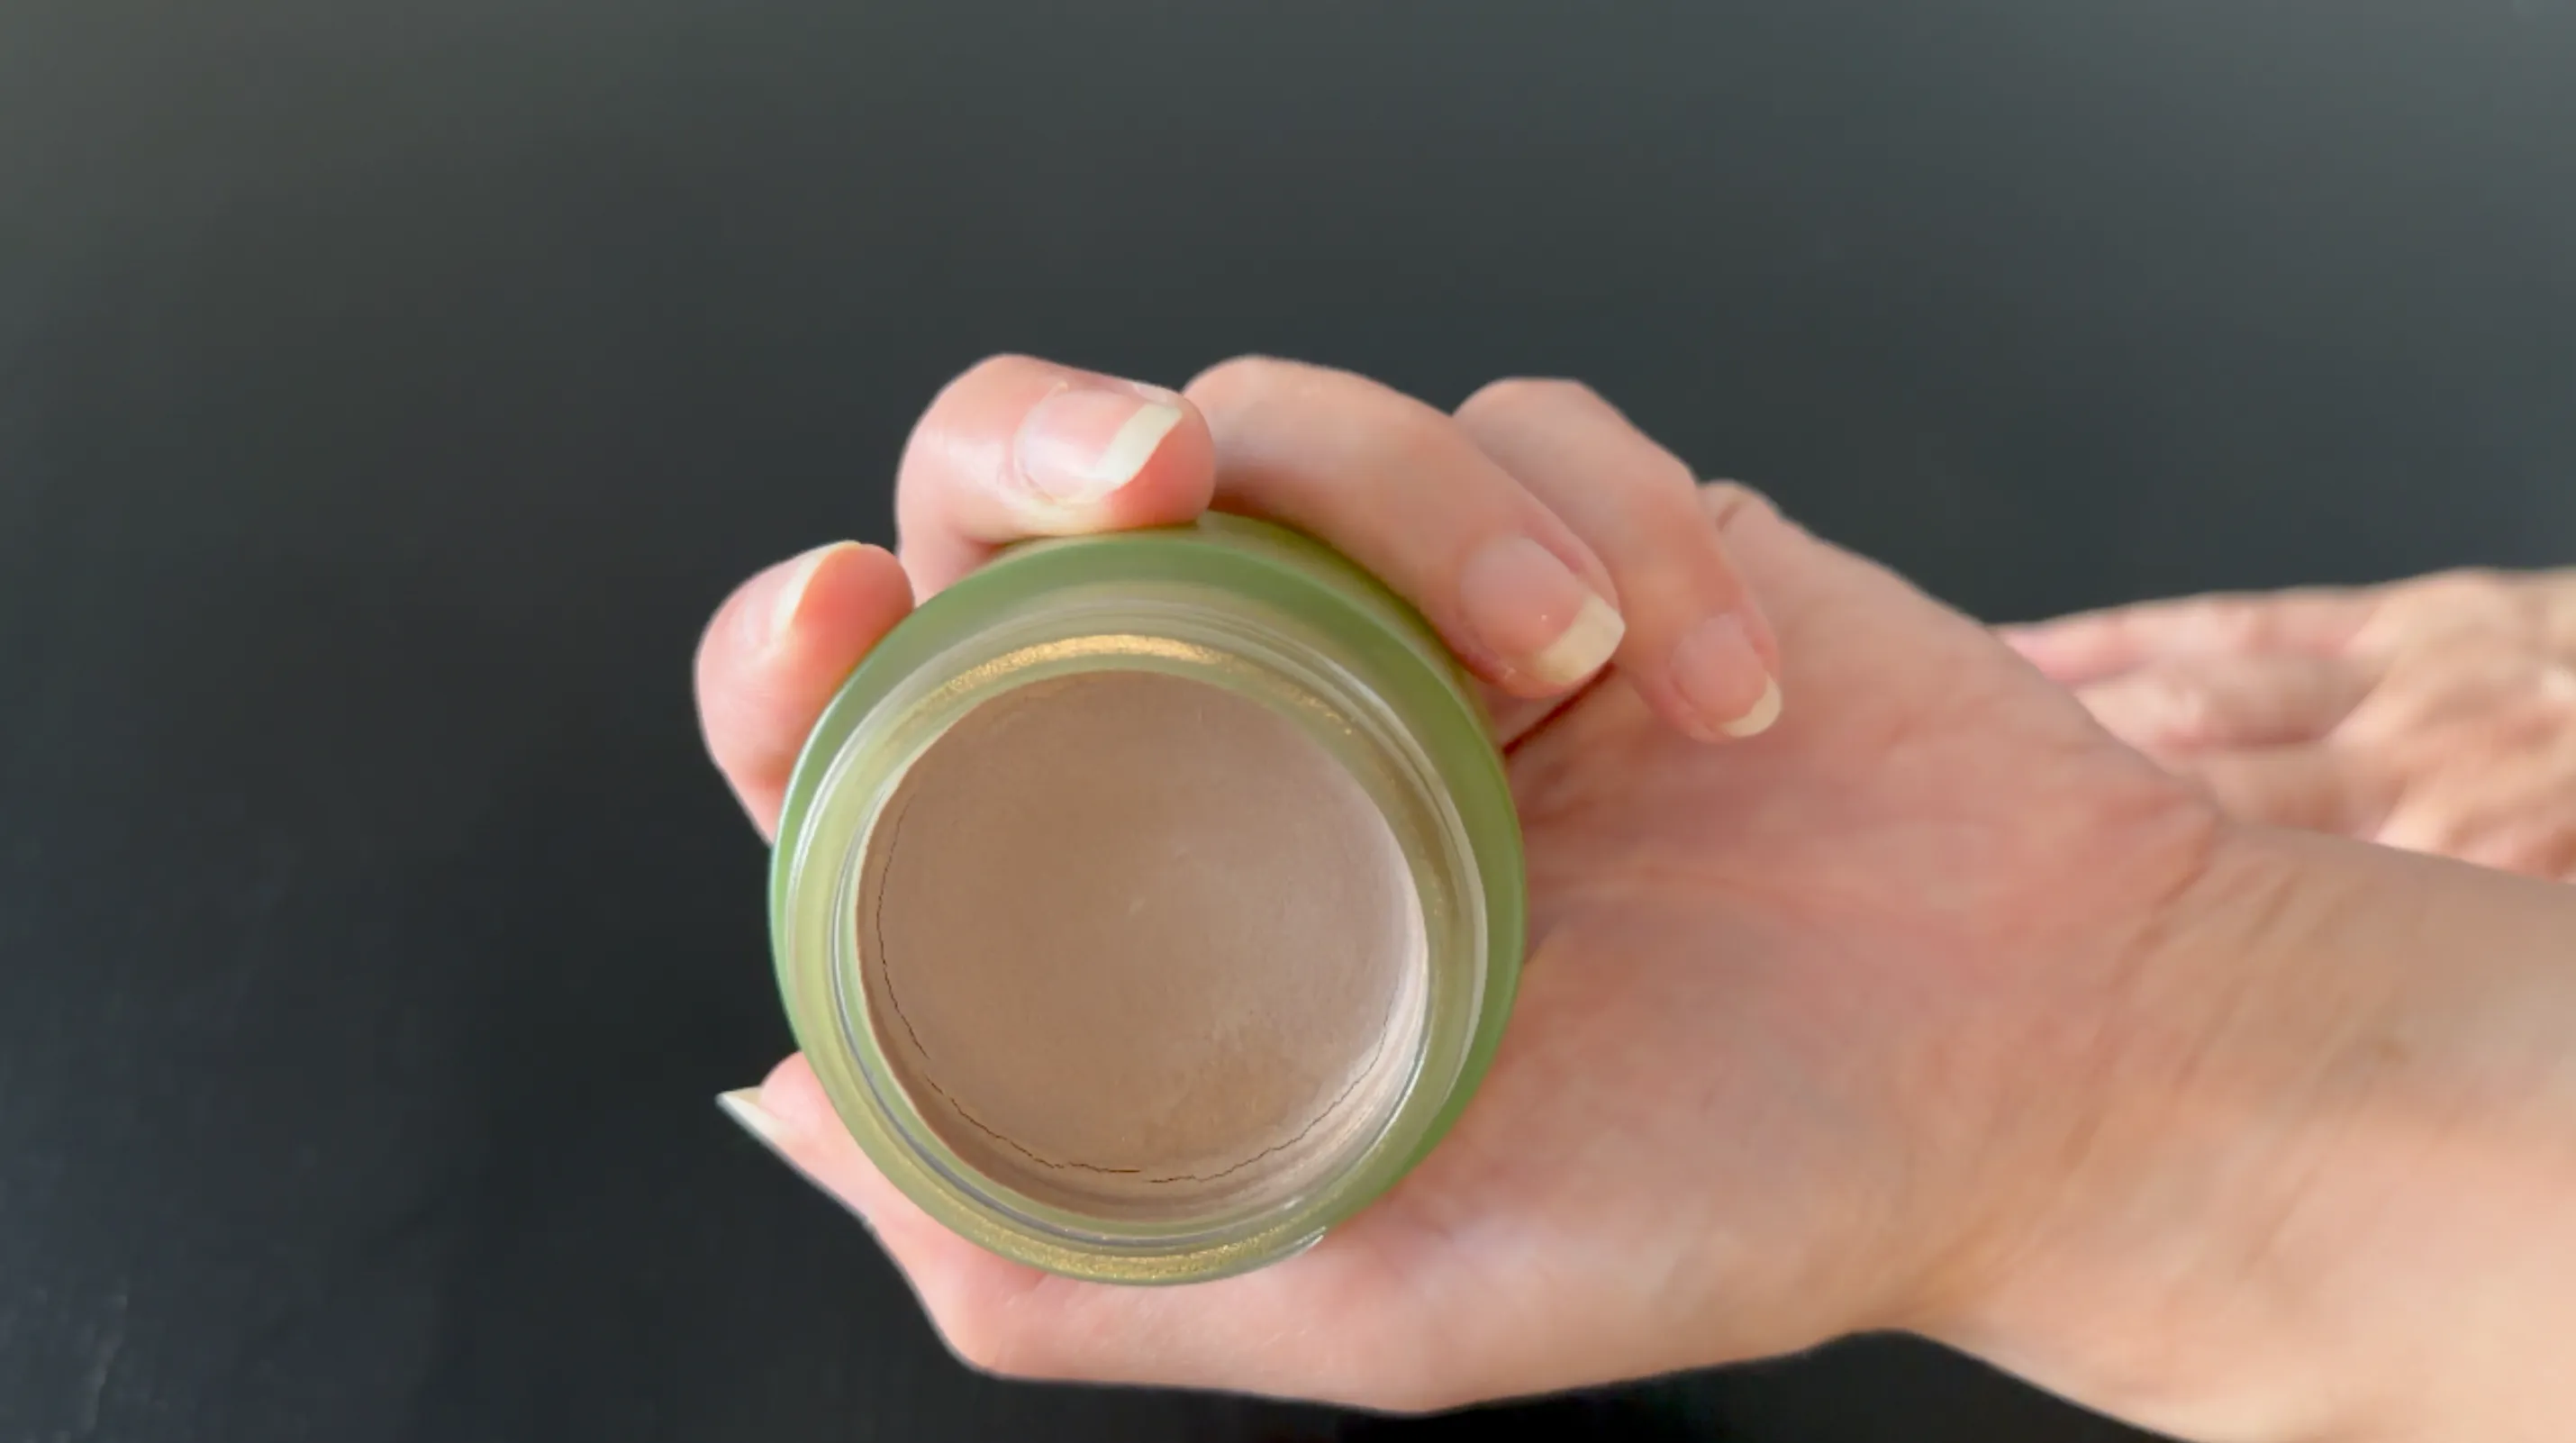
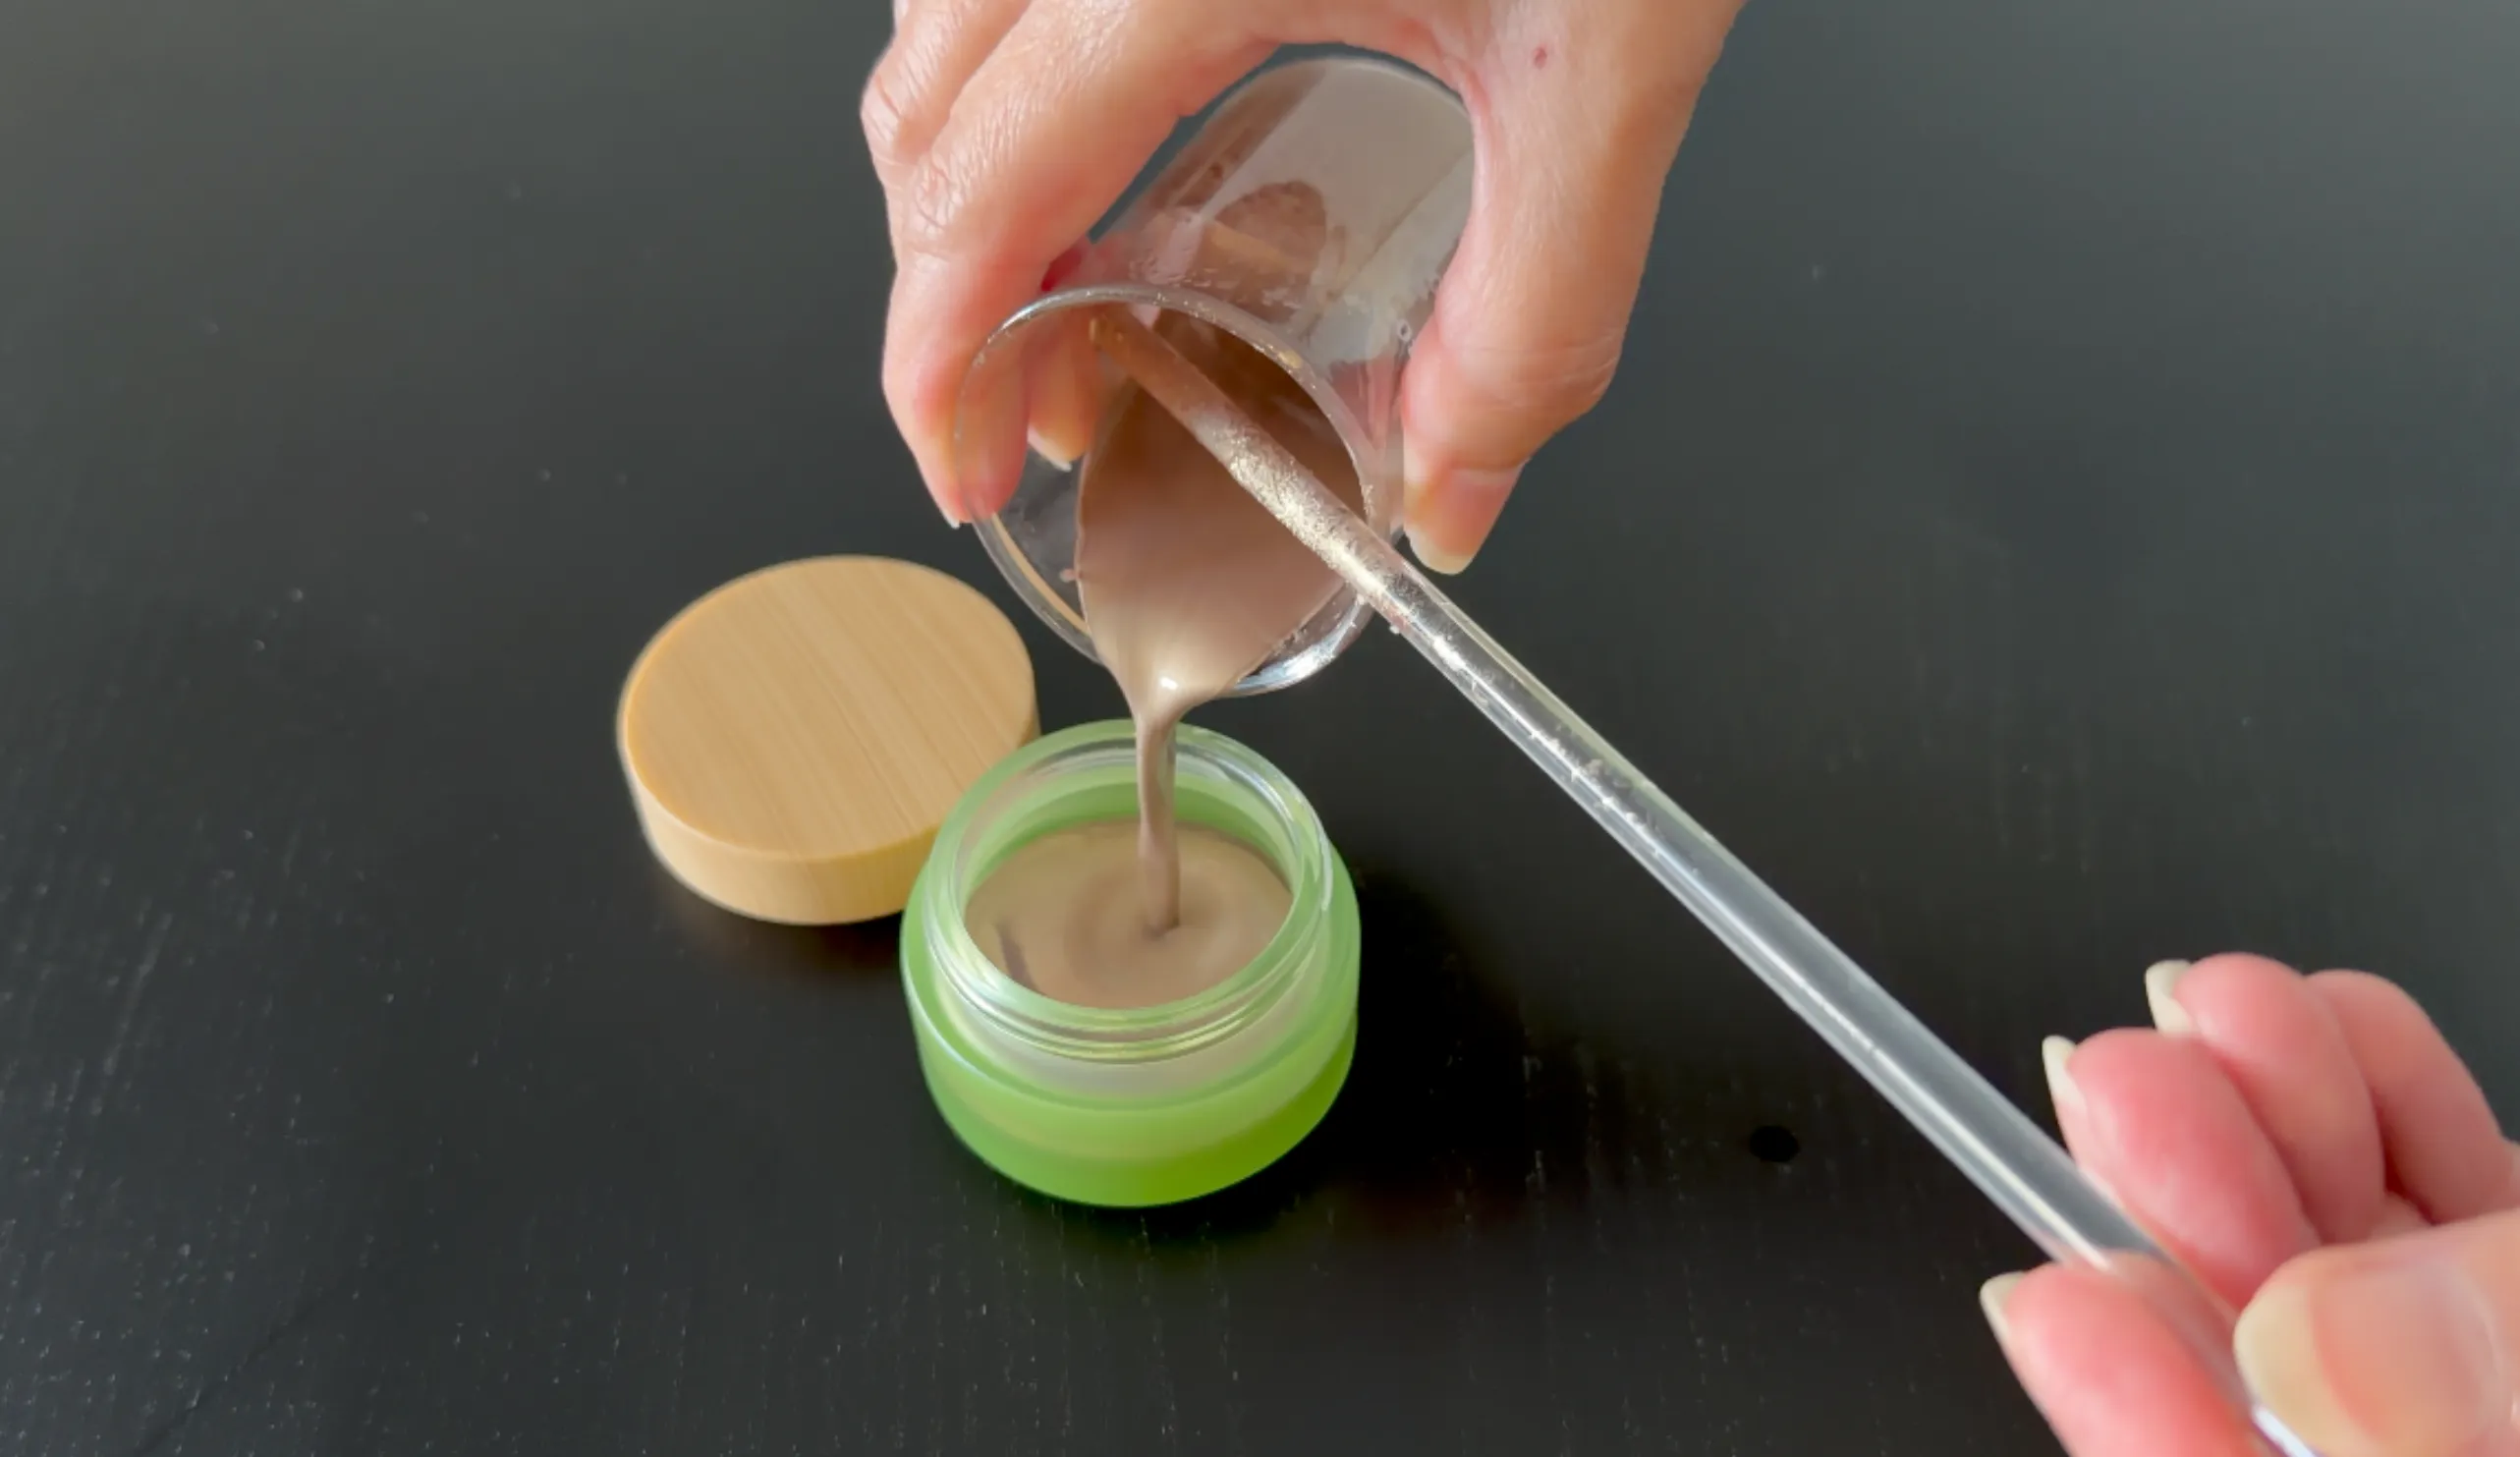
Pour into a clean container or jar and leave it to cool and set.
-
Apply with a brush or fingertip. Swatch on the back of your hand first to check the color.
Long-Lasting, and Easy to Remove
Once set, this shadow grips well and wears for hours. Because it is an oil-and-wax formula, the kindest way to take it off is with an oil-based remover that dissolves it without rubbing the delicate eye area. Any of these work beautifully:
Shelf Life and Storage
Because this is a waterless (anhydrous) formula, there is no water for bacteria or mold to grow in, so it does not need a preservative and keeps well. What limits its life is the oils slowly oxidizing over time — and the vitamin E is there to slow that down.
Kept somewhere cool and dark, away from heat and direct sunlight, it will last around 12 months. To get the most out of it:
- Keep water out of the jar — apply with a dry, clean brush or fingertip.
- Close it well after each use.
- If it ever smells off (rancid or waxy-stale) or the texture or color changes, it has had its day — make a fresh batch.
Because it goes so close to the eyes, hygiene matters: use clean tools, keep it to yourself, and when in doubt, make a new one.